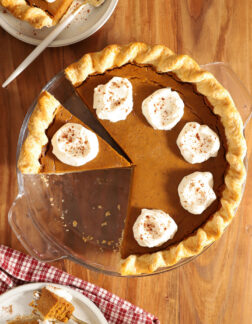
A Turkey for Thanksgiving (Dry Brine Method)
I honestly used to dread hosting Thanksgiving. Even though I love feeding people and visiting, cooking a whole turkey was always a gamble for me. Dry? Raw in the middle? Takes 10 hours to cook? Is it thawed all the way?
So a few years ago, I decided to solve all the problems, one by one. And now? Nothing is left to chance. Shatteringly crisp skin and tender, moist, flavorful meat (yes, even the breast!), all within less than half the time it normally would take. Keep scrolling for plenty of visual aids from prep to carving and serving ideas!

Fresh vs. Frozen
If worldly events are teaching me anything, it’s that whenever possible, rely on local suppliers for things like meat and dairy. We got our turkey fresh from a family farm about 40 minutes from our house, but that’s just tradition.
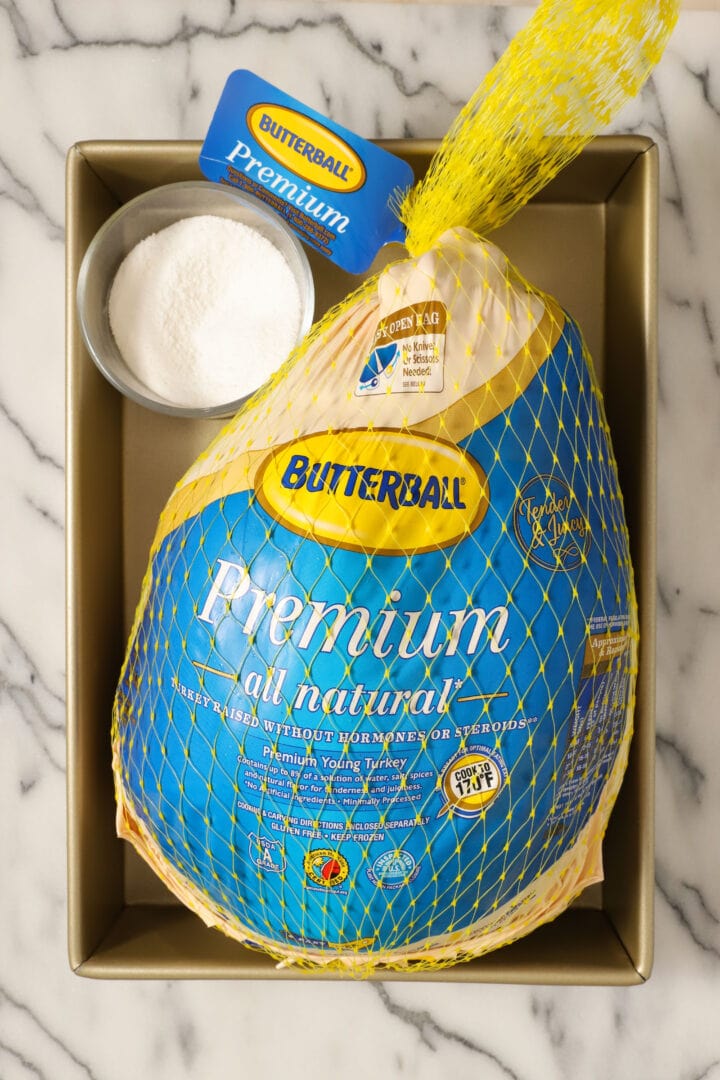
That being said, do NOT feel guilty for using a grocery store turkey!! They are reasonably priced and will be absolutely delicious. No matter which kind of turkey you use, Thanksgiving will be fantastic. I used a Butterball for this post, and it was just as moist, tender and delicious as the fresh turkey.
Plan ahead
If starting from frozen, begin thawing the turkey 5 days before you plan on roasting. It seems like a long time, but in order to properly thaw the bird and allow for adequate time to dry brine it, 5 days is just right.
I like to budget 2 full days and nights for thawing, especially if it’s a bigger turkey (>15lbs). You know where I always set it while it thaws? The shower in our laundry room. I know it sounds gross, but there’s a perfectly good drain in there, and plenty of space. Plus, I’m not taking up extra room in the kitchen that I need to prep other things. Try it! Just make sure to sanitize the shower floor before company comes over.
Back out
No, it’s too late for that. You already bought a turkey. But you do need to take the back out. Get yourself a good pair of heavy duty kitchen shears. They’ll come in handy for a lot more things later on.
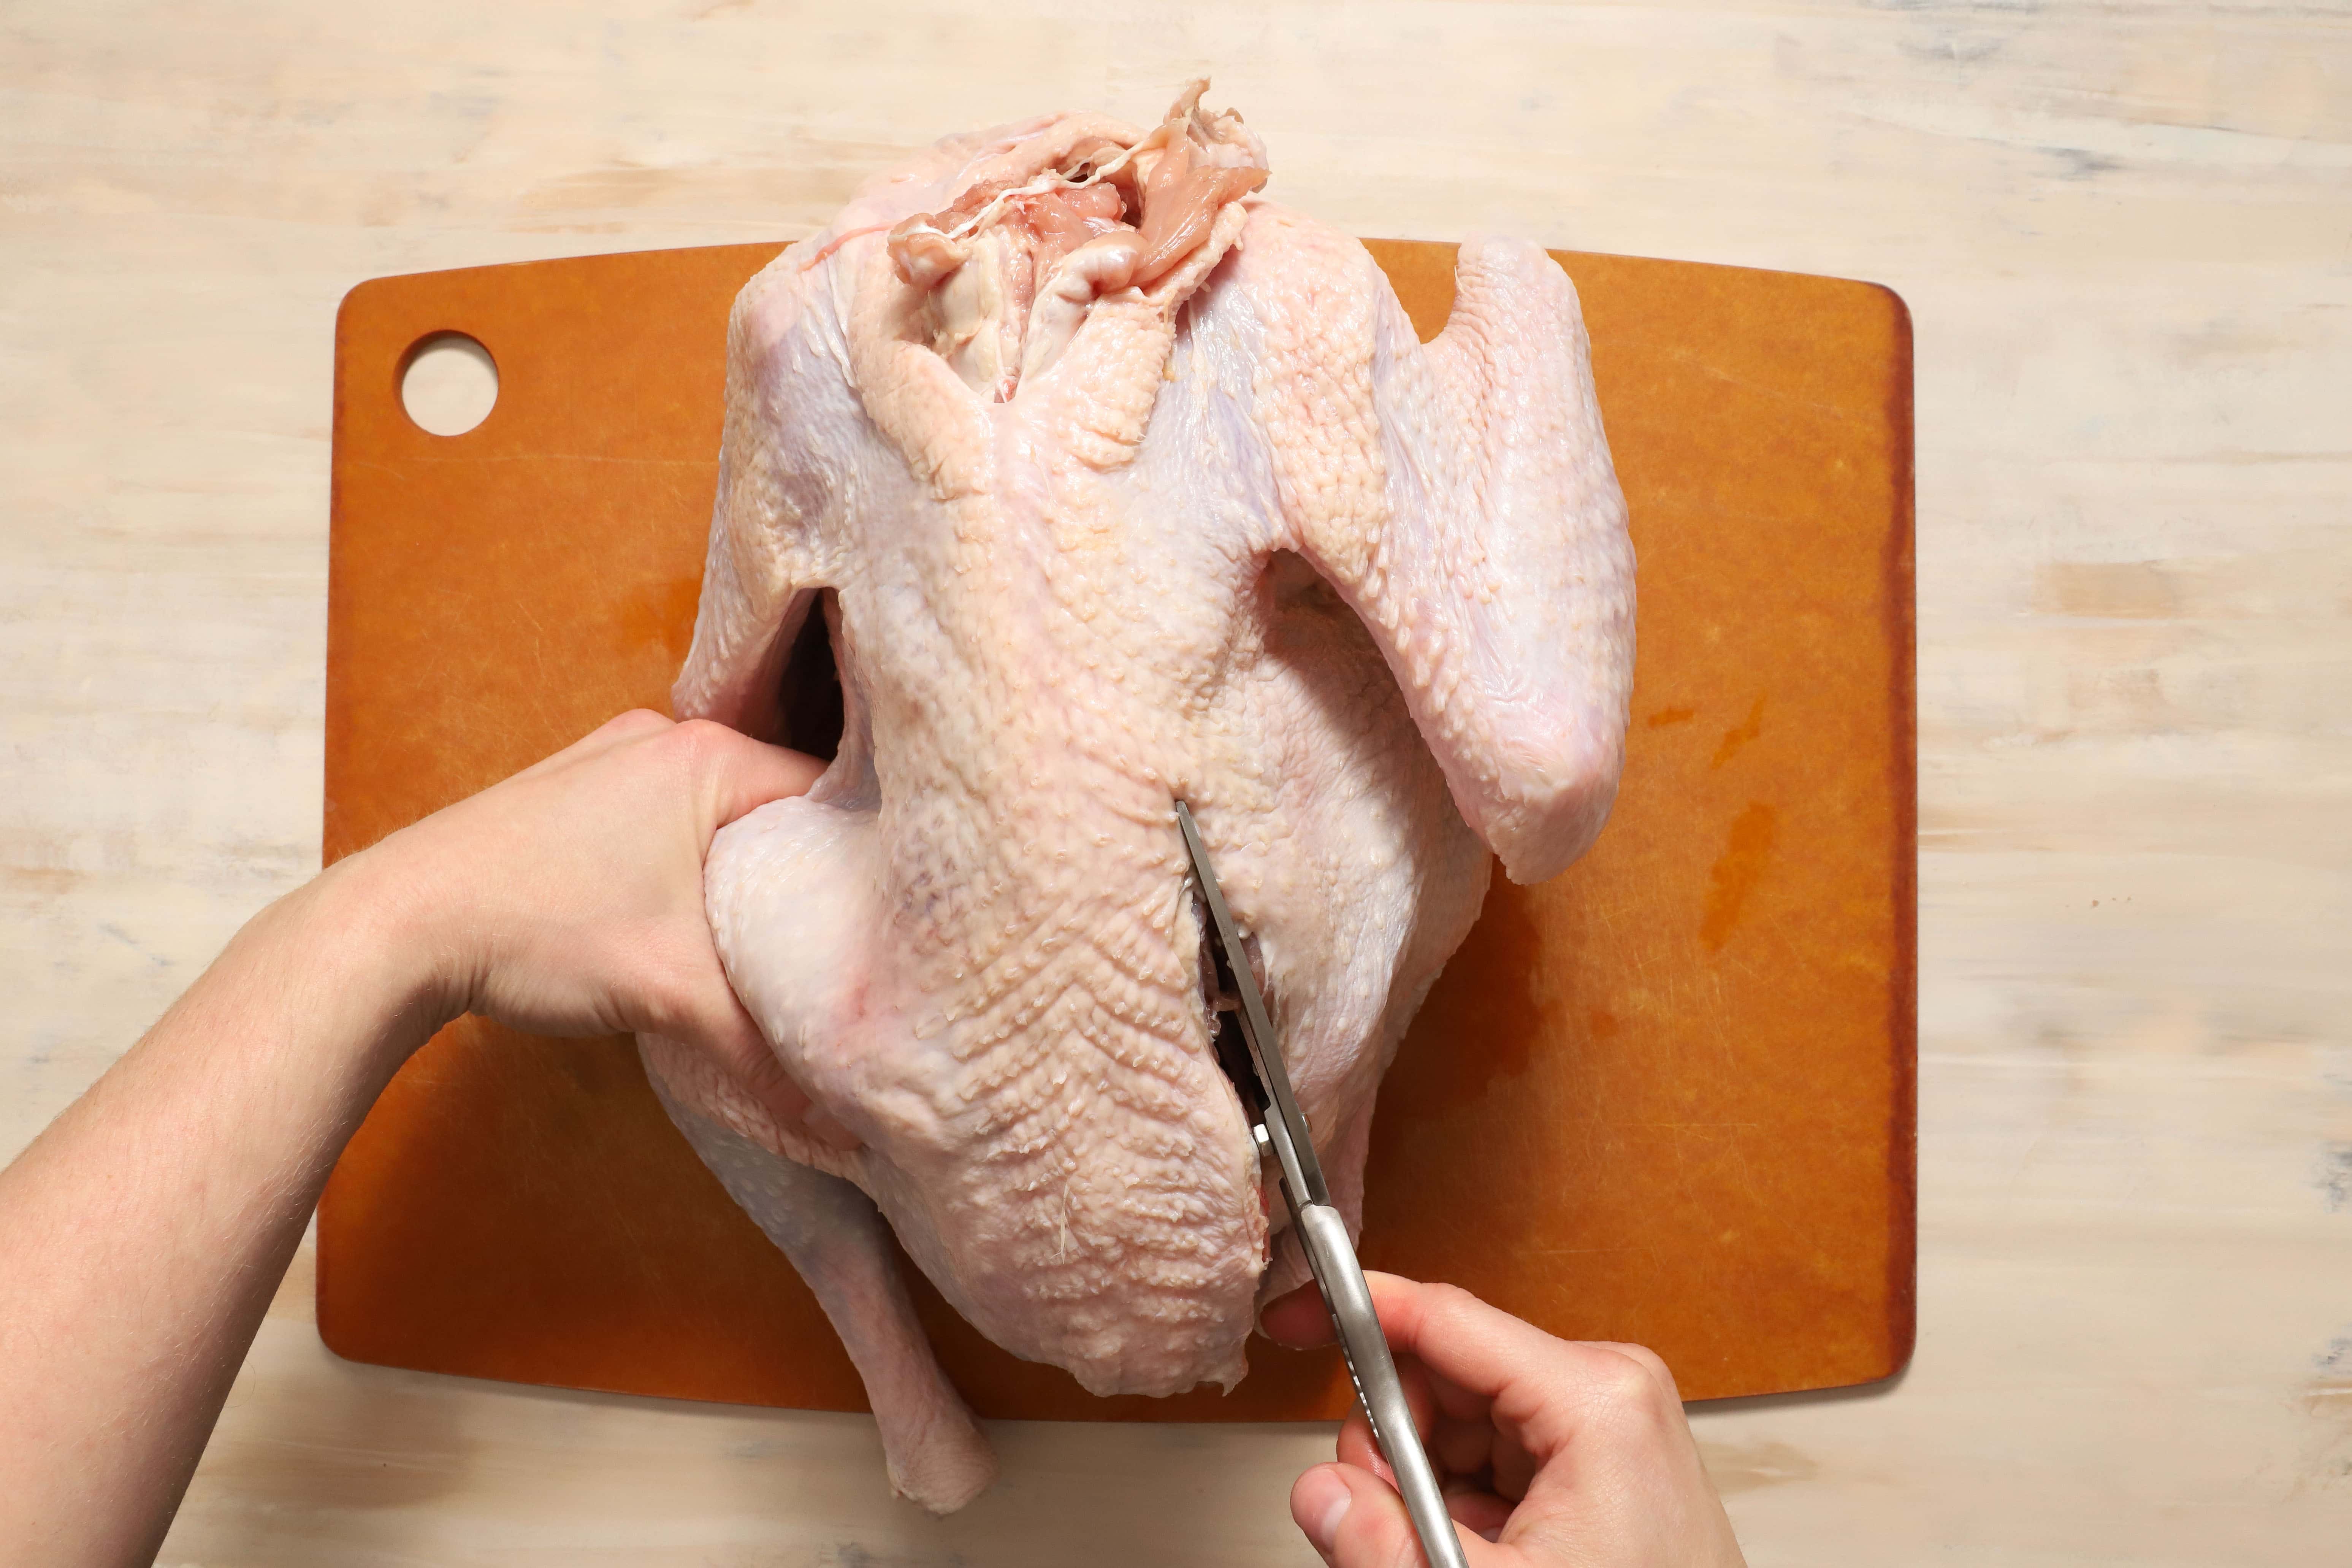
Make sure the turkey is nice and dry, and place it breast side down on a large cutting board. Use your free hand to firmly hold it in place, and use the shears to make a straight cut along one side of the backbone, through the ribs, beginning where the tail meets the thigh.
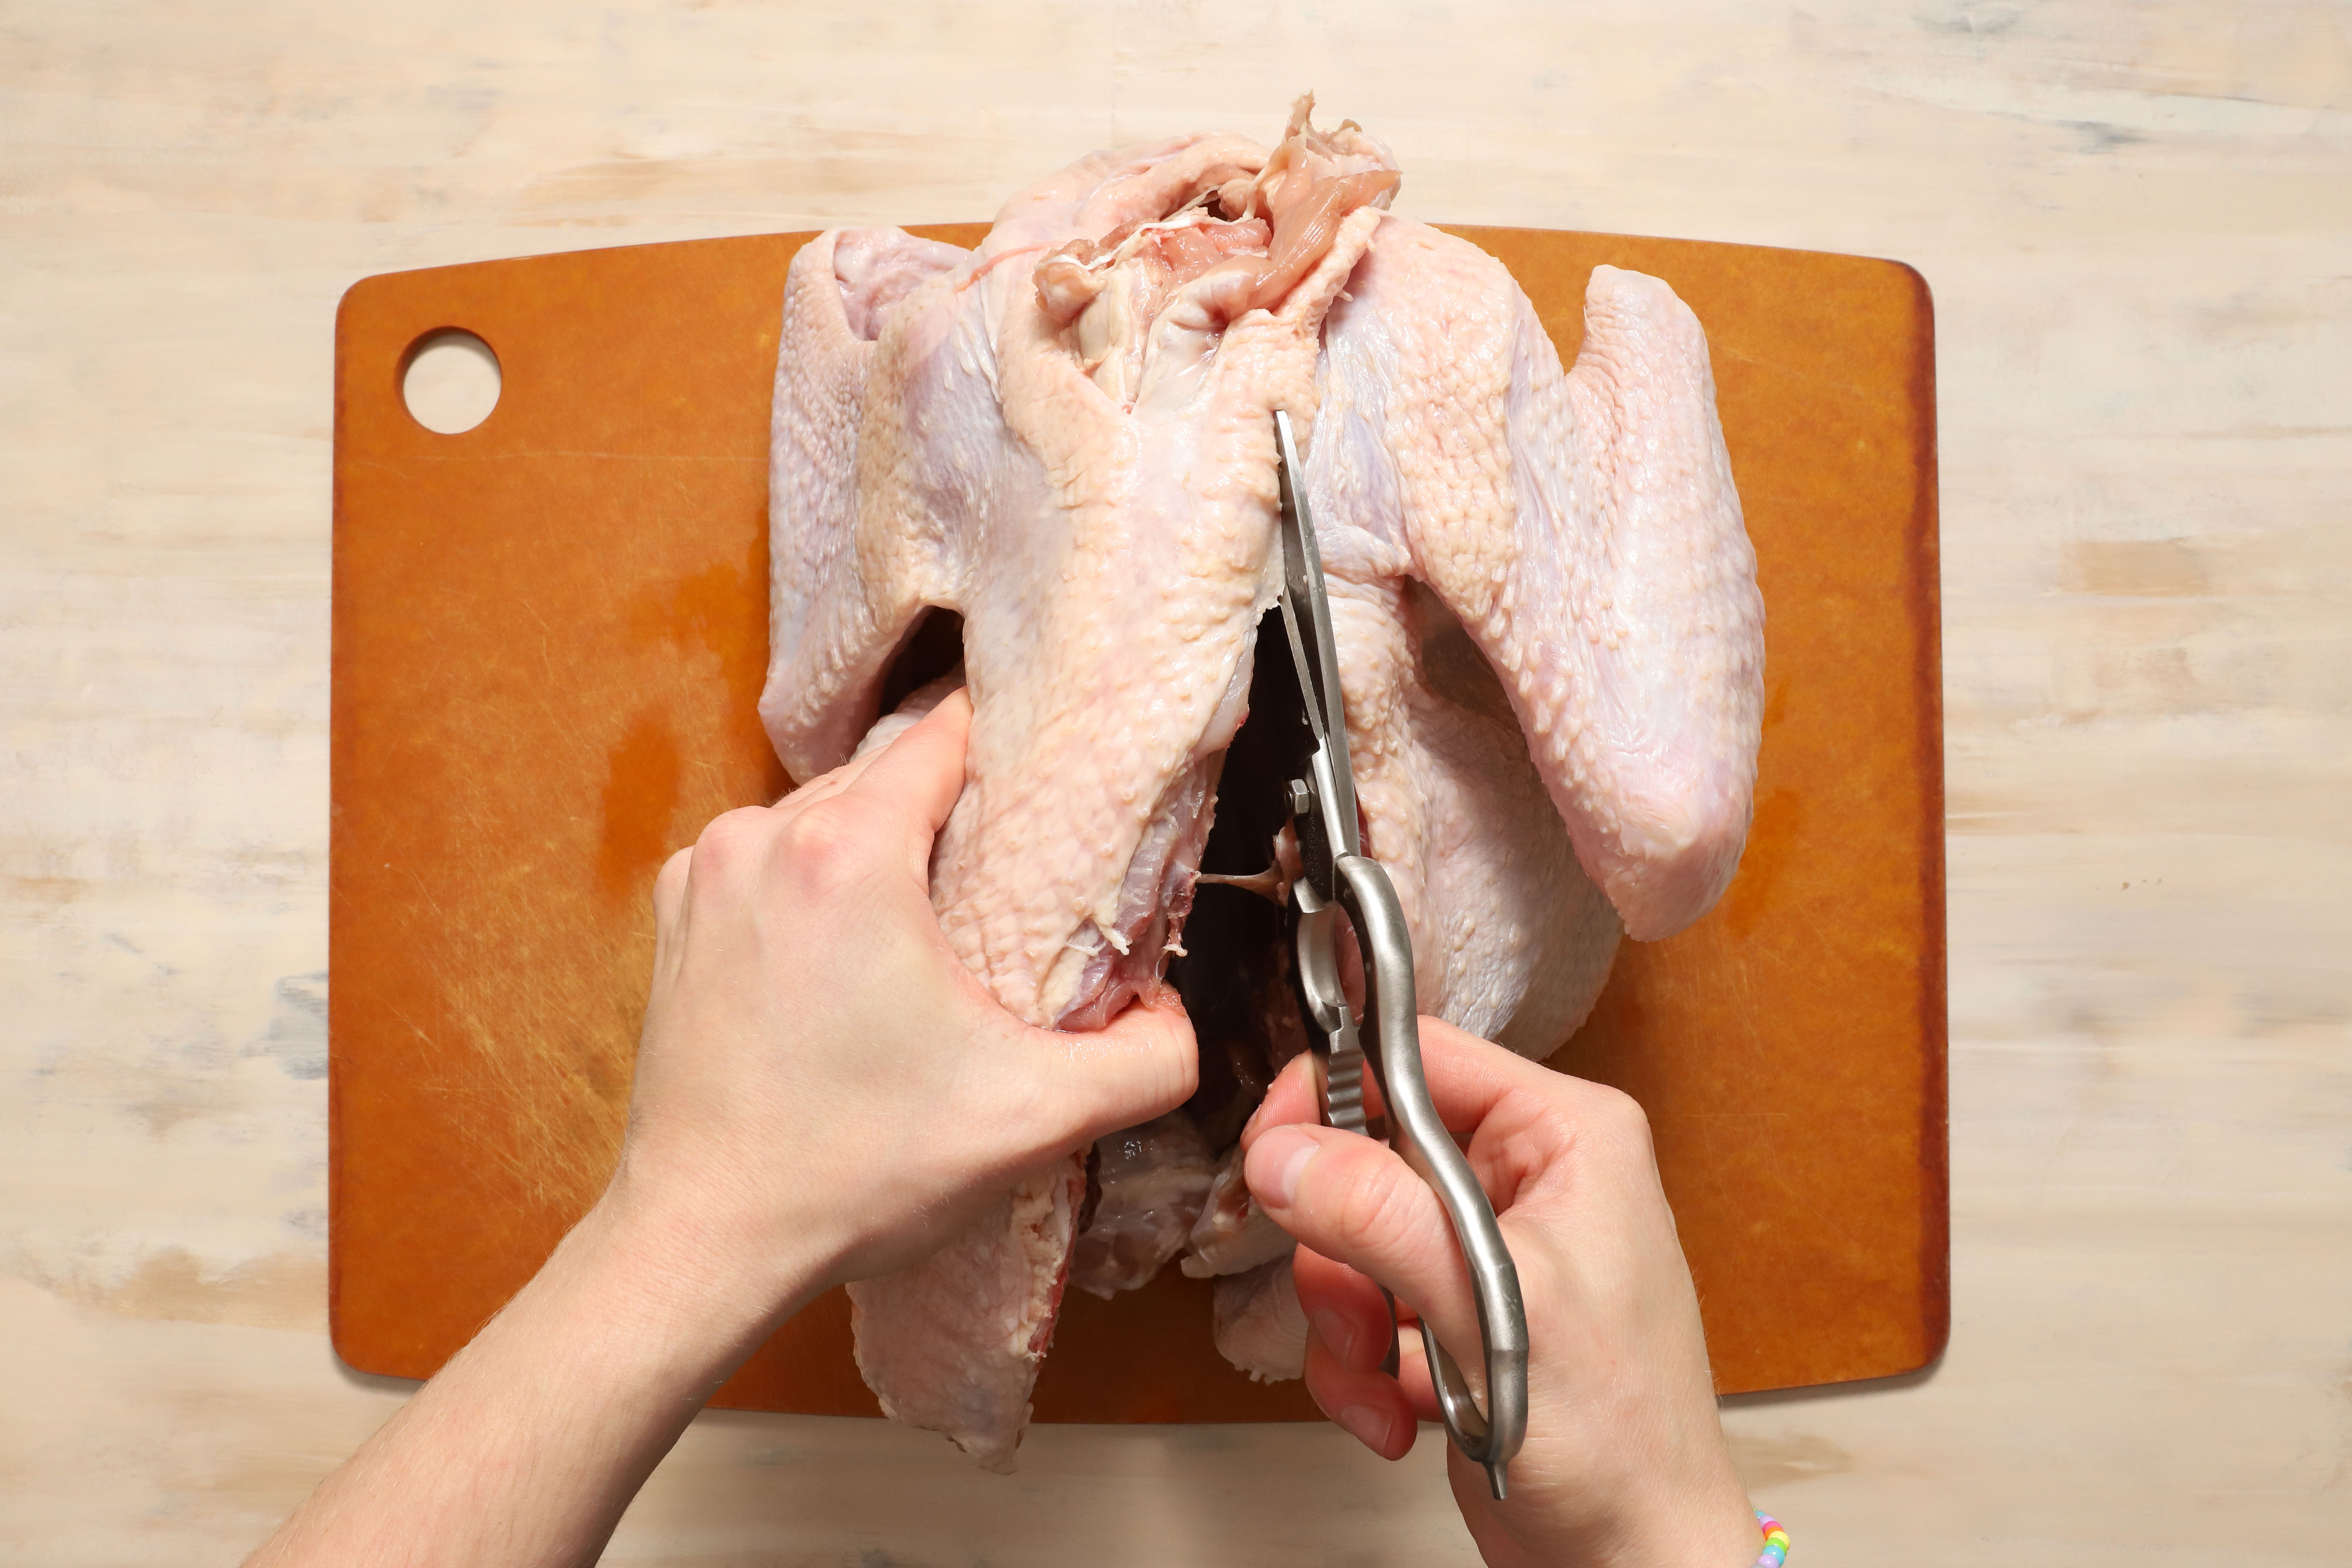
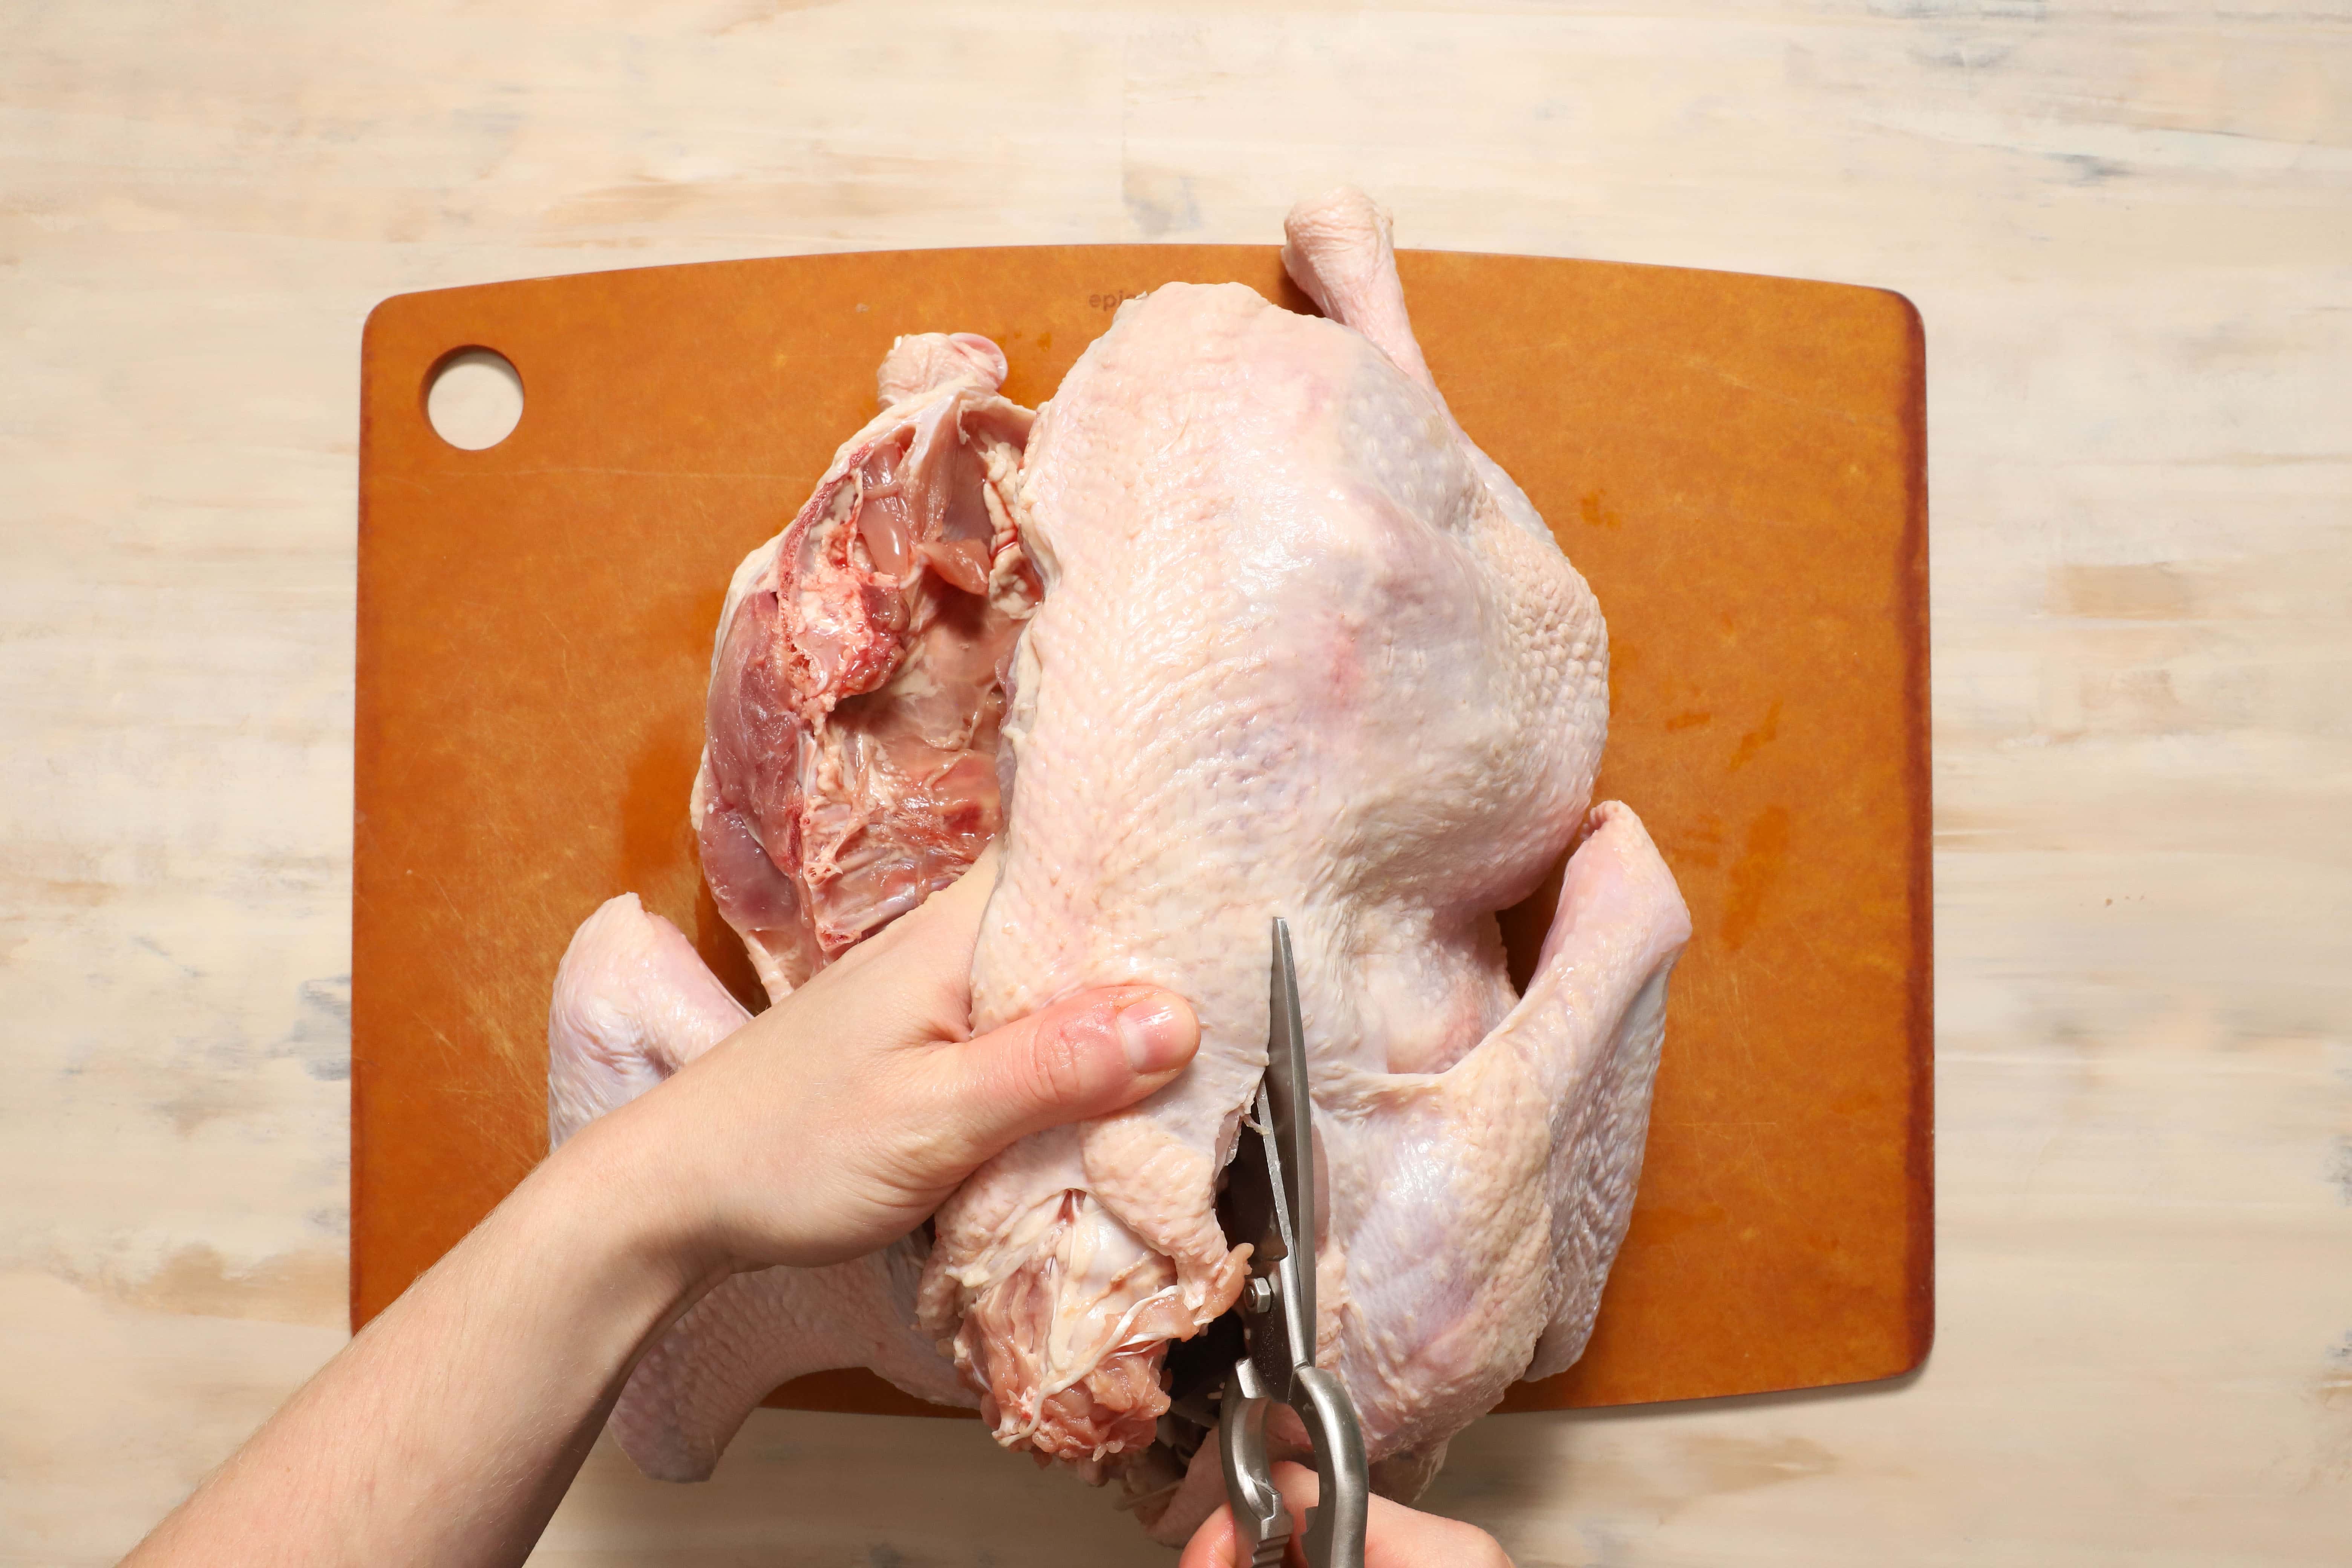
Keep cutting through the thigh joint and the ribs until you complete the cut at the neck. Open the turkey up a little to get a better grip and safely make the second cut to completely remove the backbone. Save the backbone along with the neck and giblets to make some seriously delicious turkey gravy!
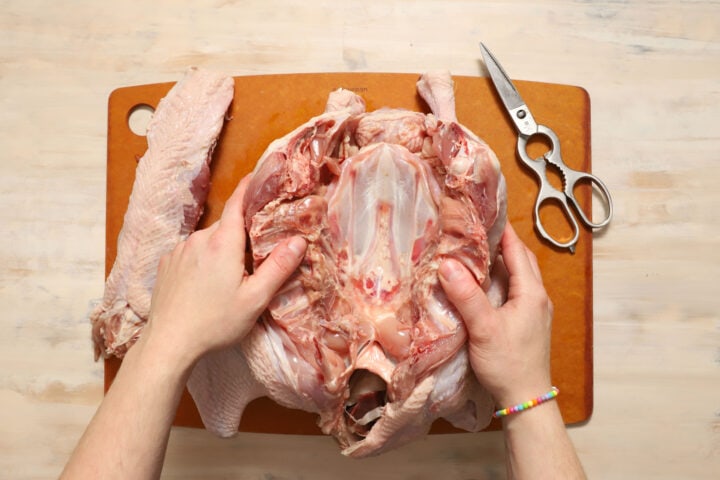
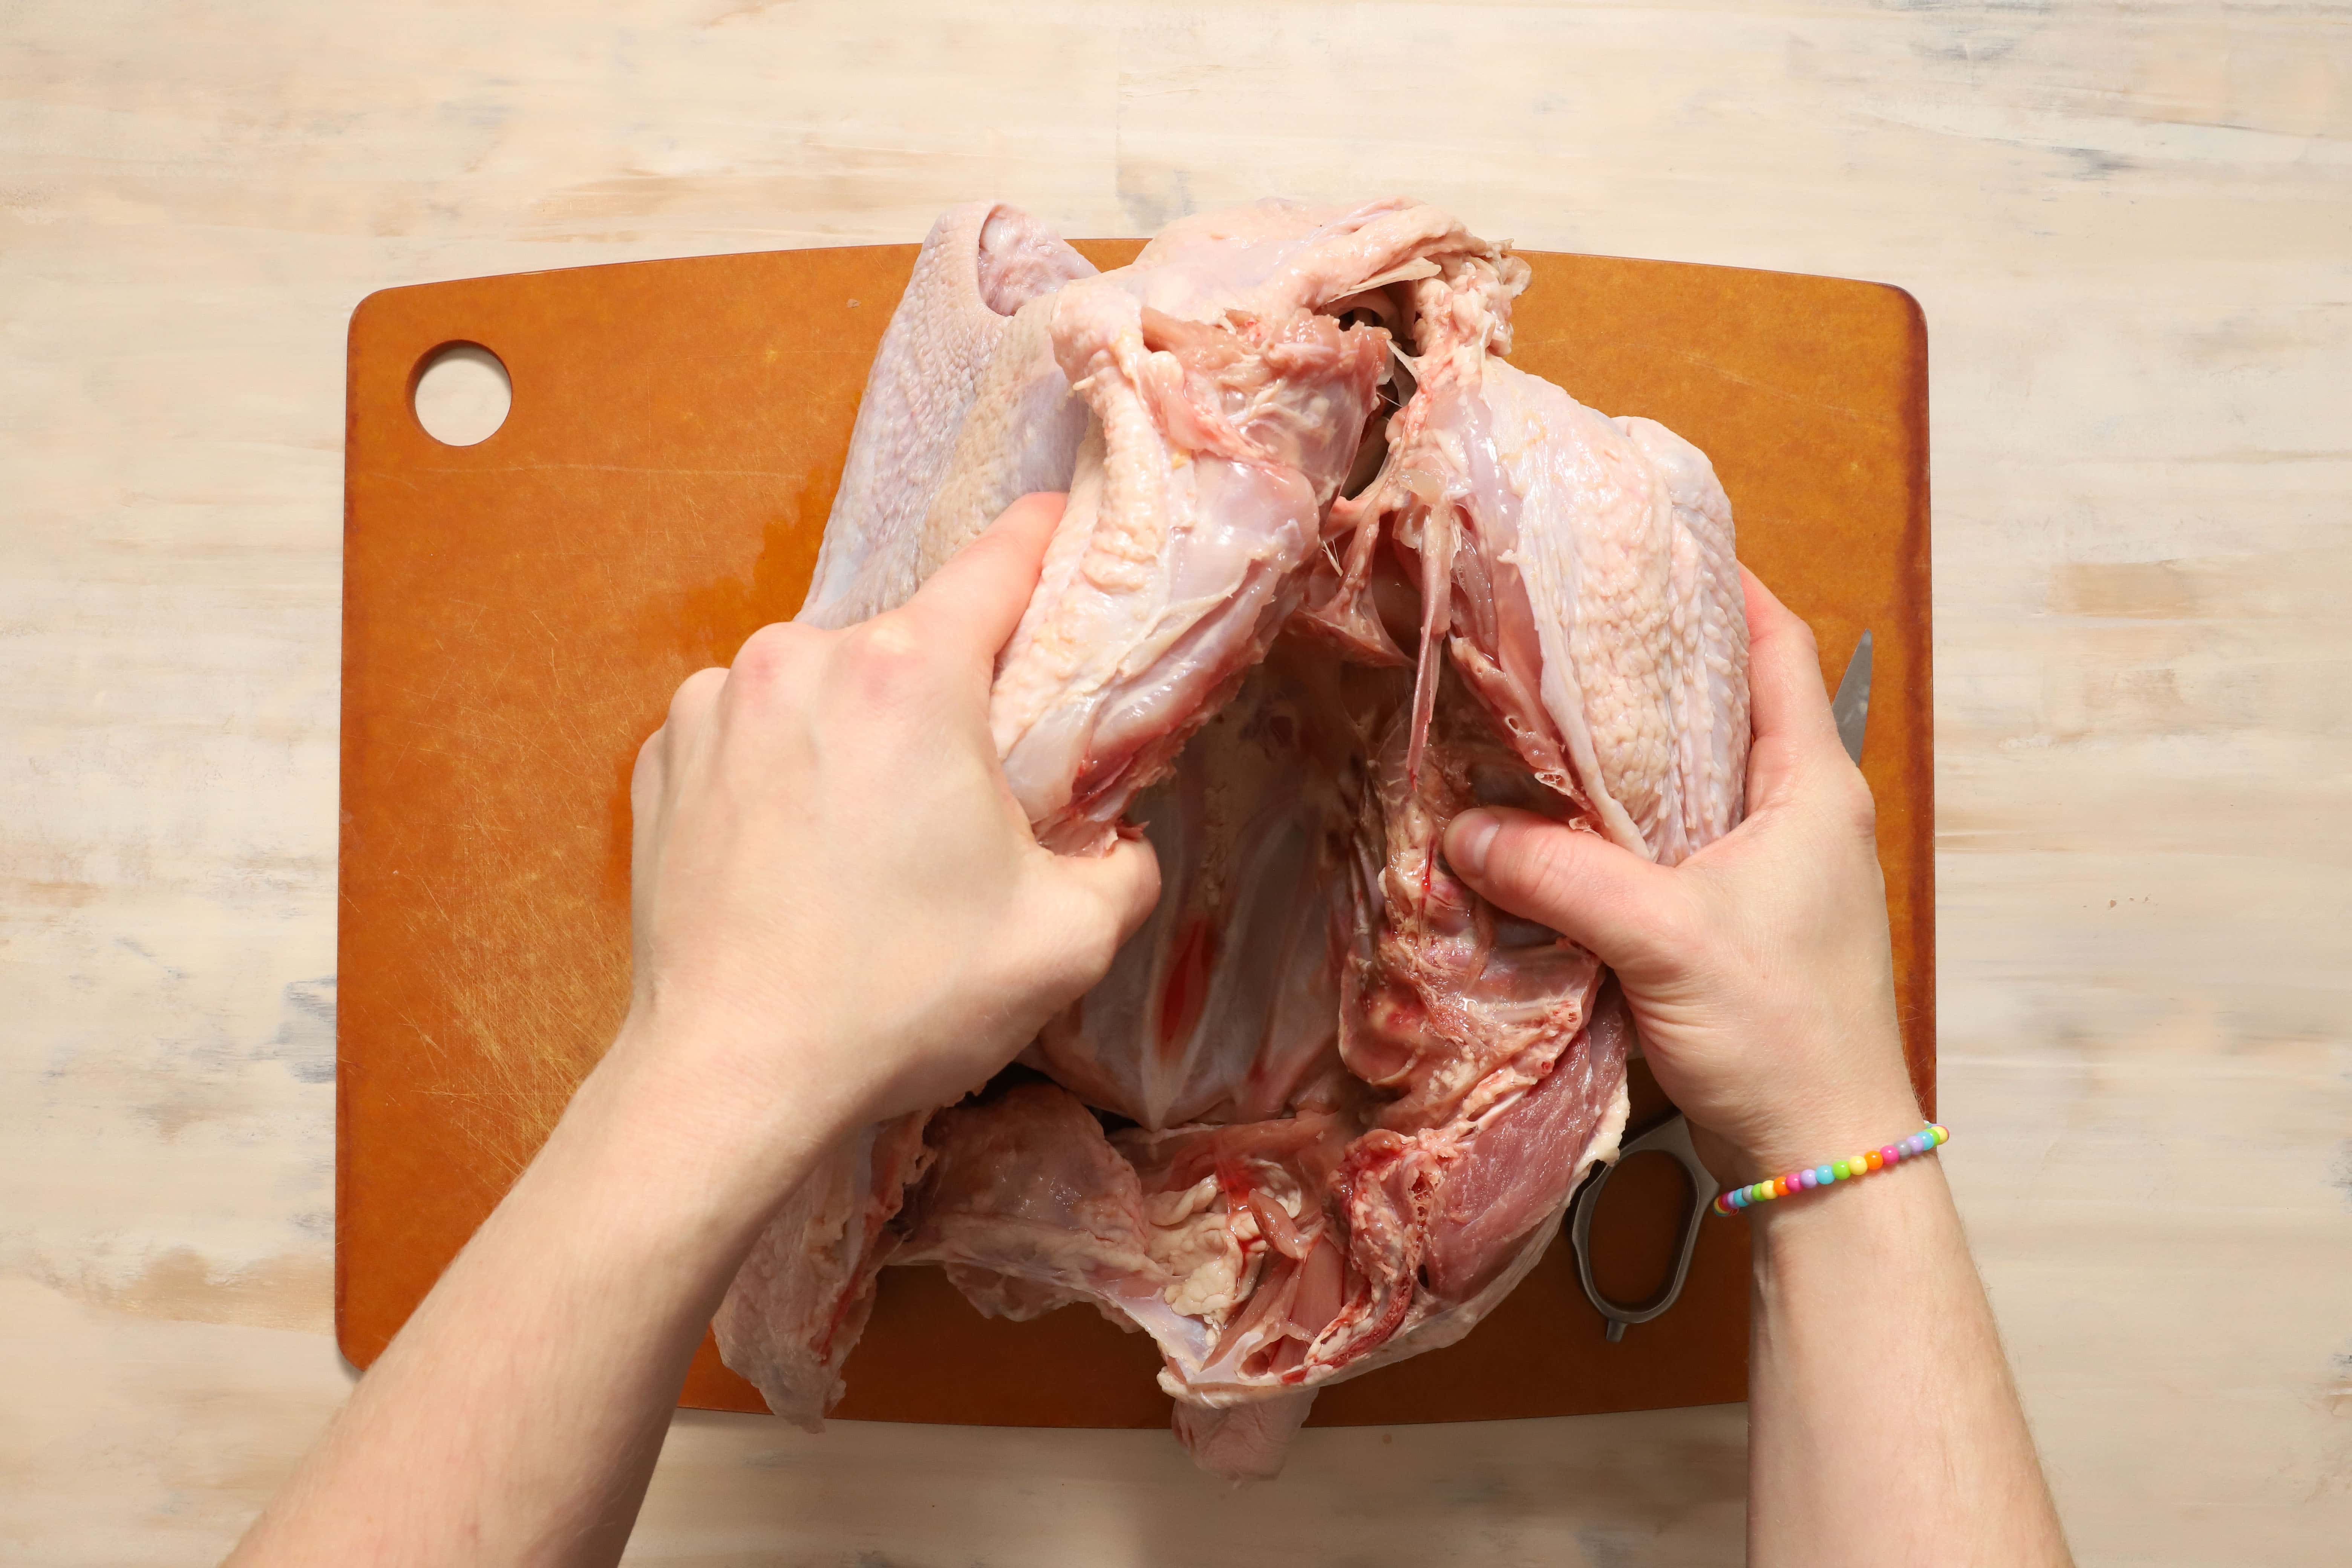
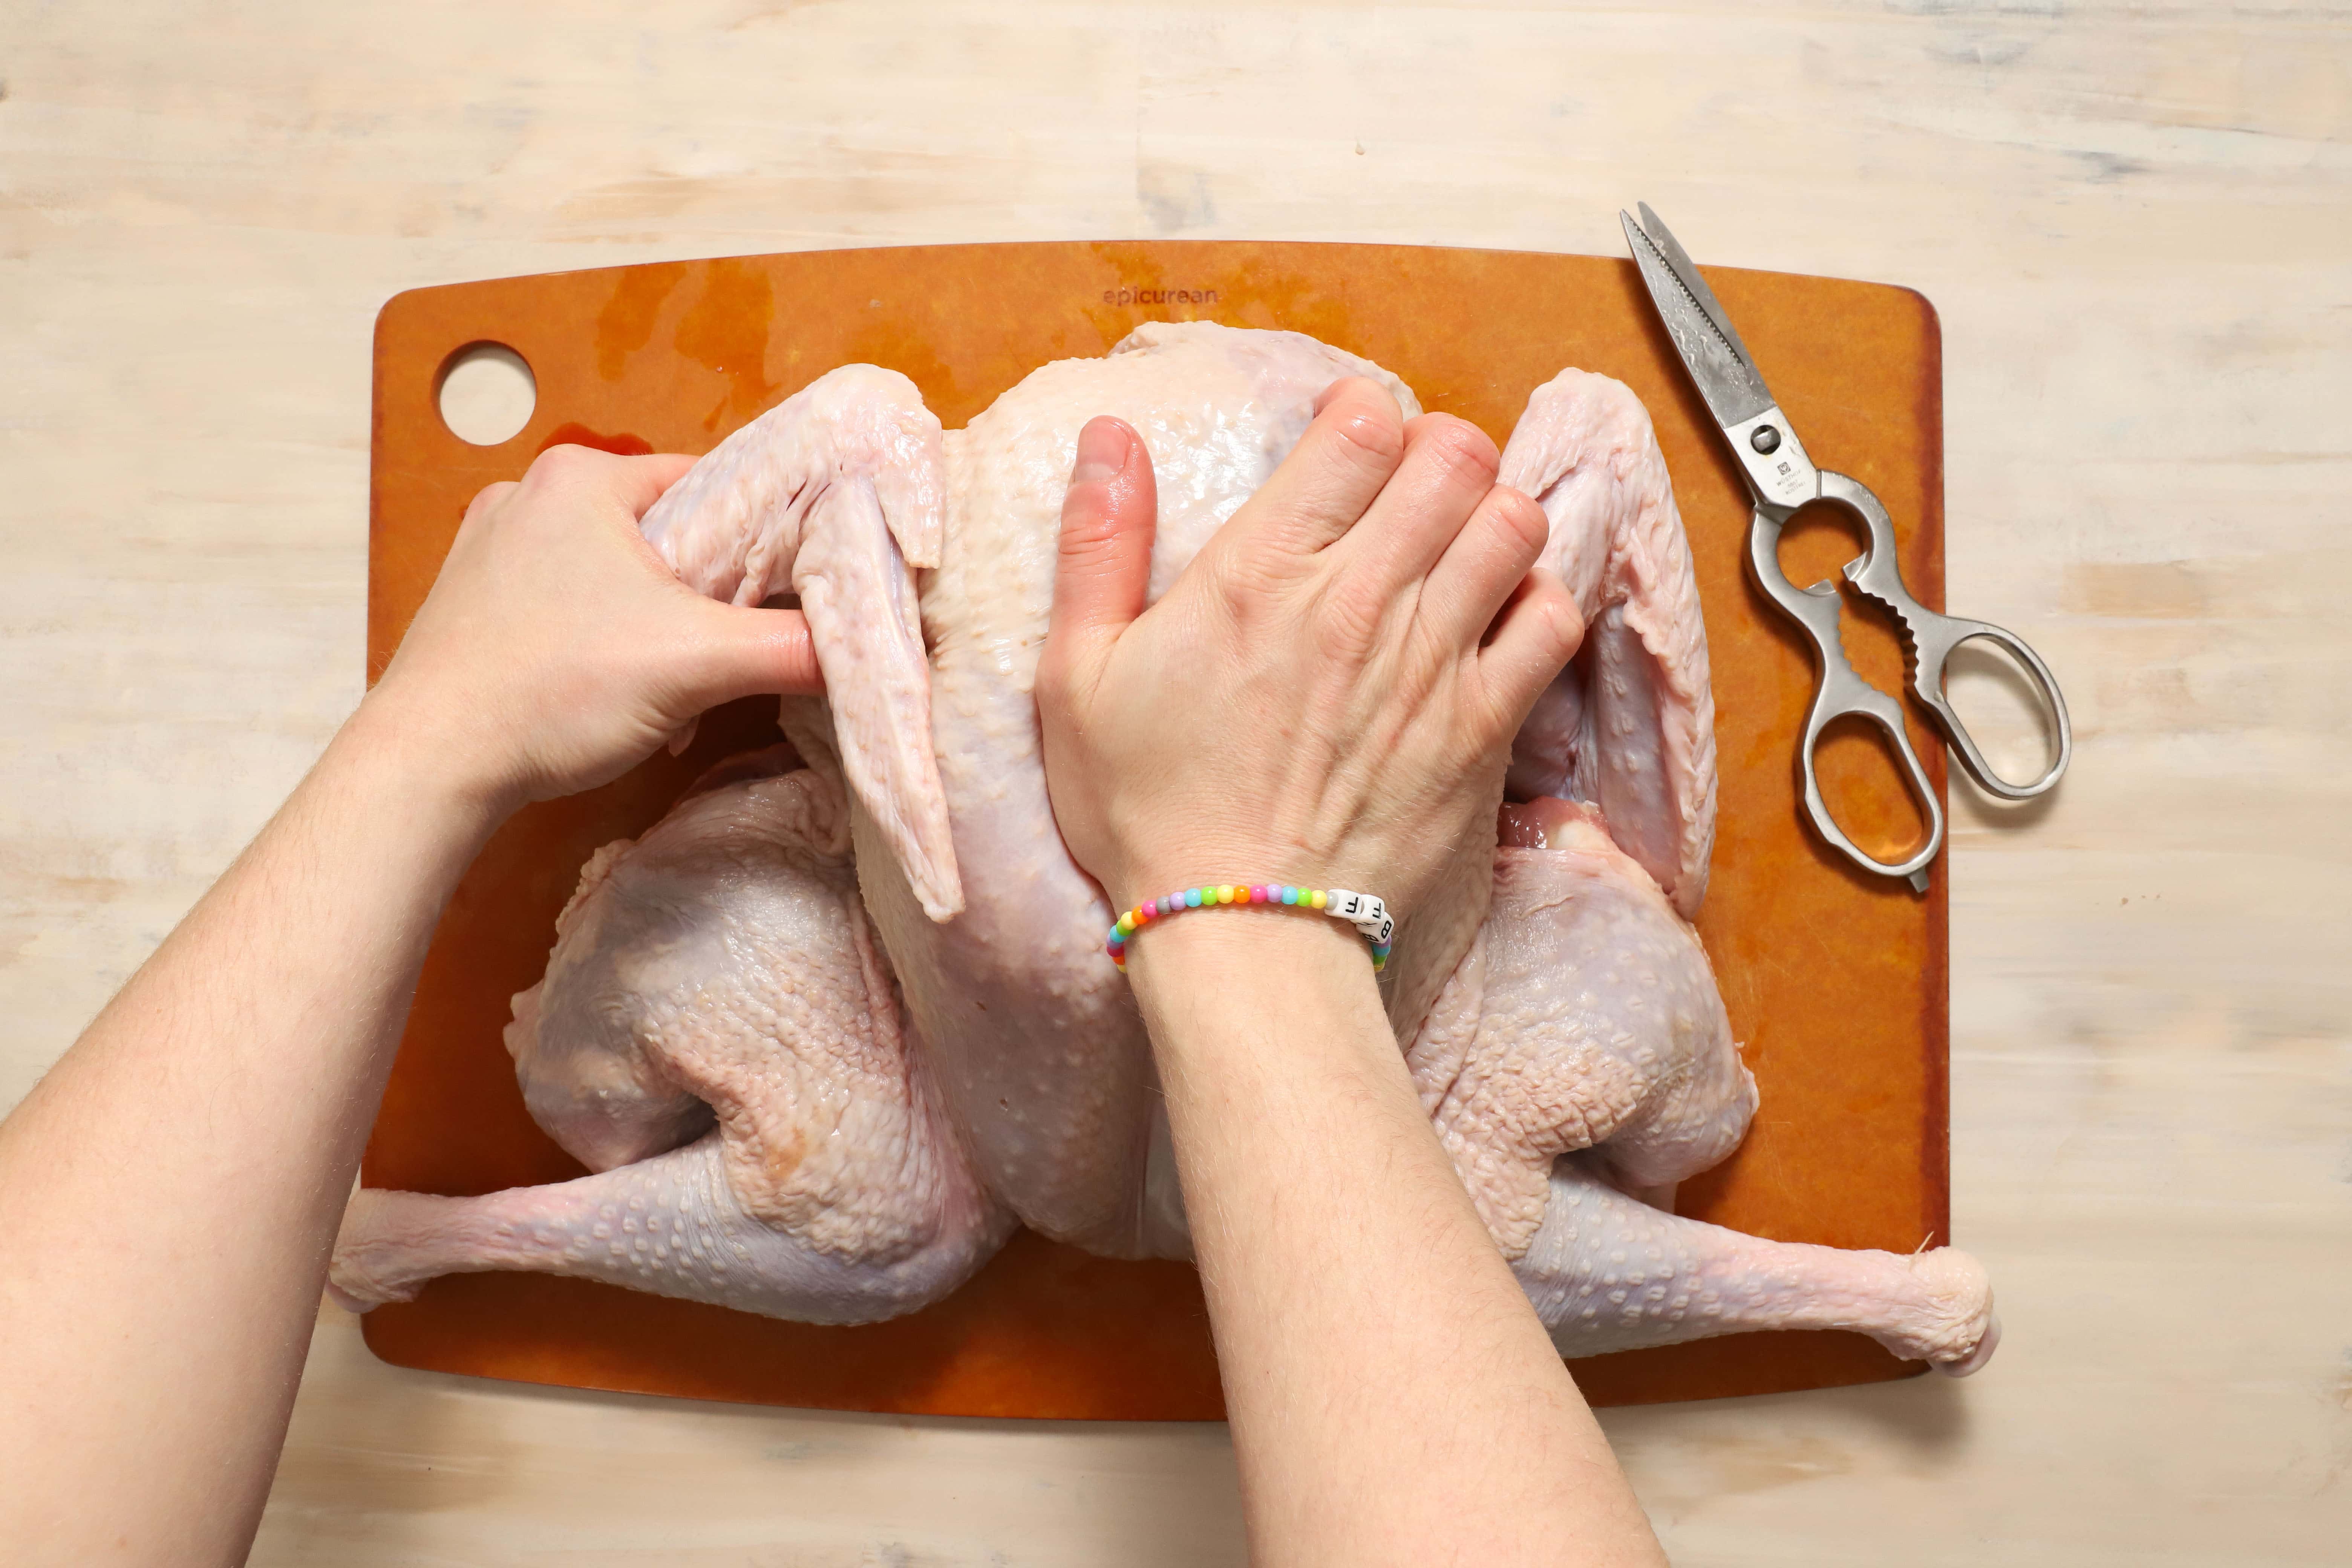
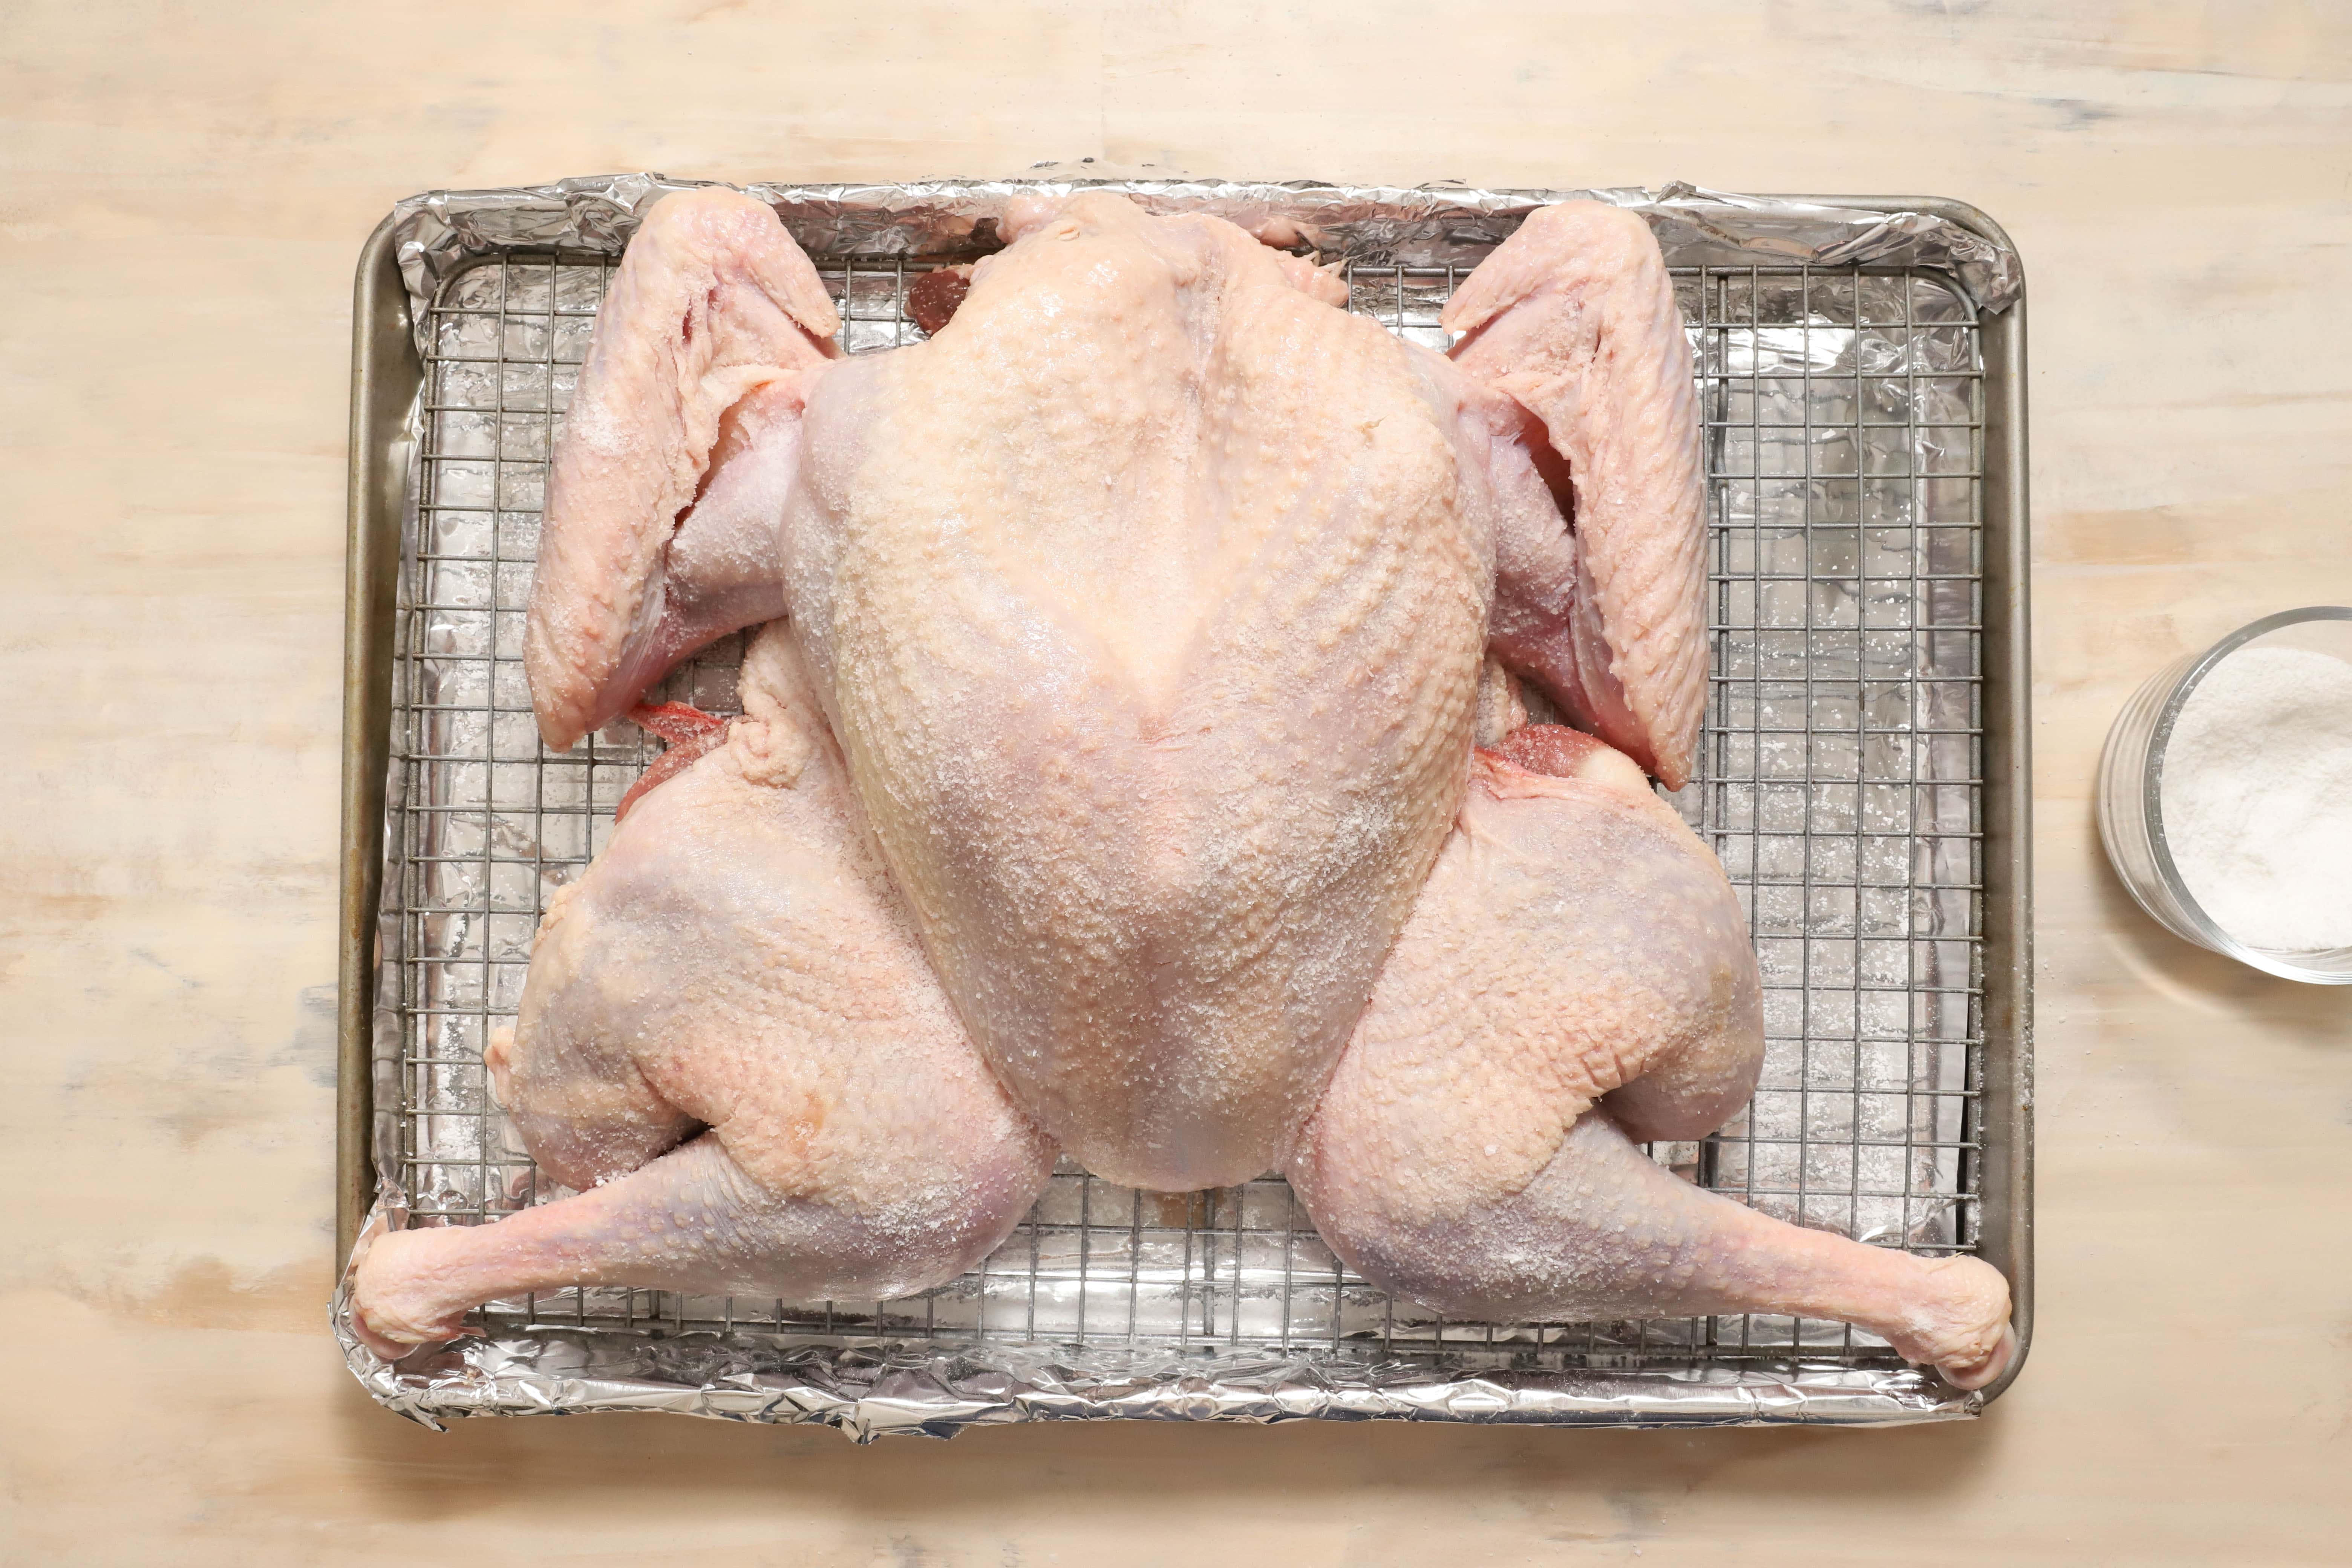
After you remove the back, flip the turkey over so that the breast faces upwards, and open up the legs so that the ends of the drumsticks are pointed outwards. Using a firm, downward push, crack the ridge of the breastbone so that the turkey lays flat. Tuck the wing tips underneath the breast so that they don’t burn while roasting.
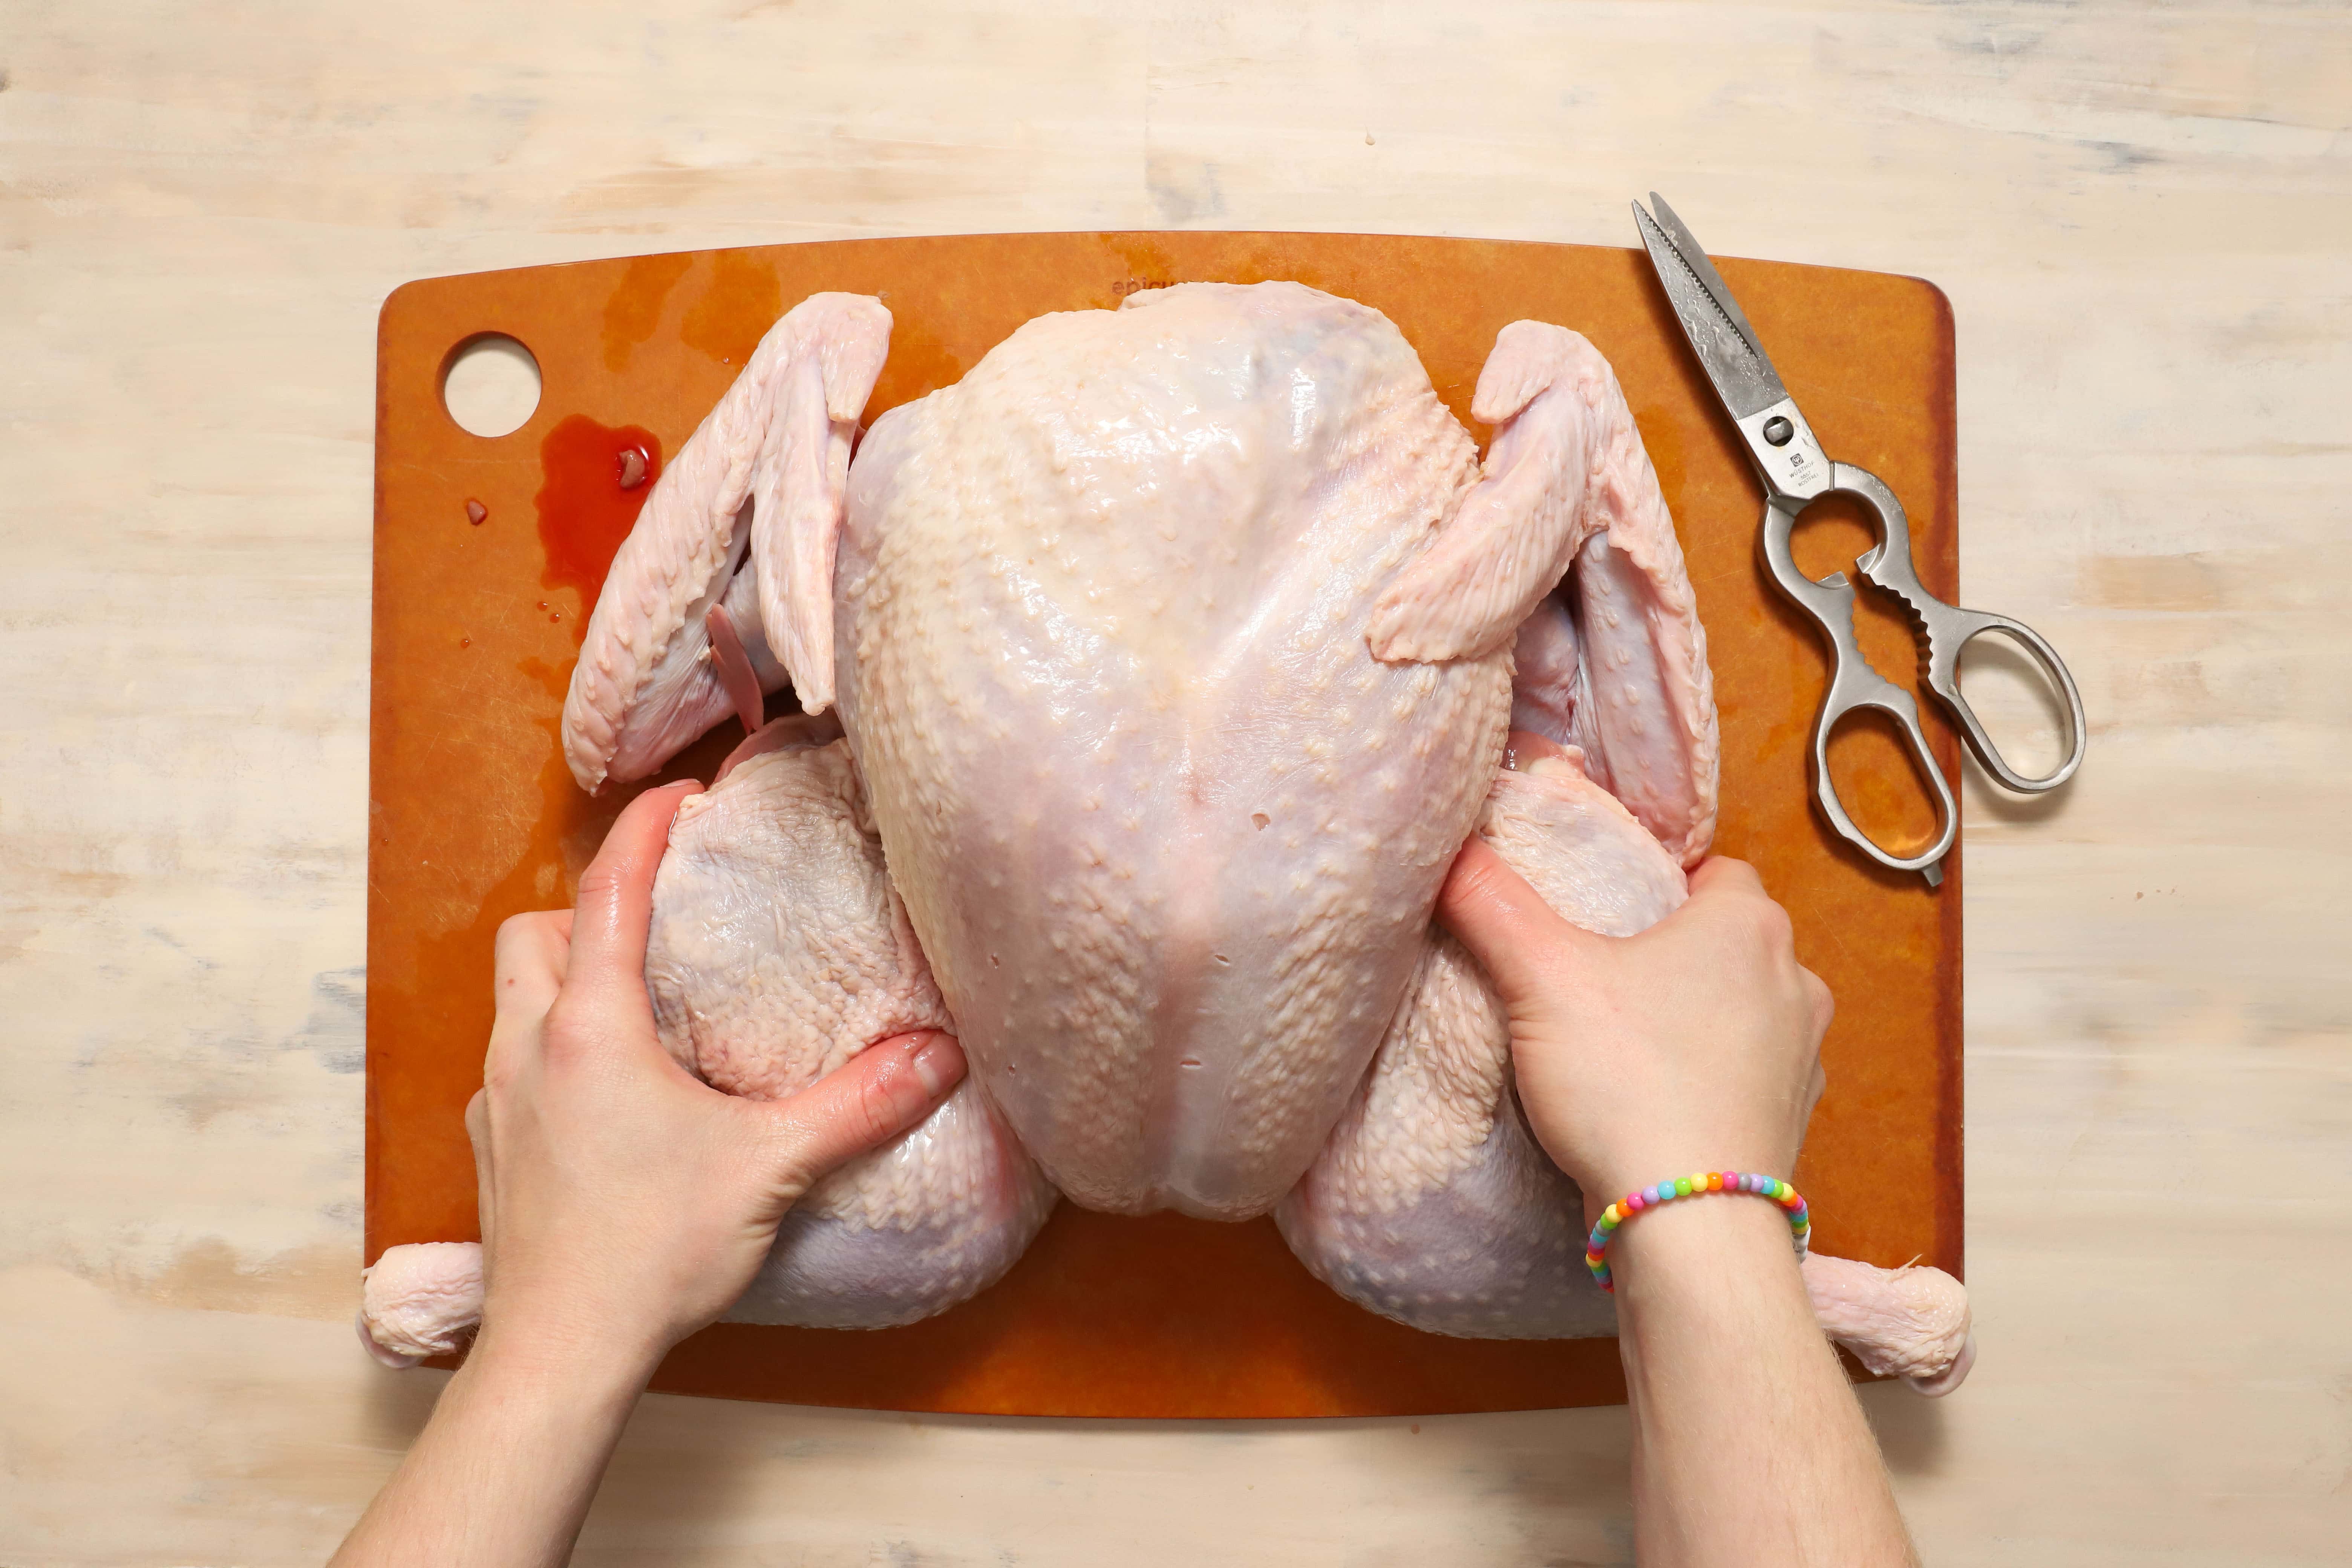
Set the turkey on a wire rack and place onto a foil lined baking sheet.
Dry brine
Here’s where the other half of those 5 days comes in. After removing the backbone and flattening the bird, use a mixture of salt and baking soda to “dry brine” the turkey. The salt adds flavor as the turkey rests, and the baking soda ensures that the skin stays deliciously crisp.
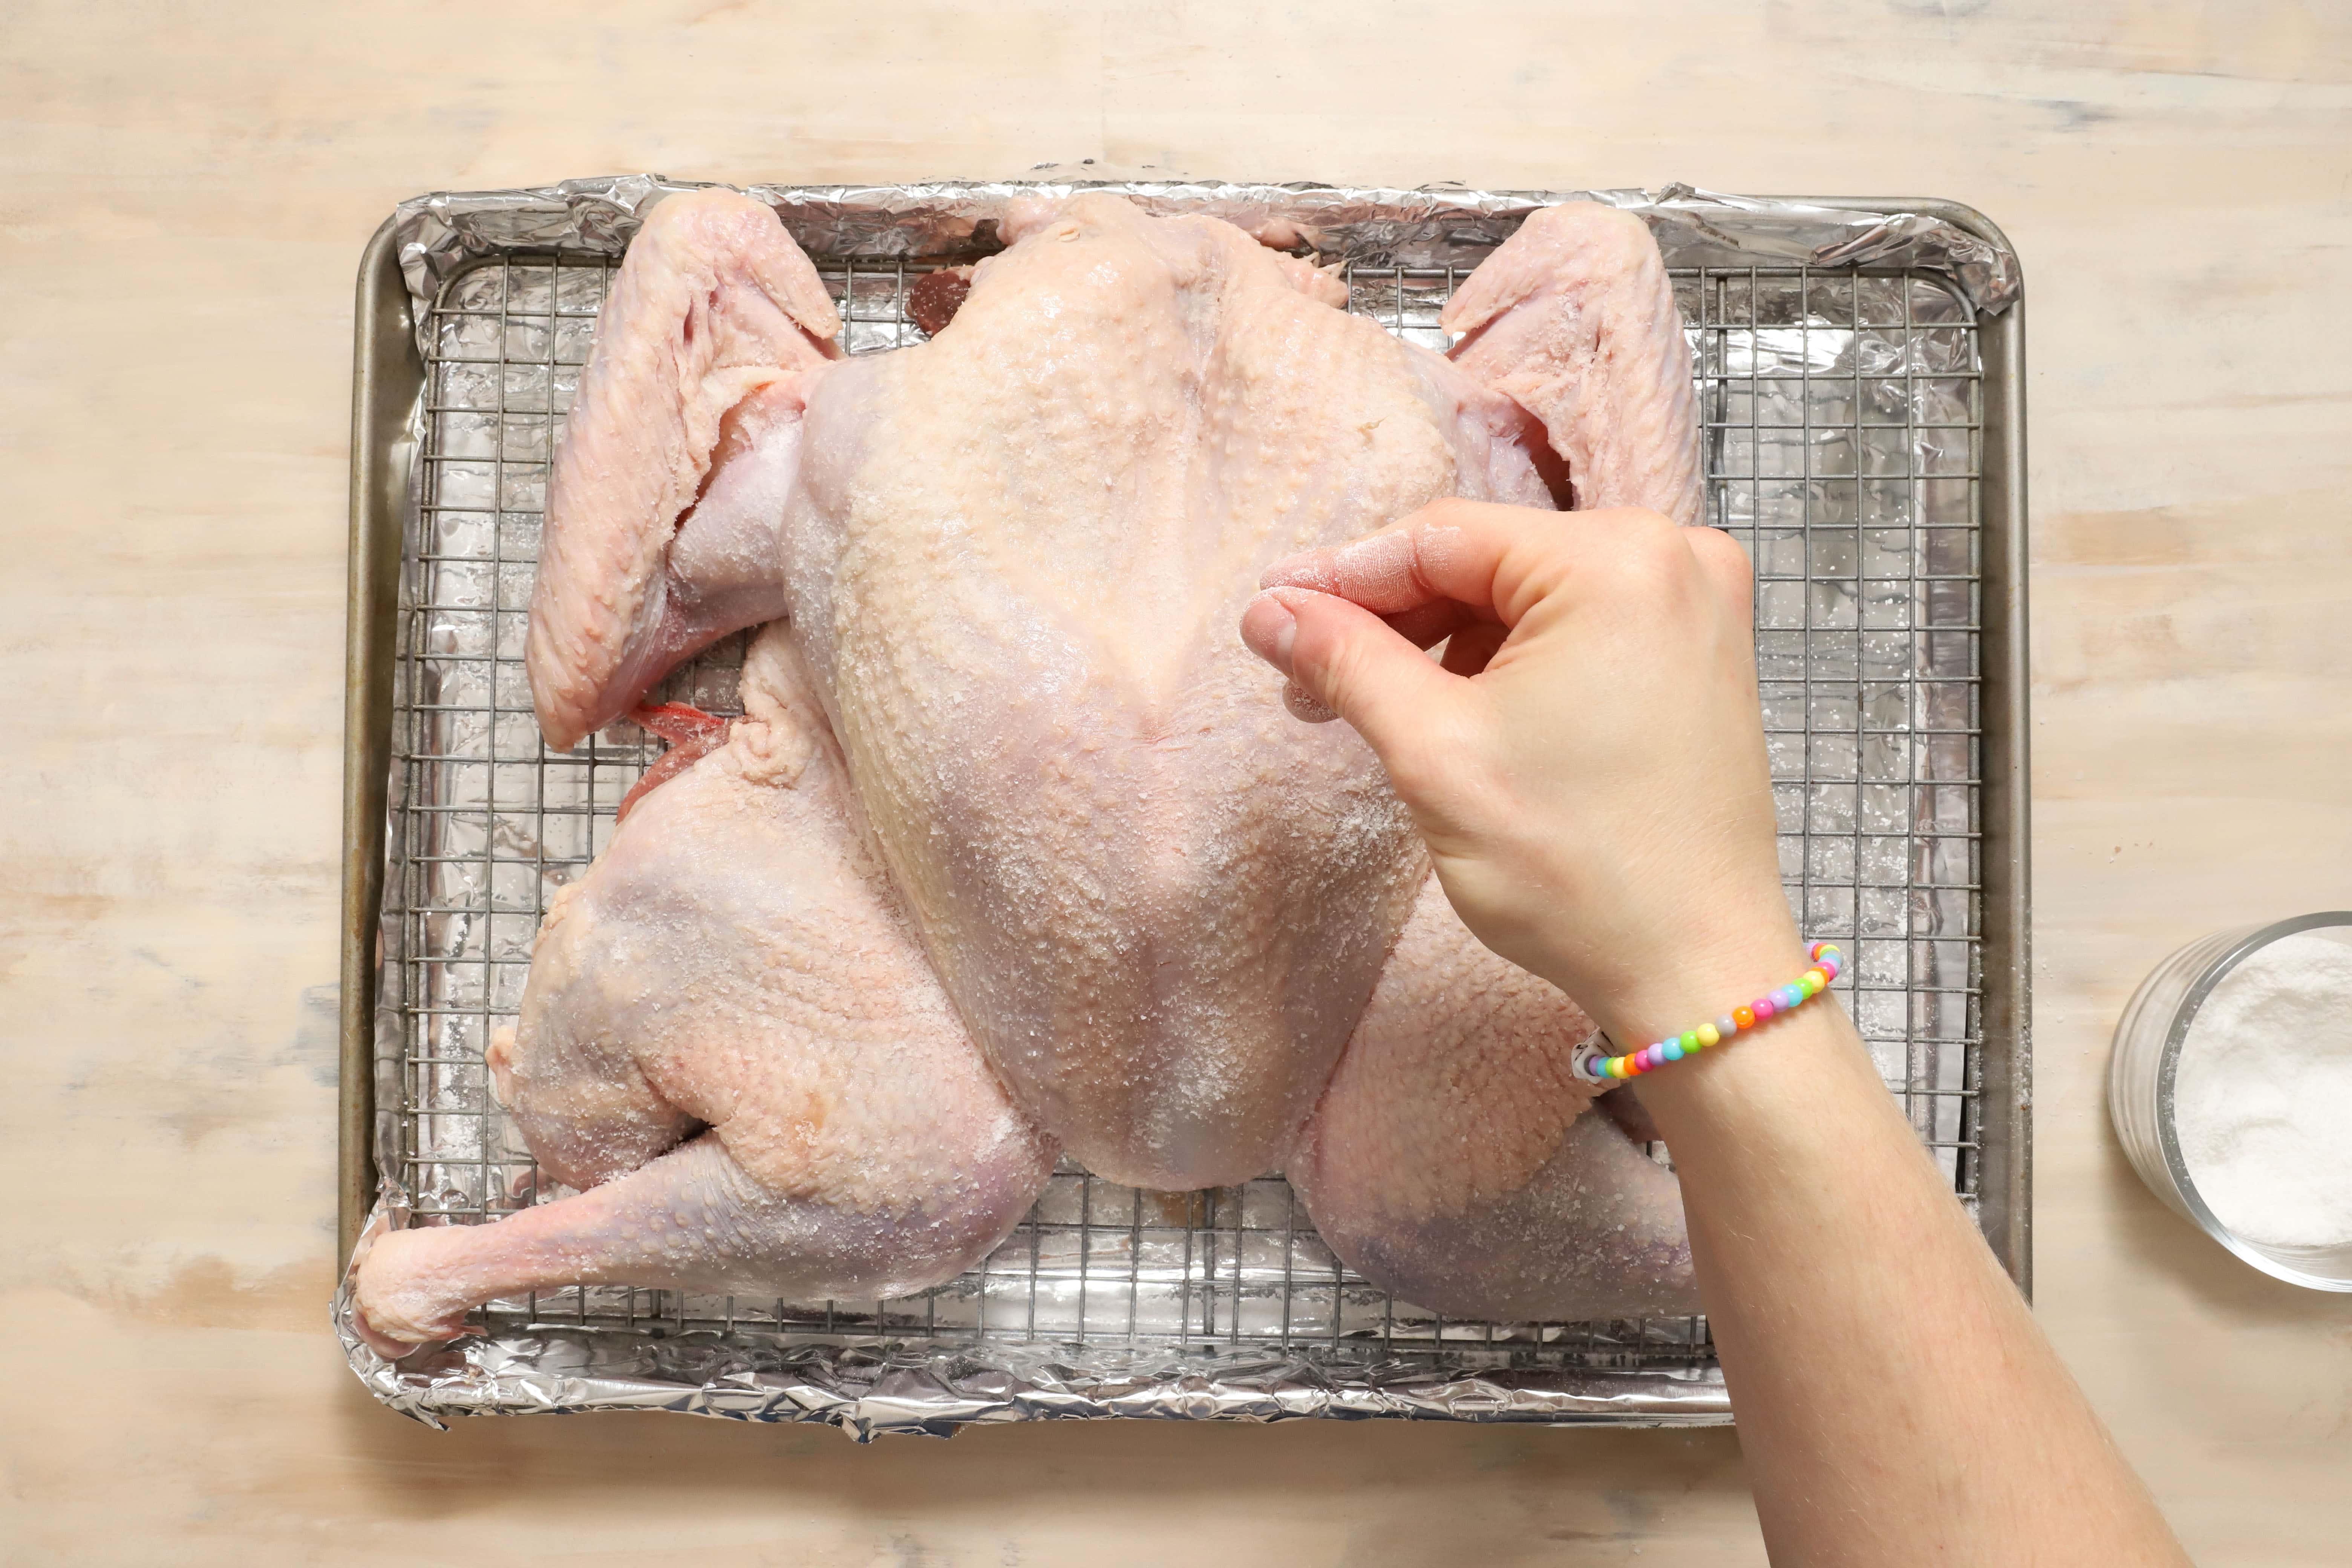
After generously sprinkling the salt and baking powder over the entire turkey, allow it to rest in the fridge uncovered until Thanksgiving day. If you’re brining longer than 2 days, cover the turkey with foil after the second day to prevent it from excessively drying out.
Roast
Everywhere you look, people tell you to pull the turkey out when the thickest part of the breast is 165 degrees. That’s a great way to have dry turkey. Instead, remove the turkey from the oven once the breast reaches 150 degrees. As the turkey rests, it will finish cooking all the way through, and you’ll have perfectly moist and tender meat.
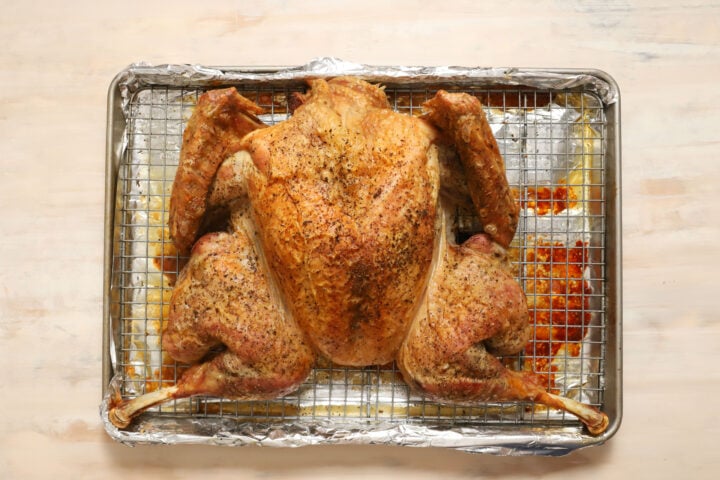
Allow the turkey to rest for at least 20 minutes before carving.
Carve
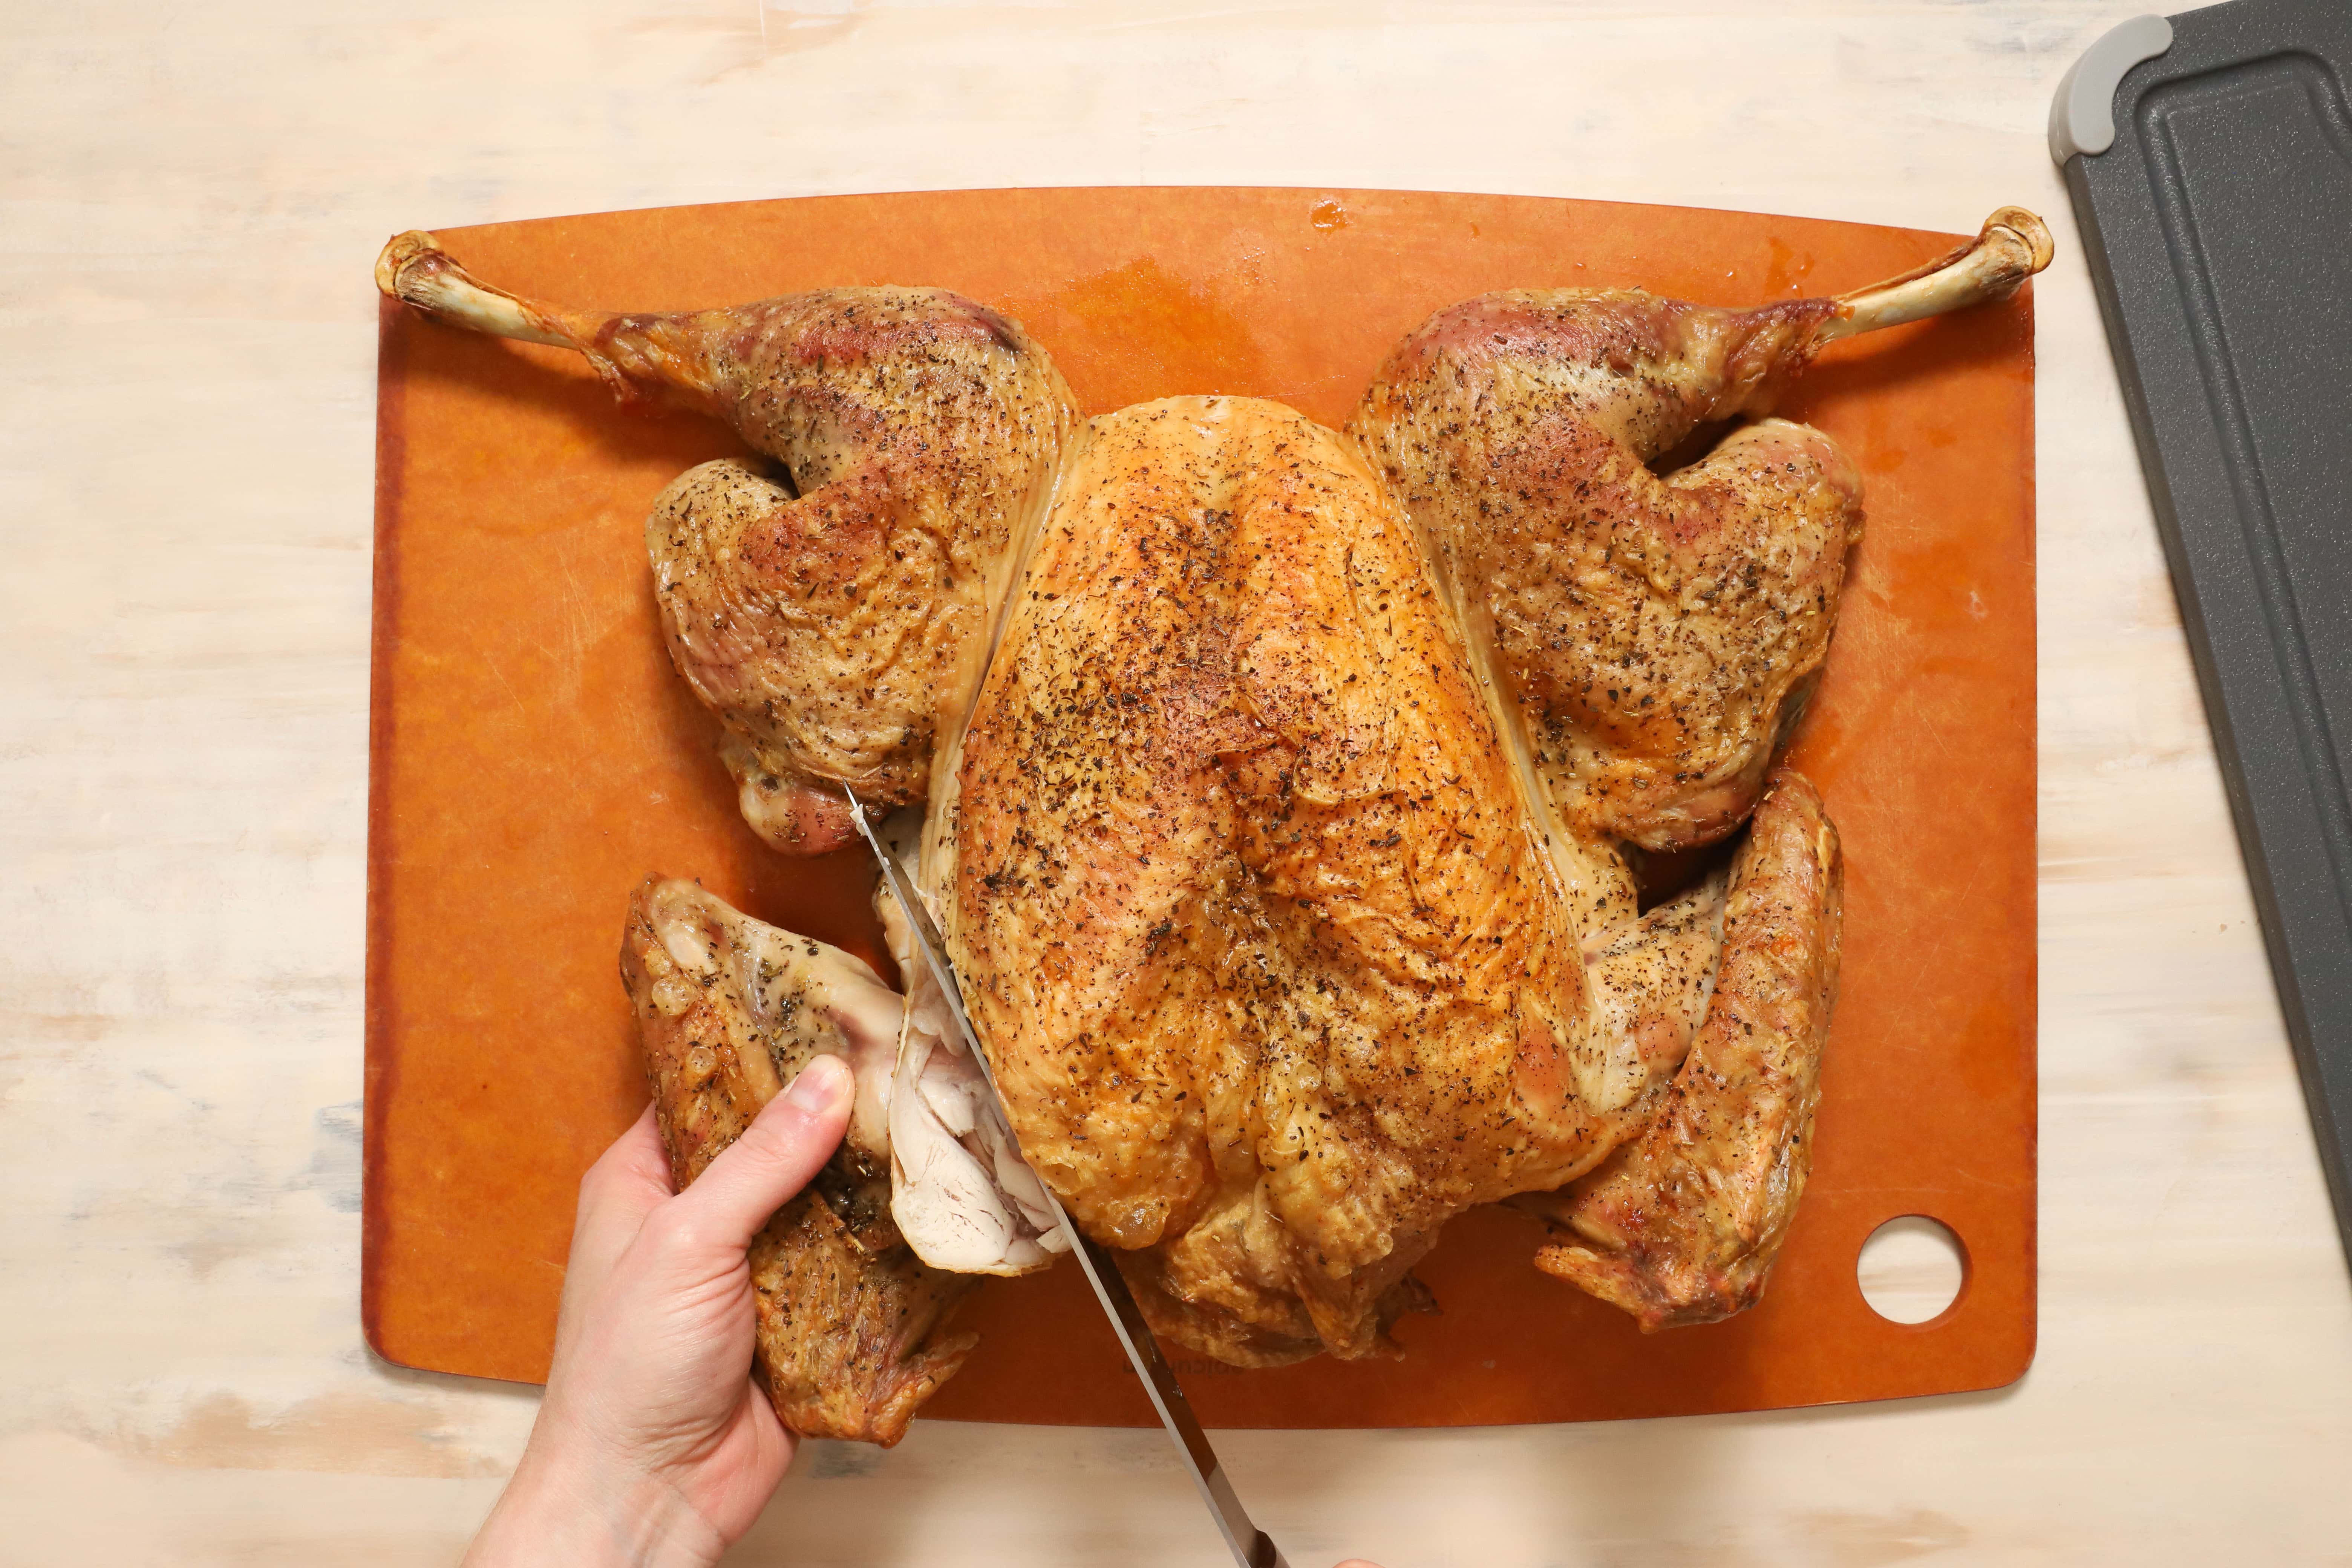
Start with the wings and slice through the joint that attaches them to the breastbone. Remove the wingtips before serving and use them to make a killer turkey stock!
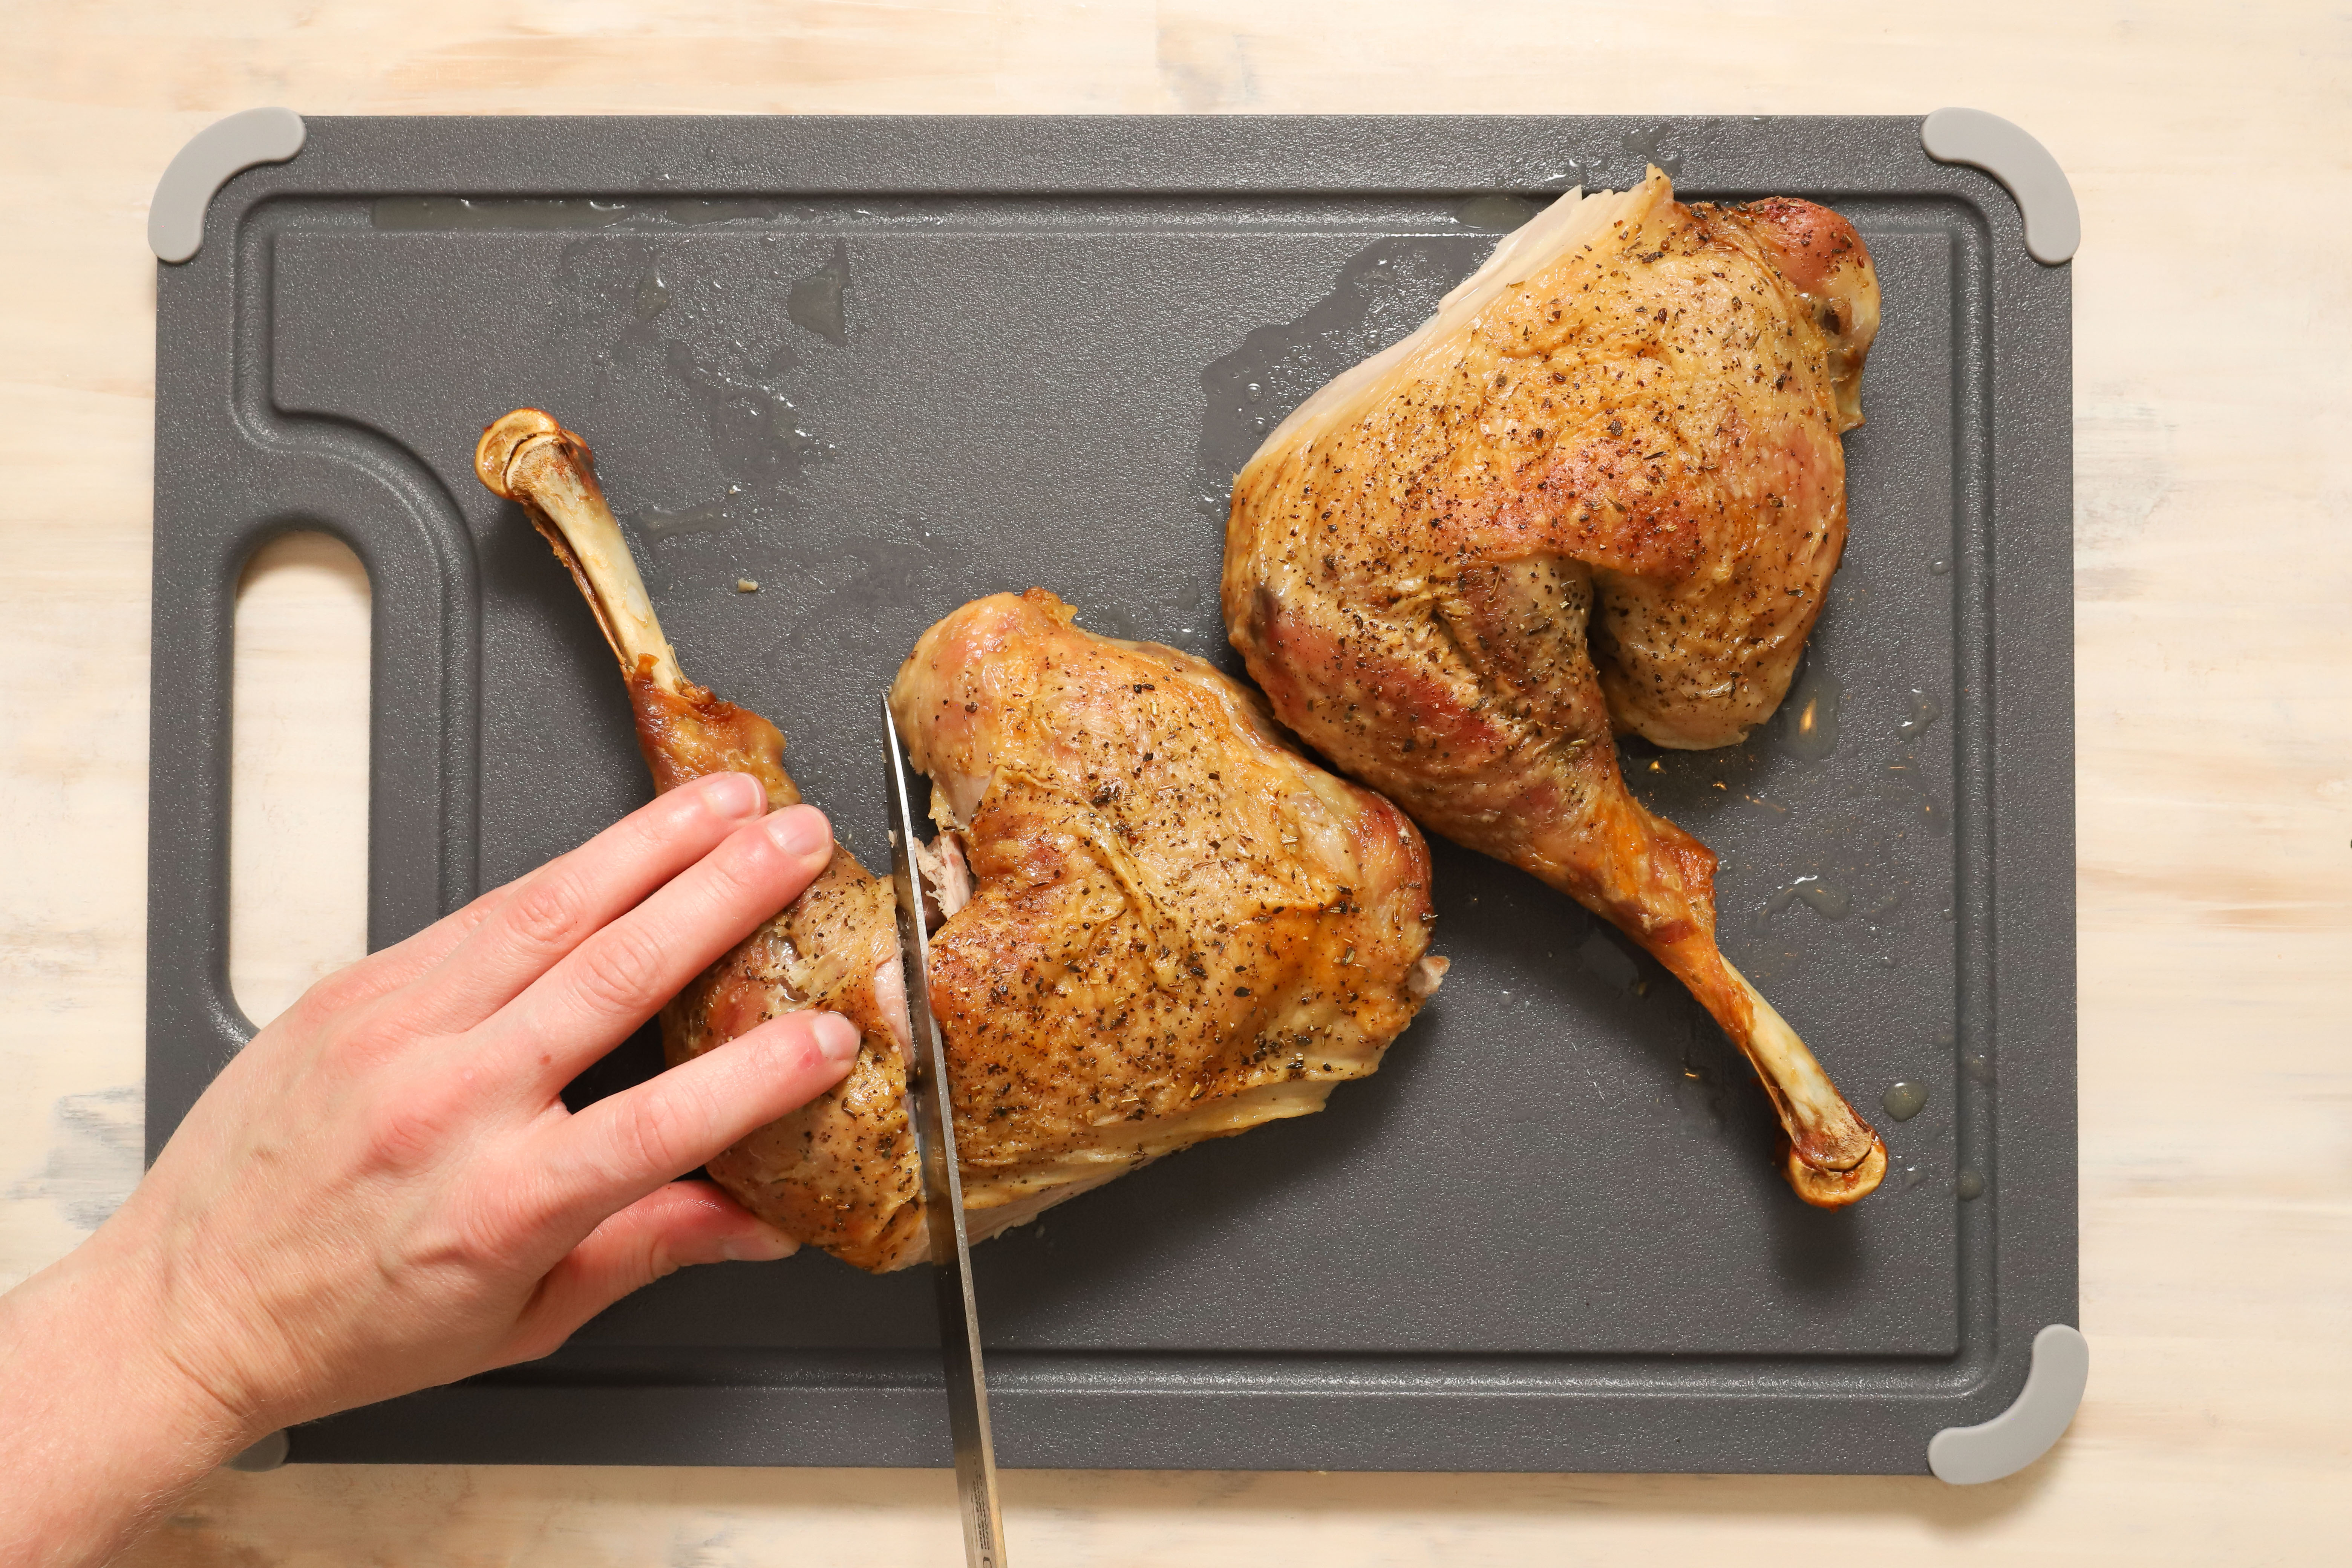
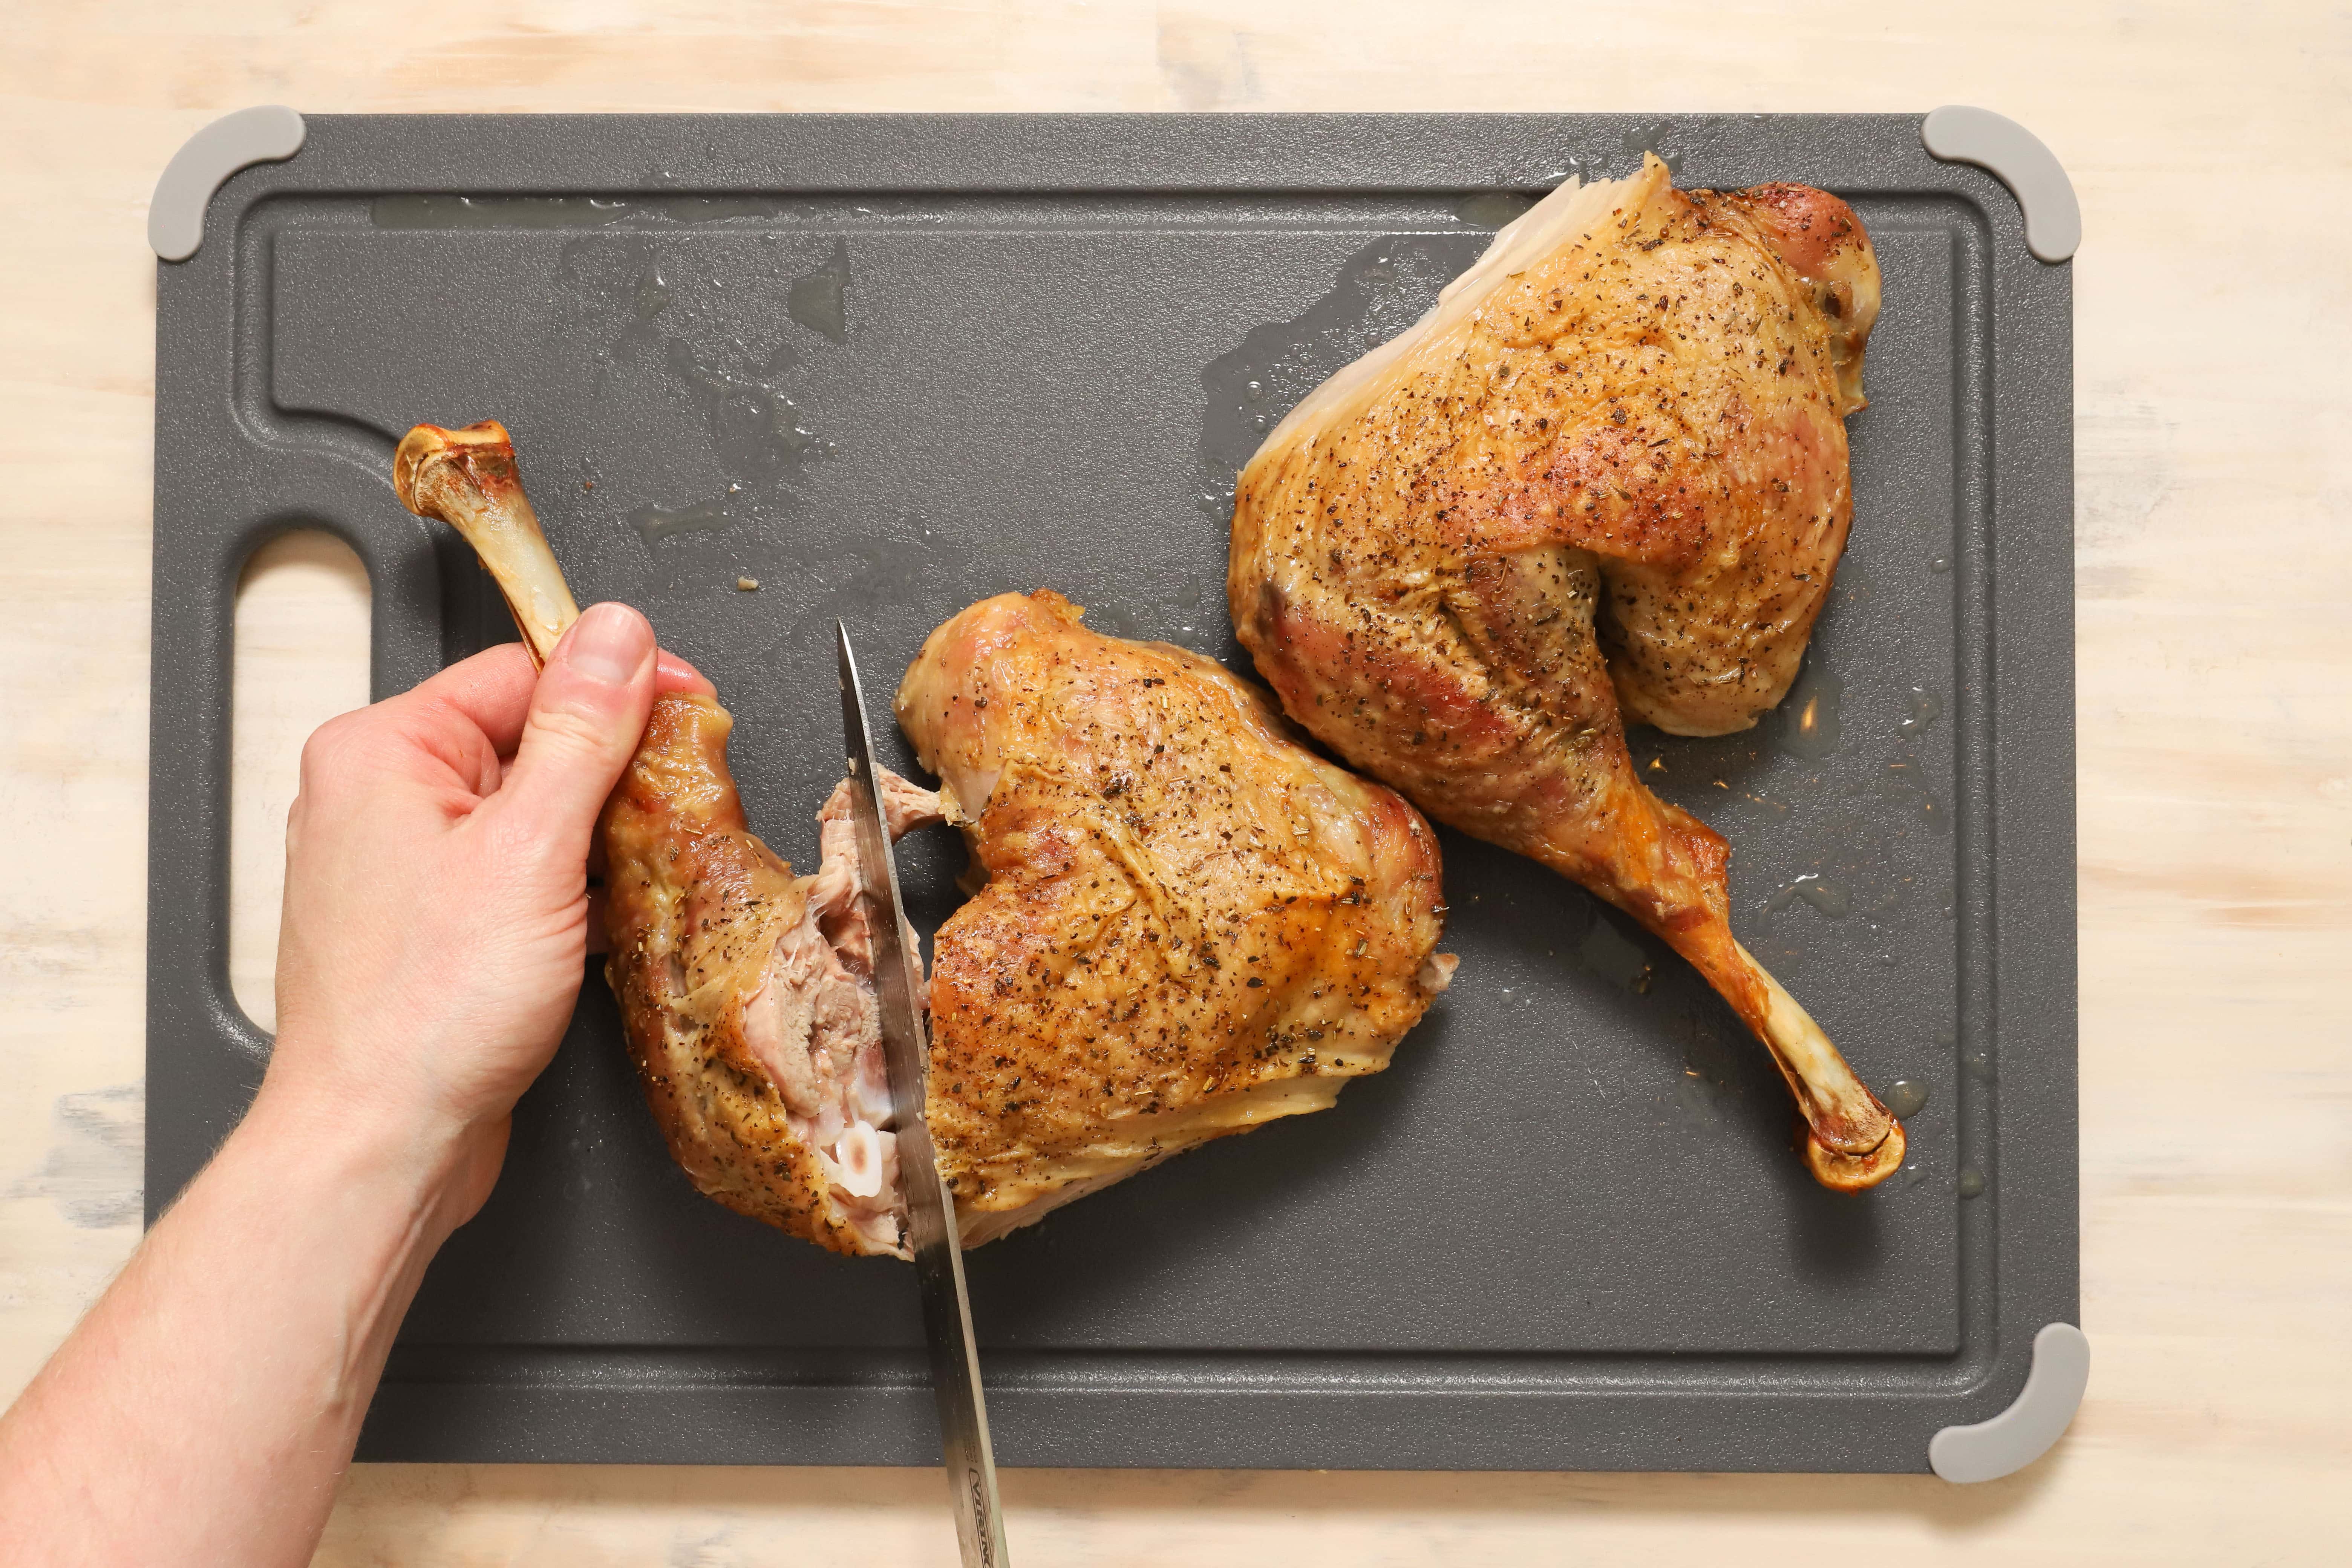
Follow suit with the thighs before separating the drumsticks away from them.
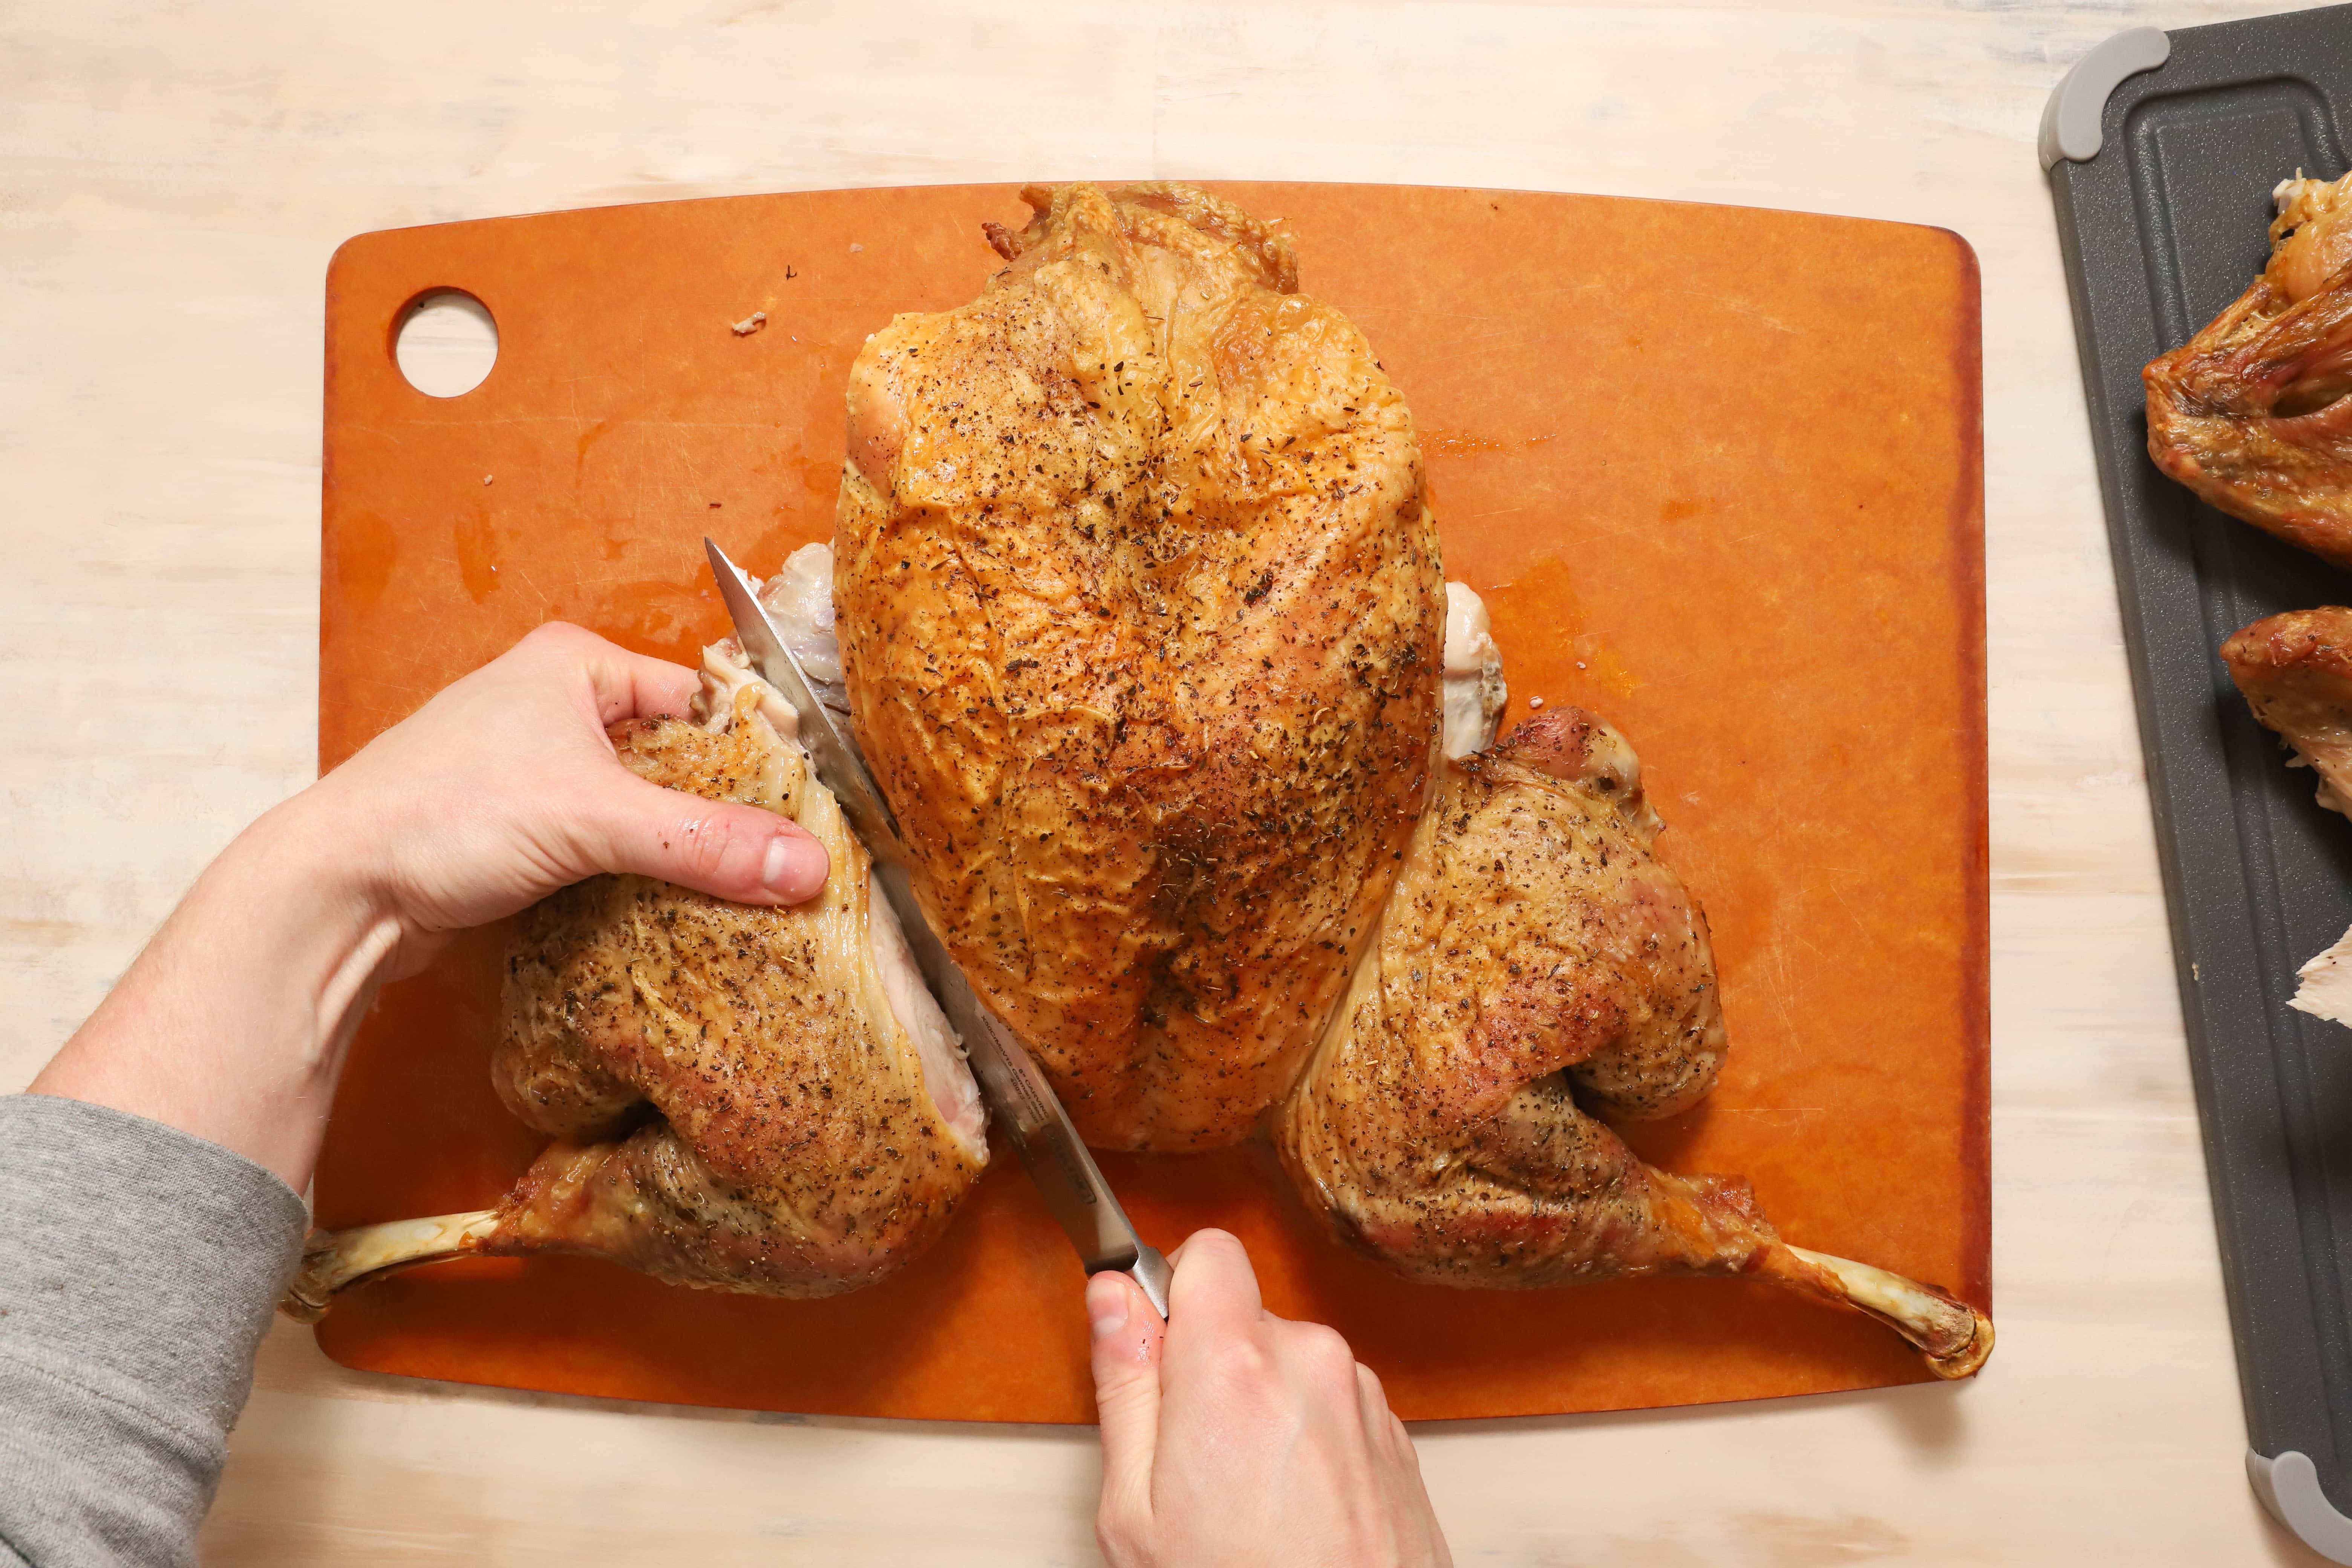
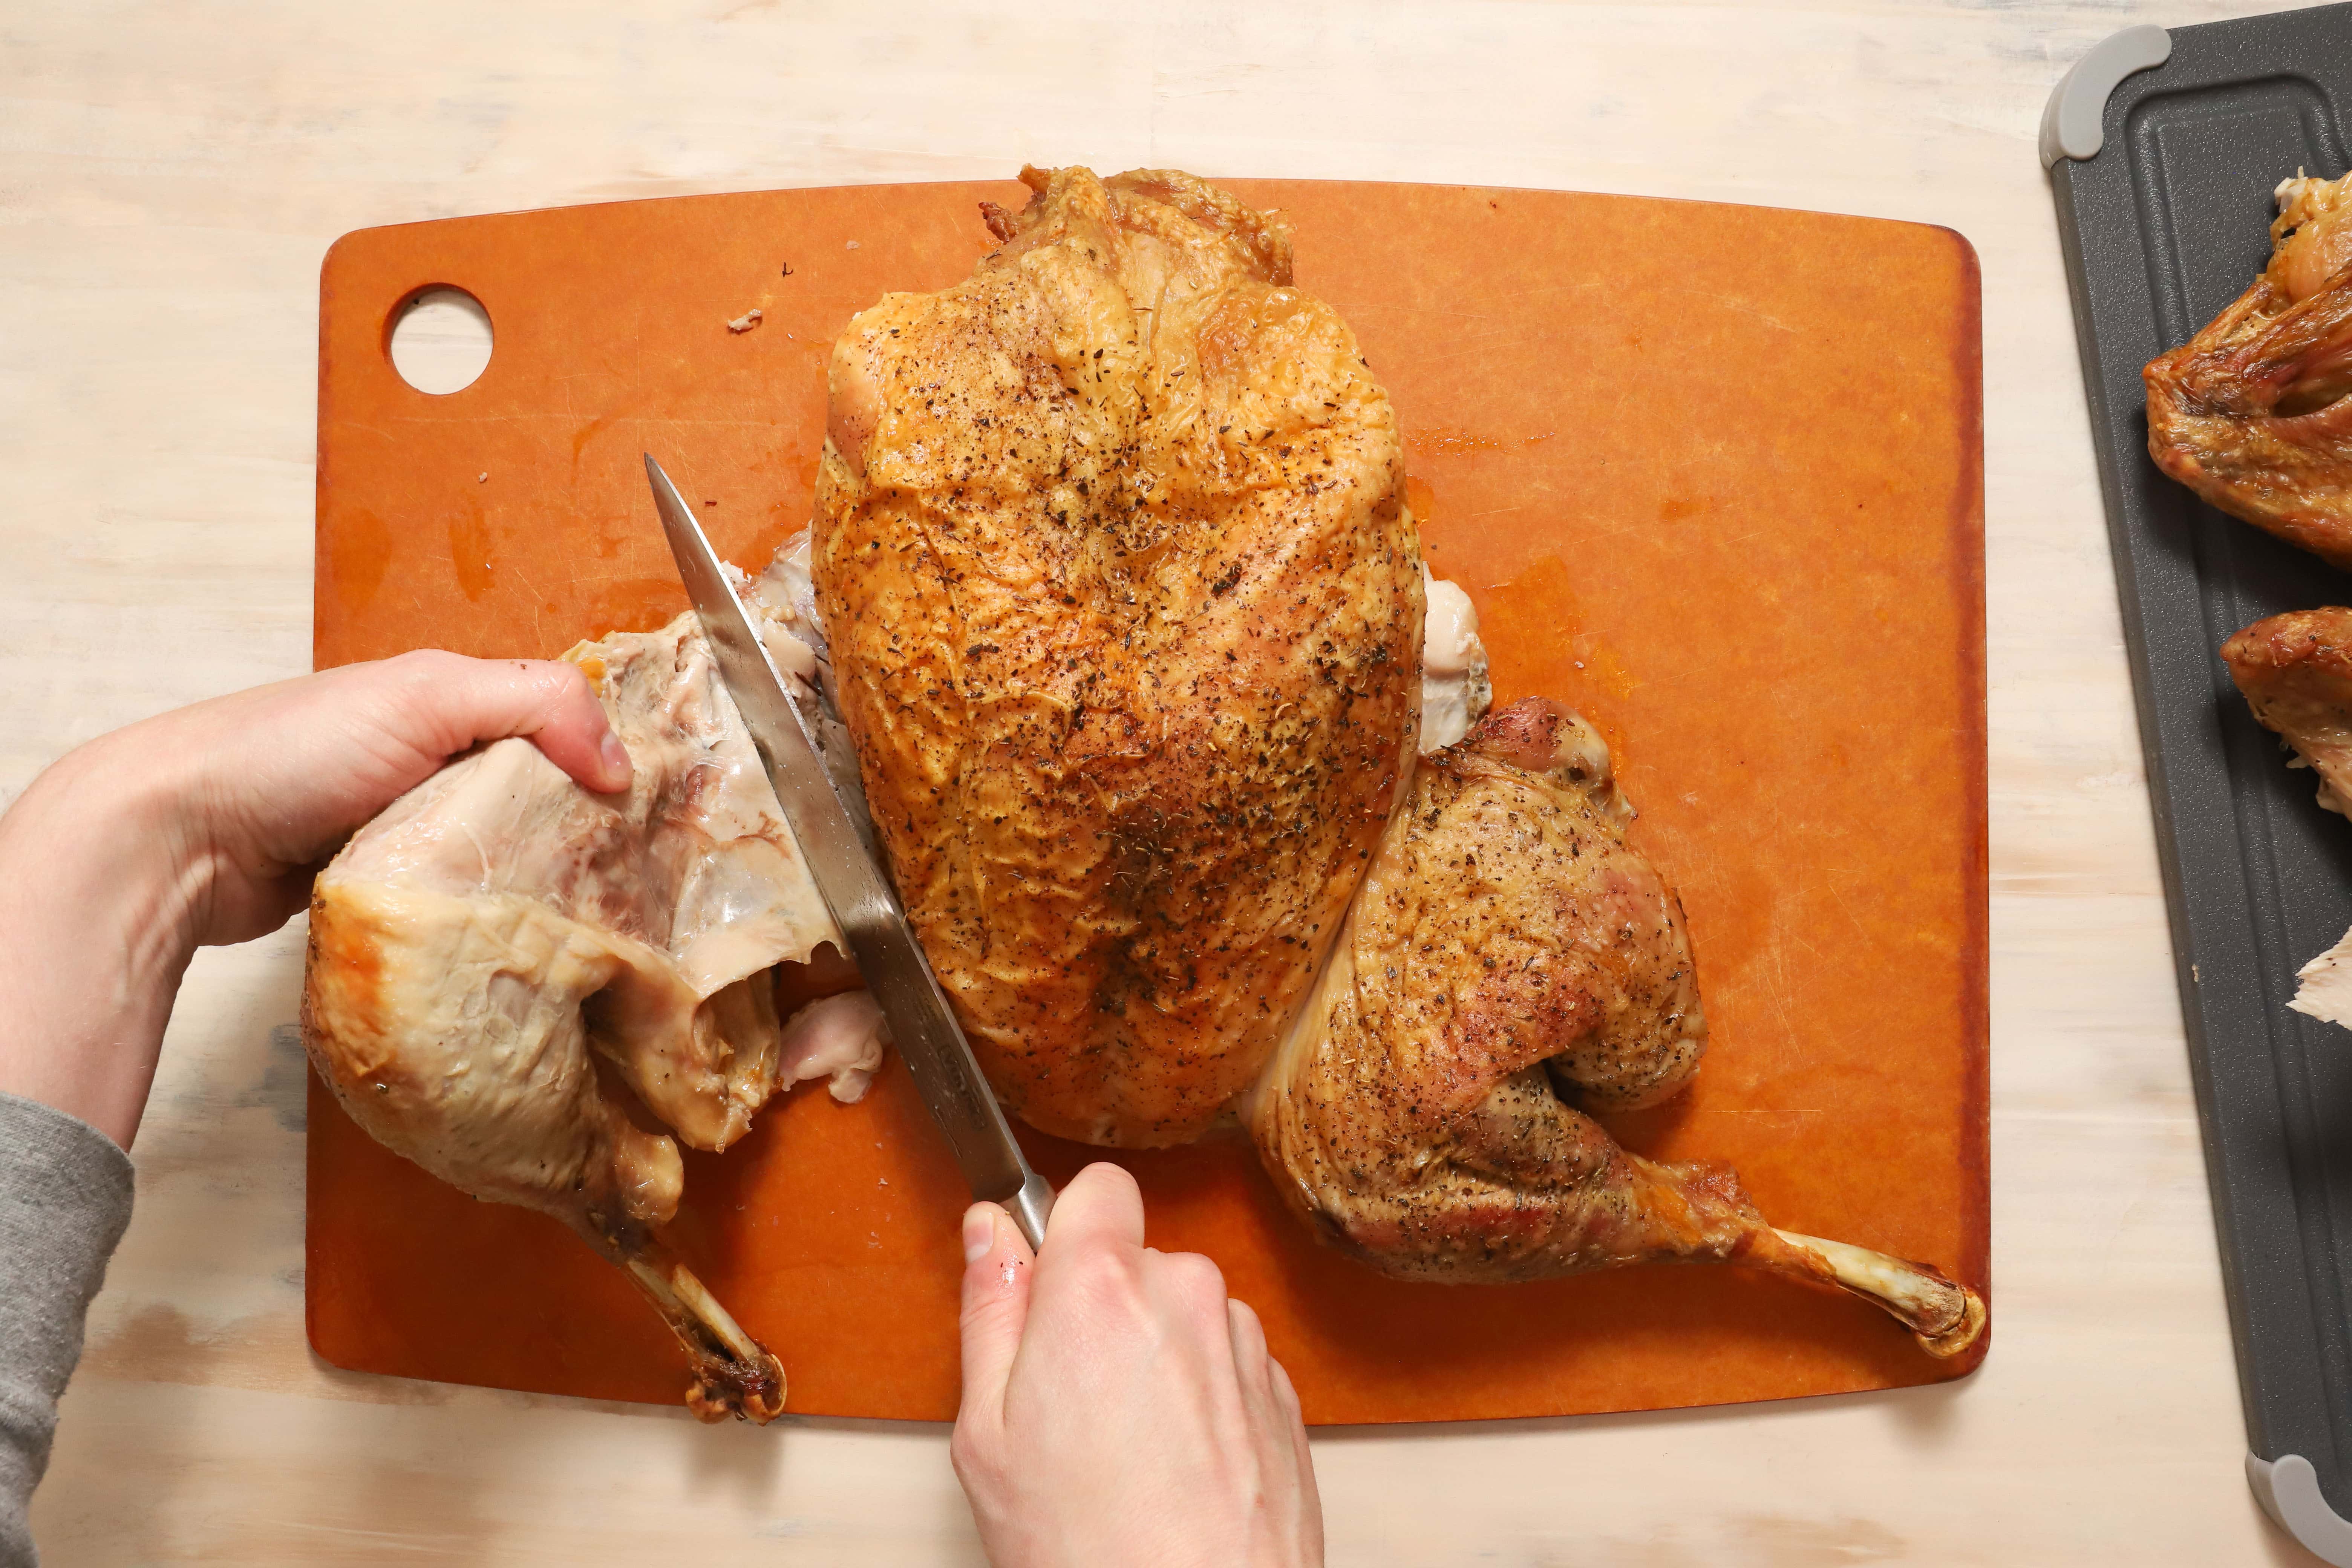
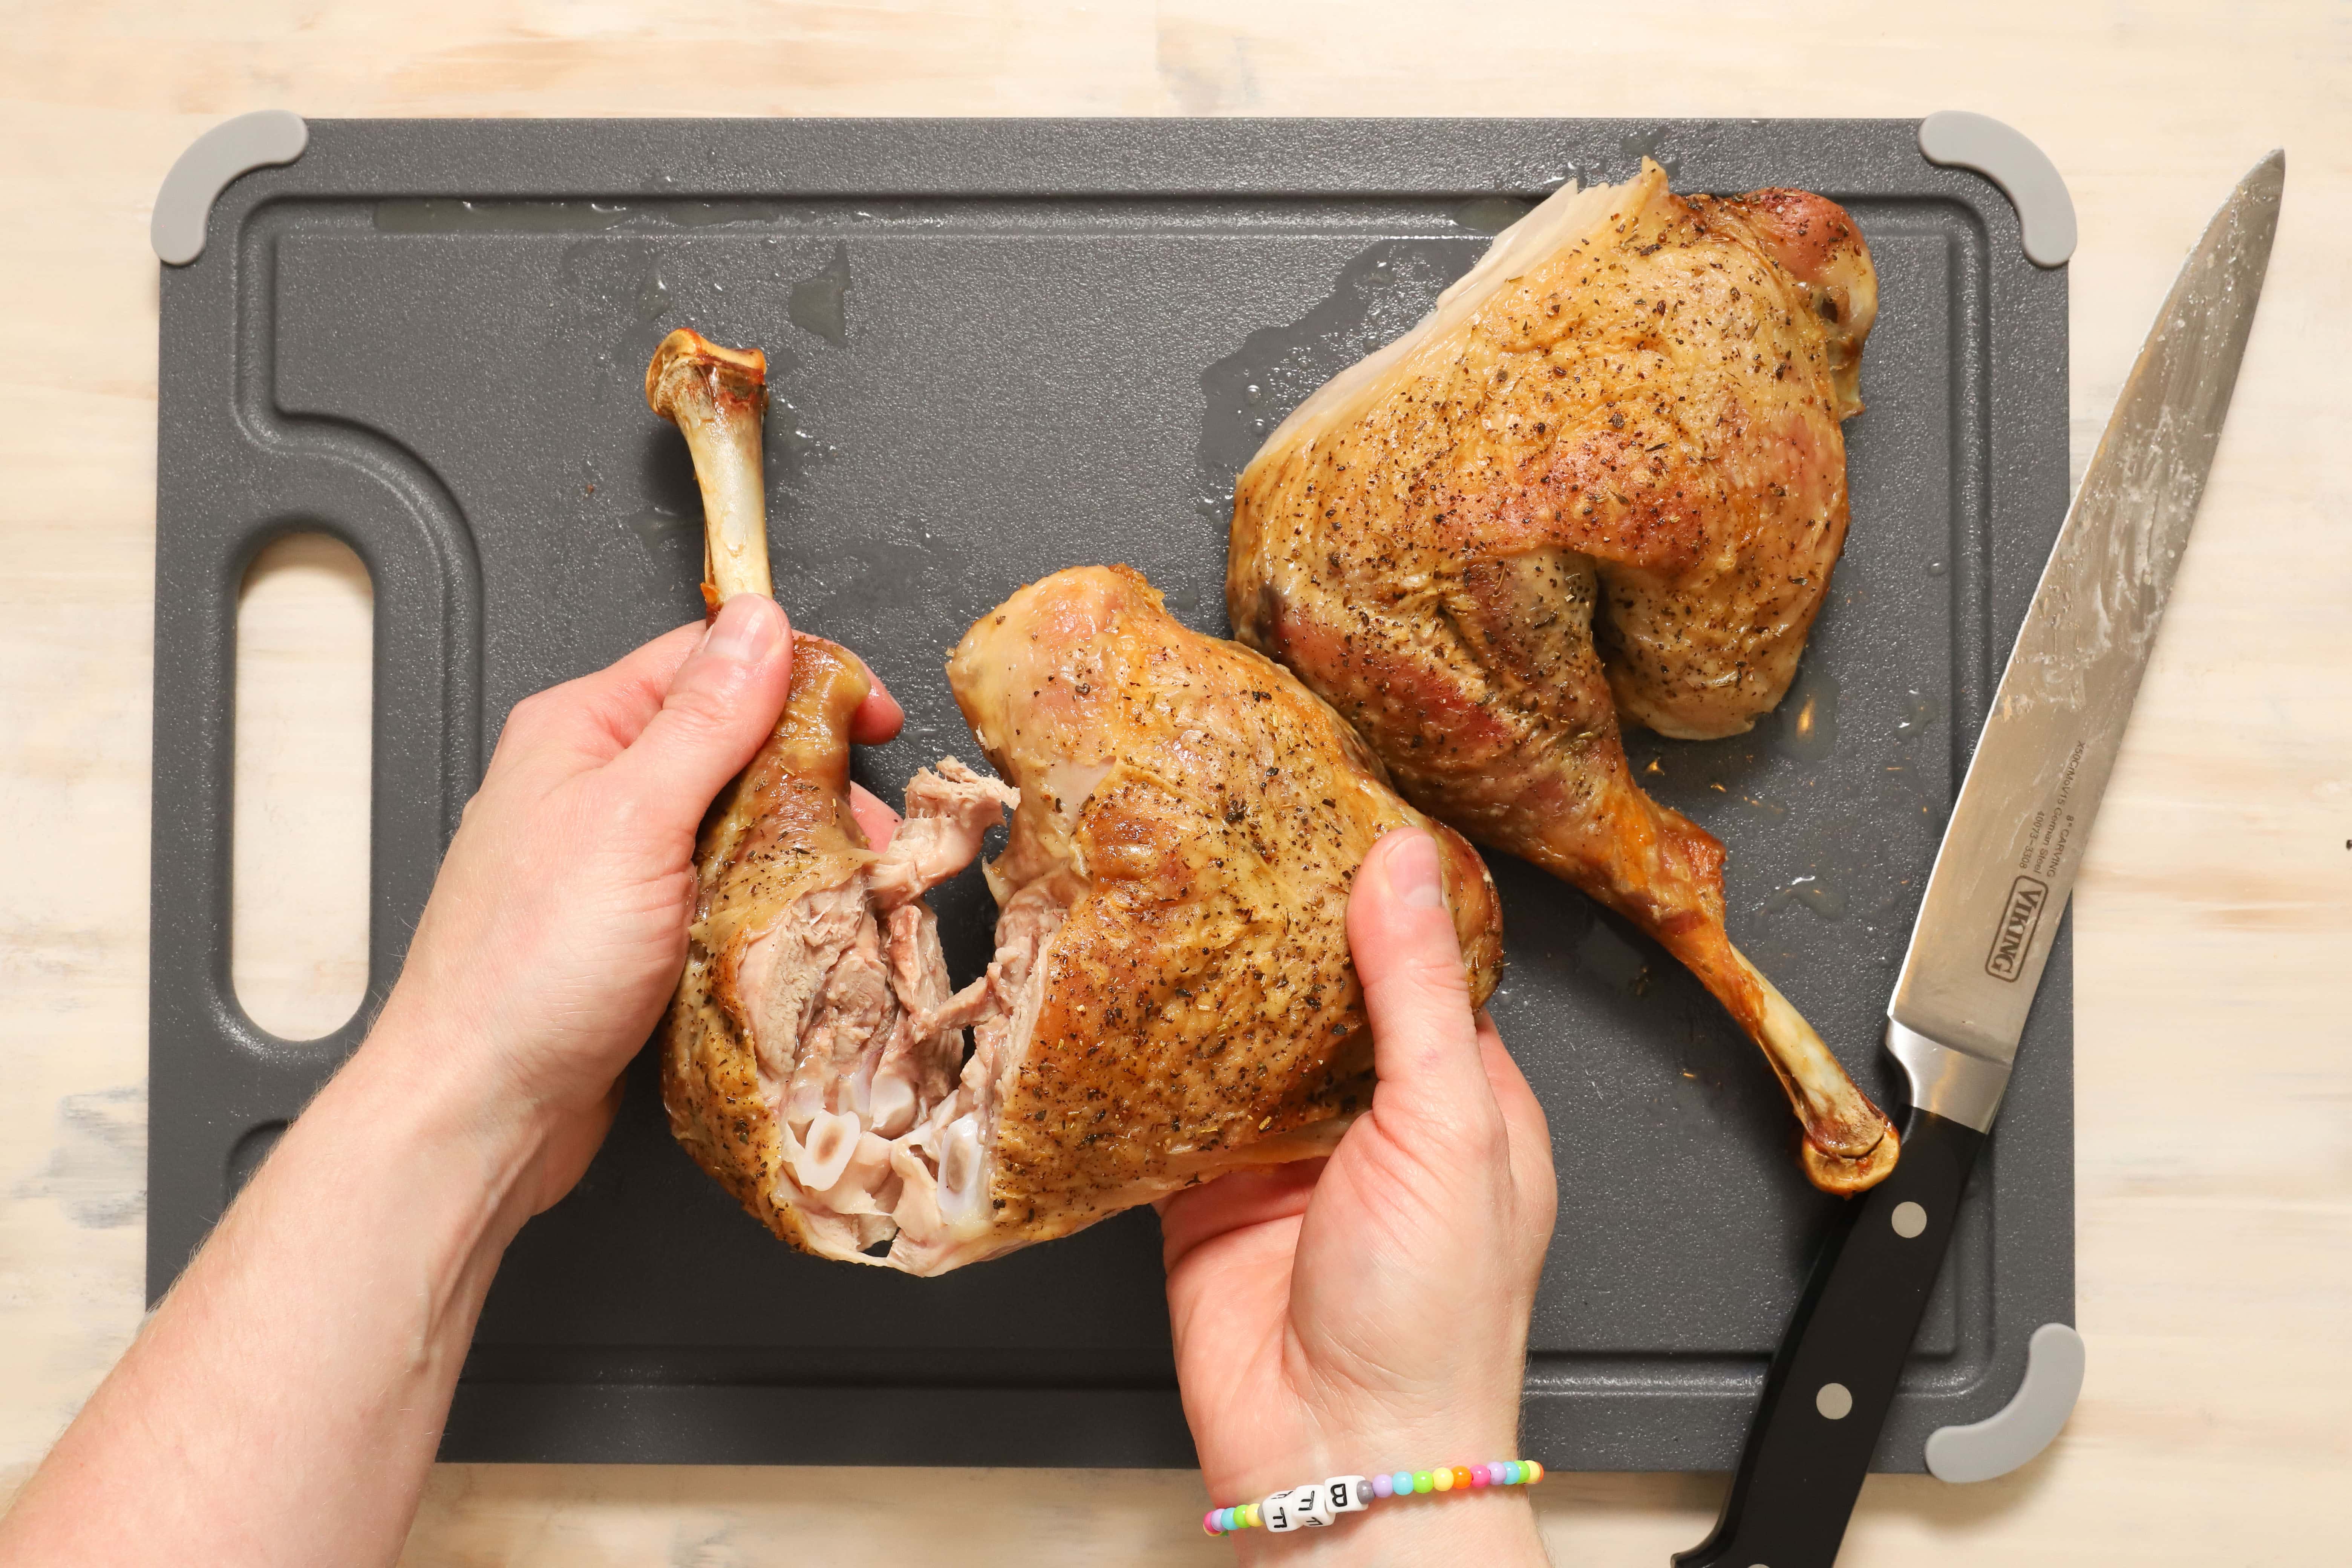
To separate the drums from the thighs, use your knife to kind of follow the natural lines of the drumstick, and slice through the leg joint.
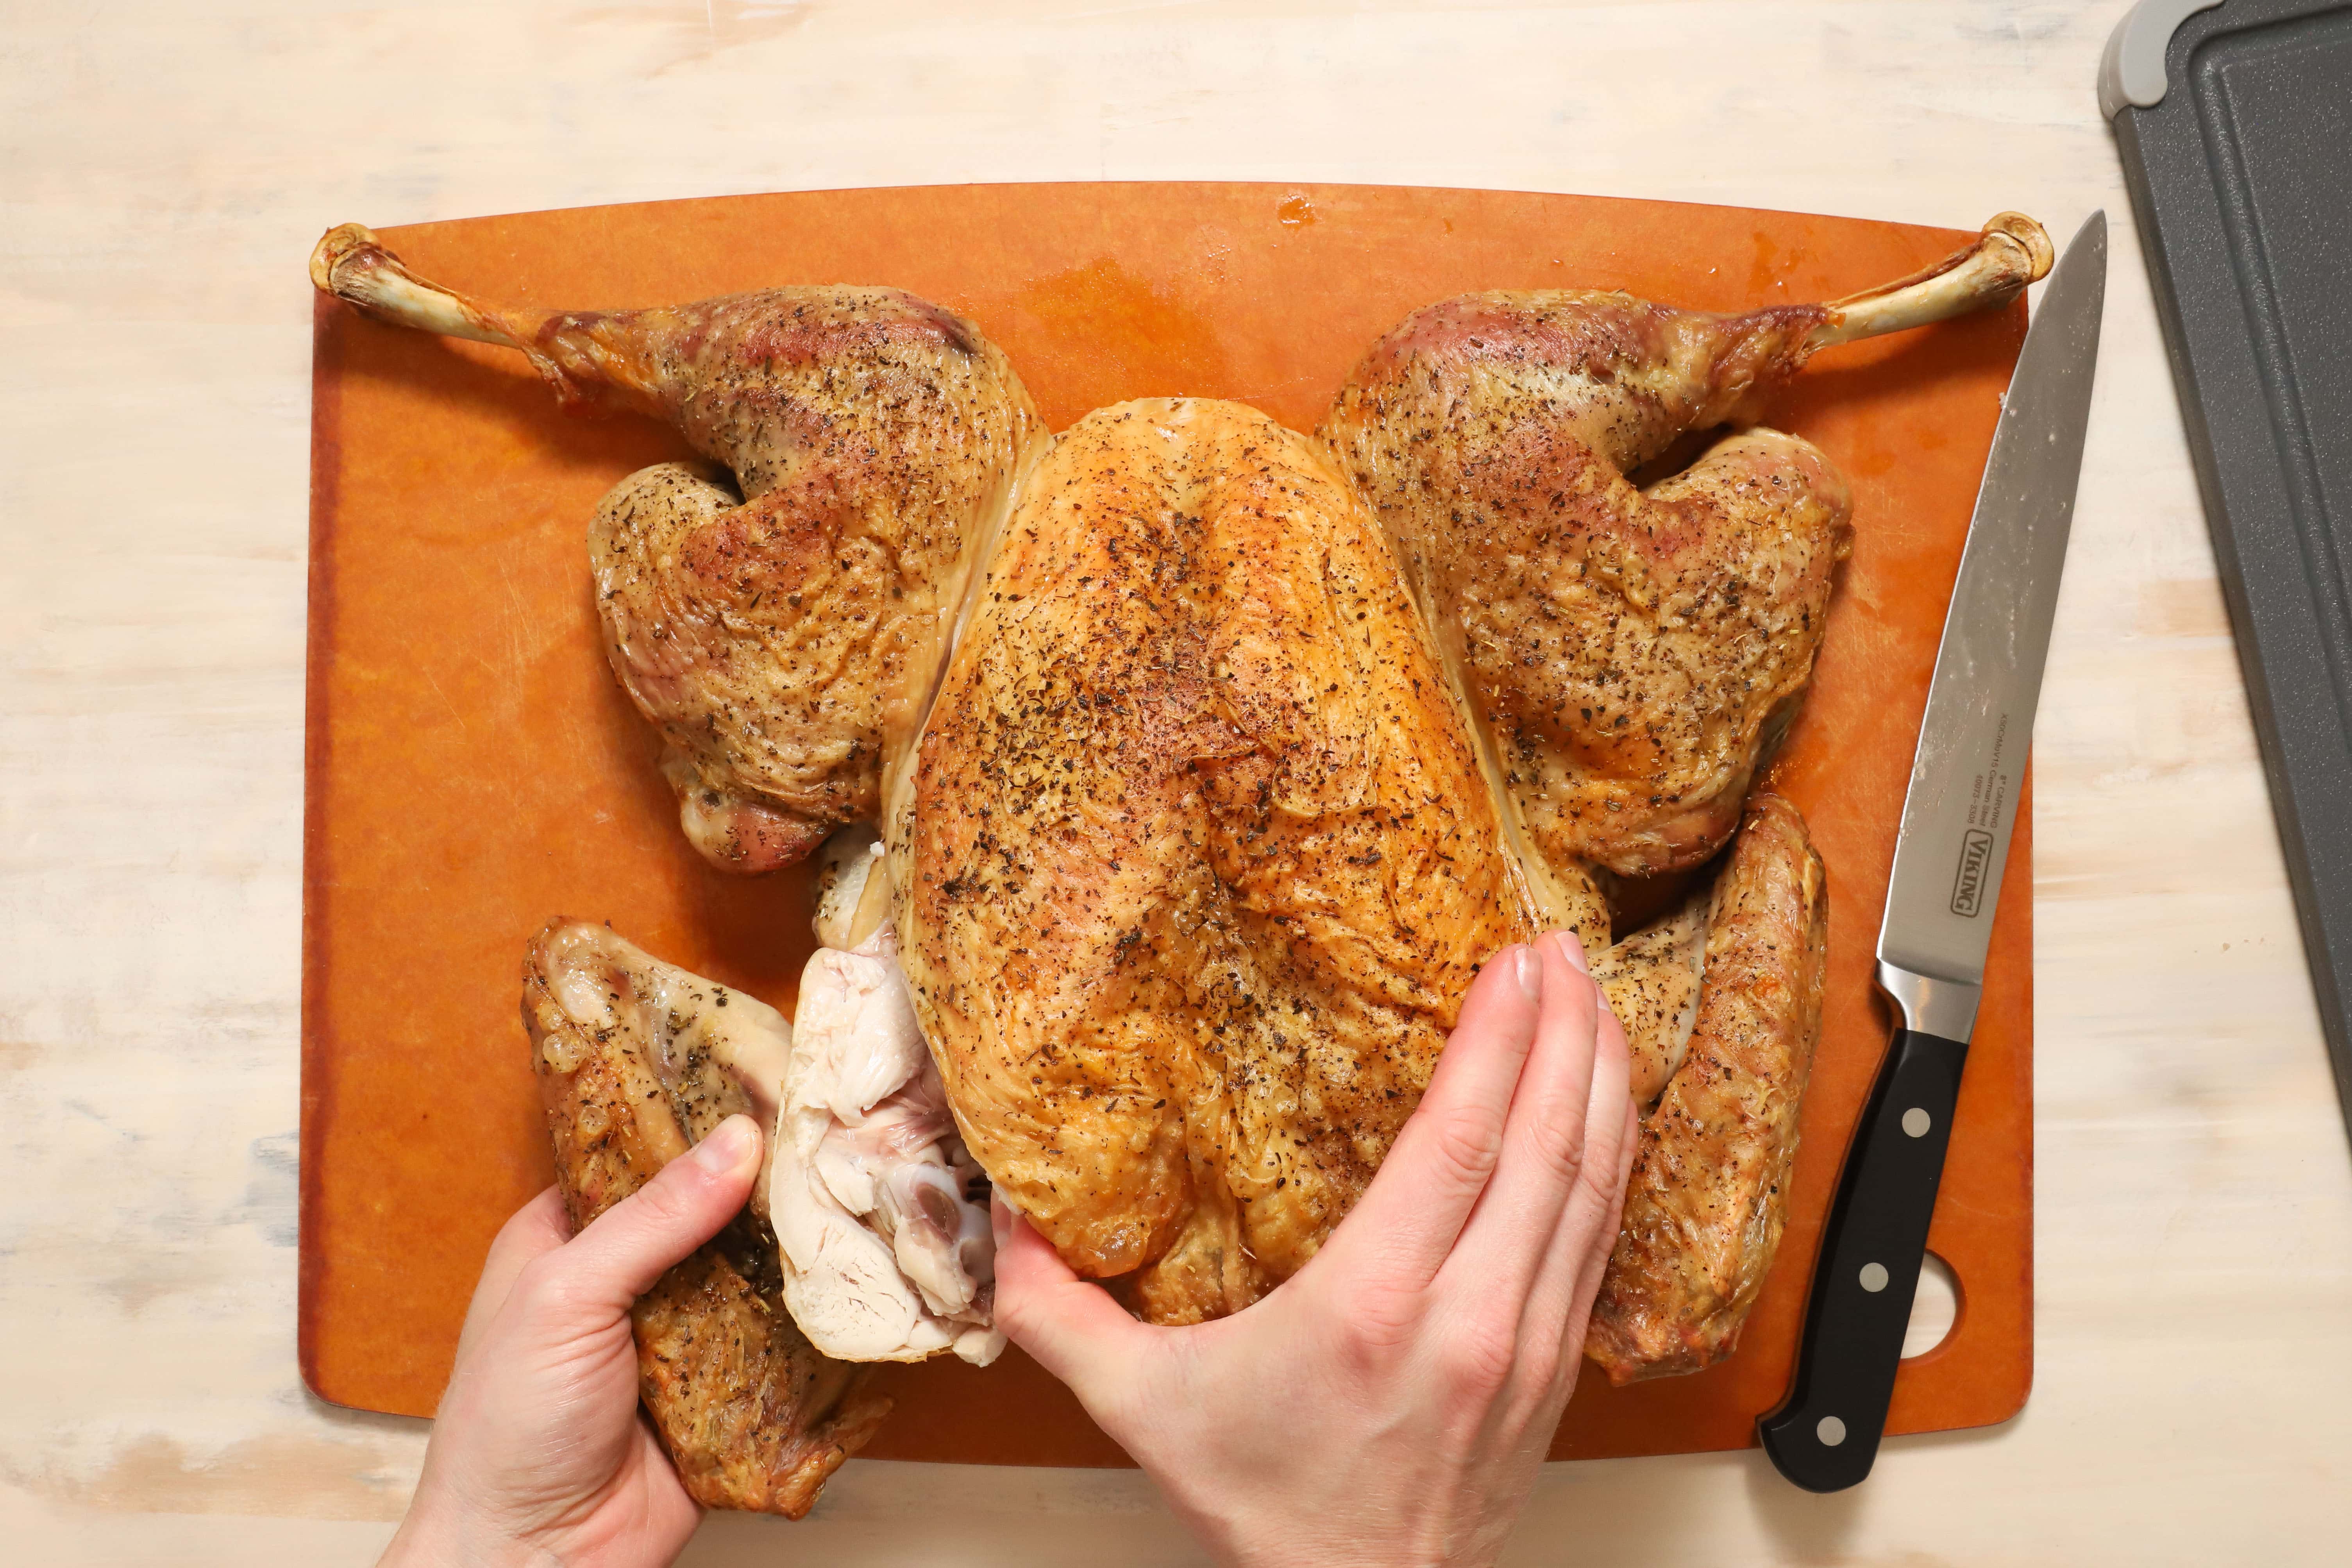
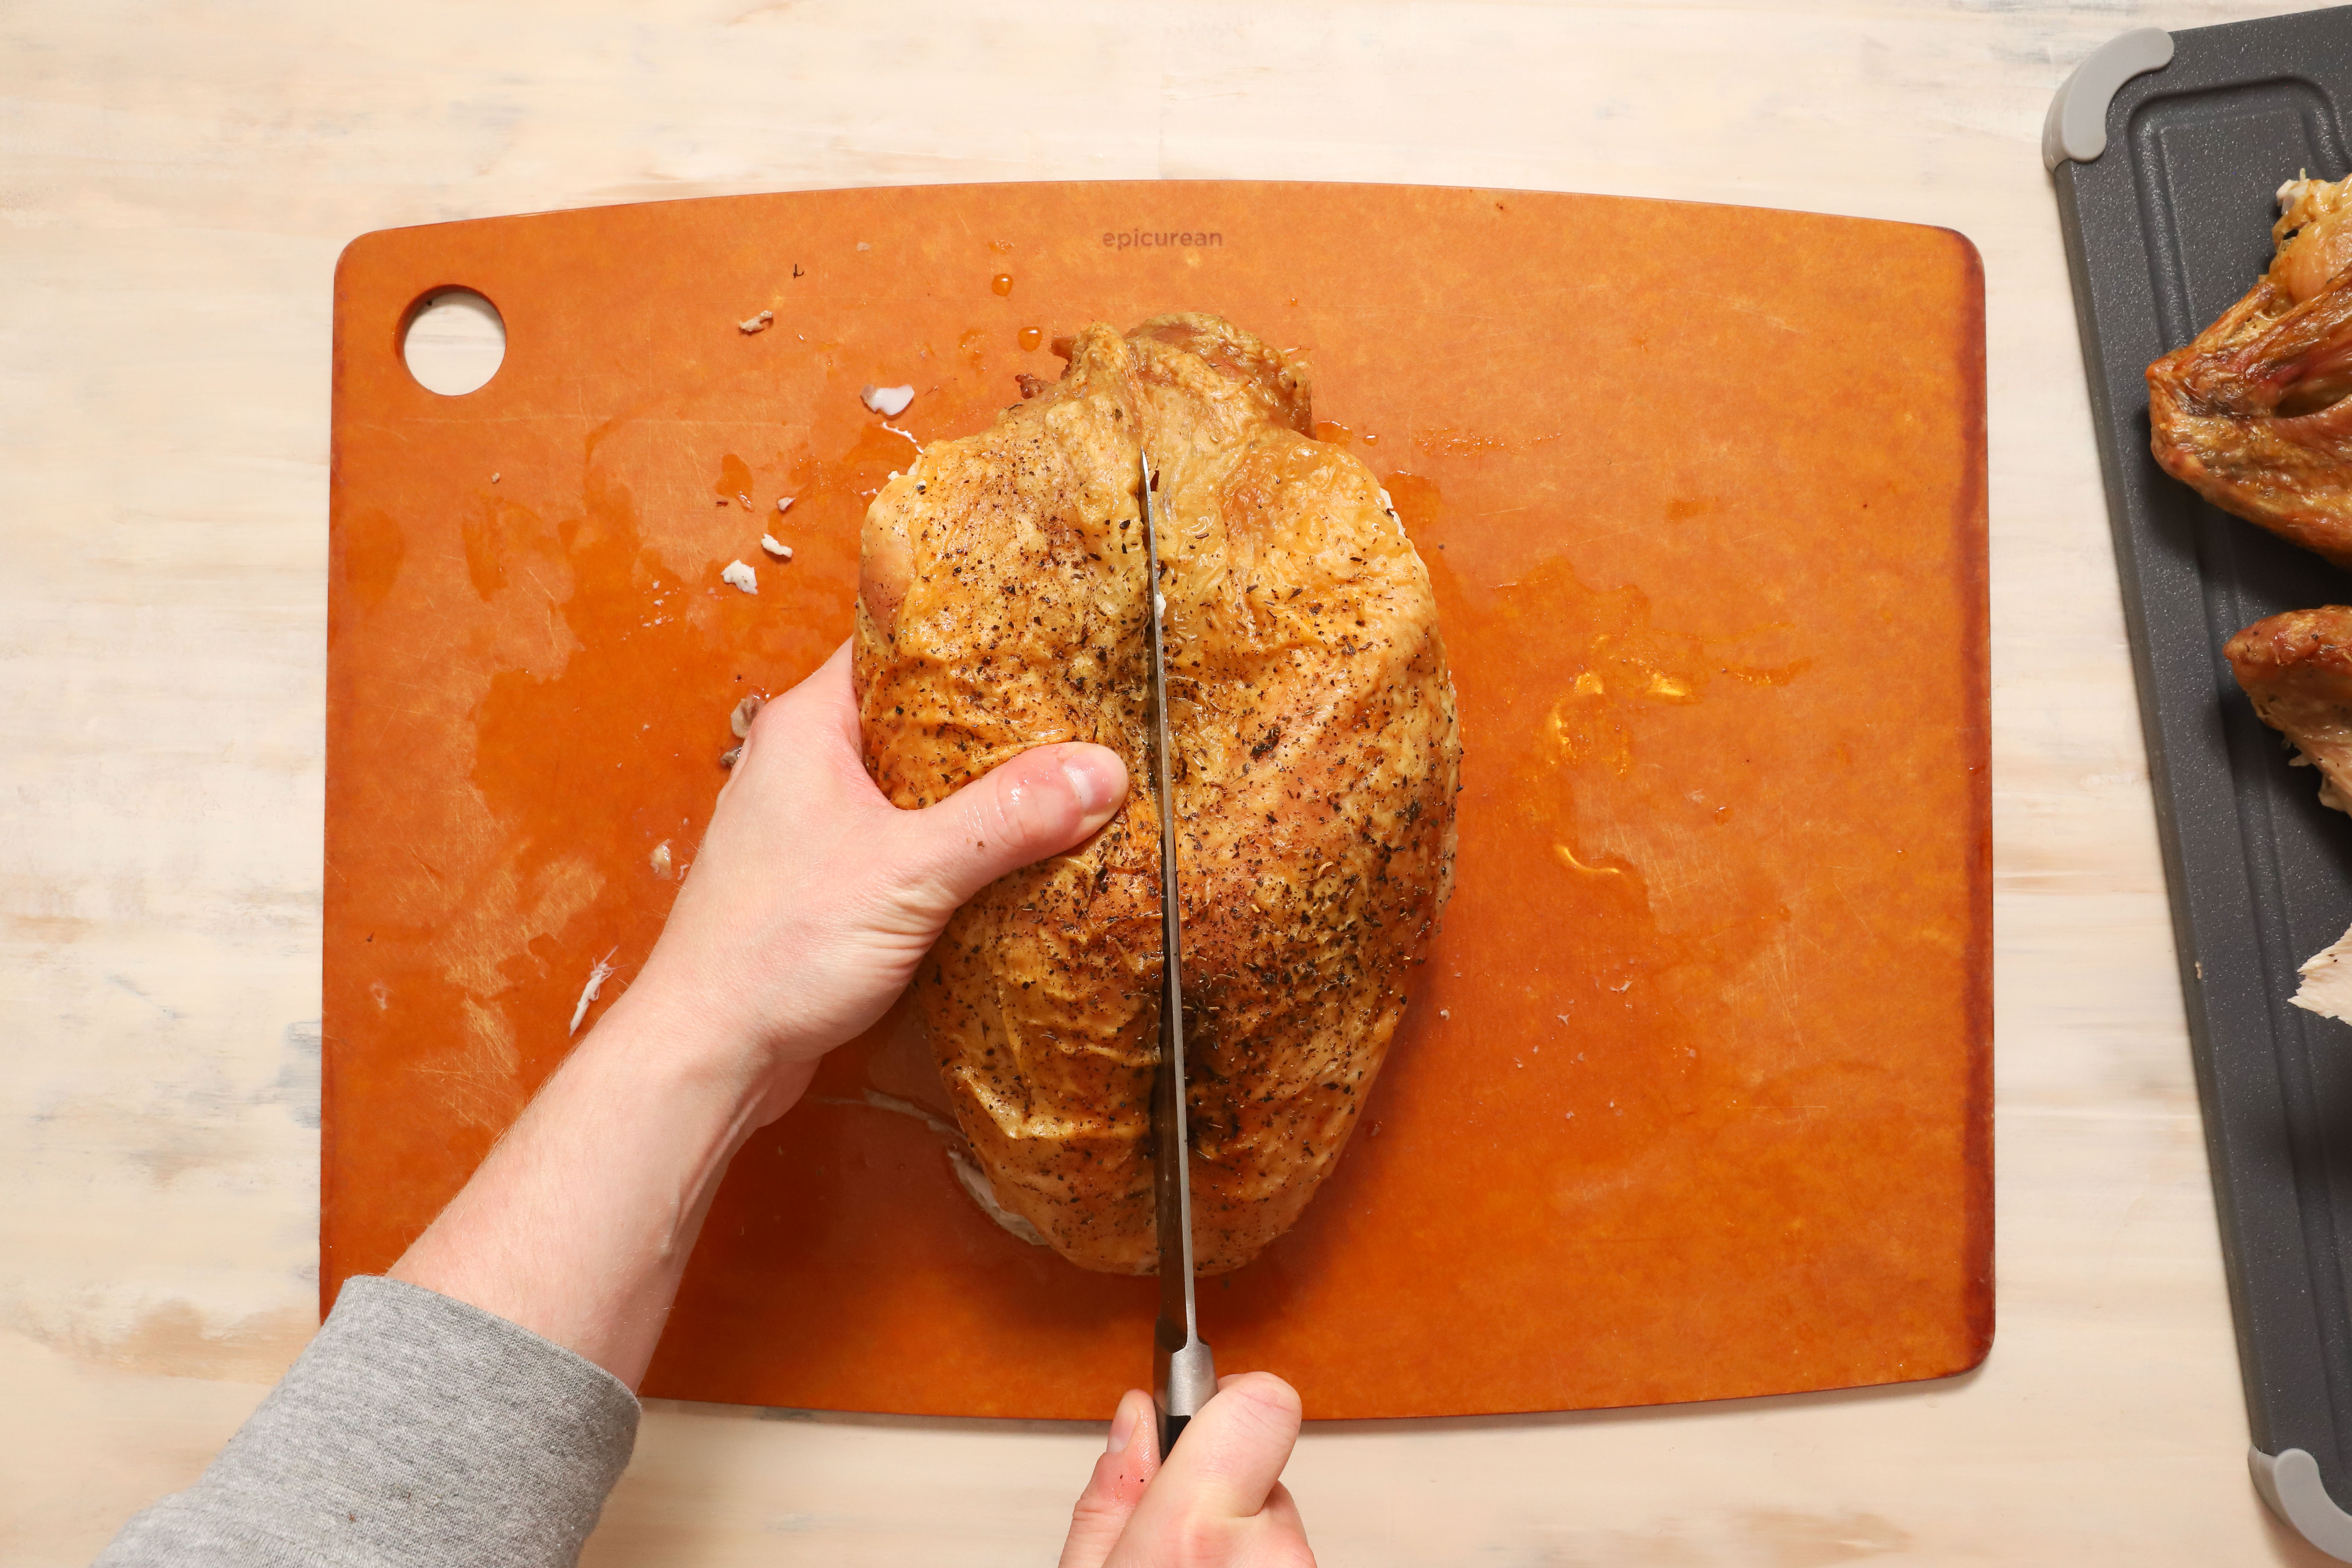
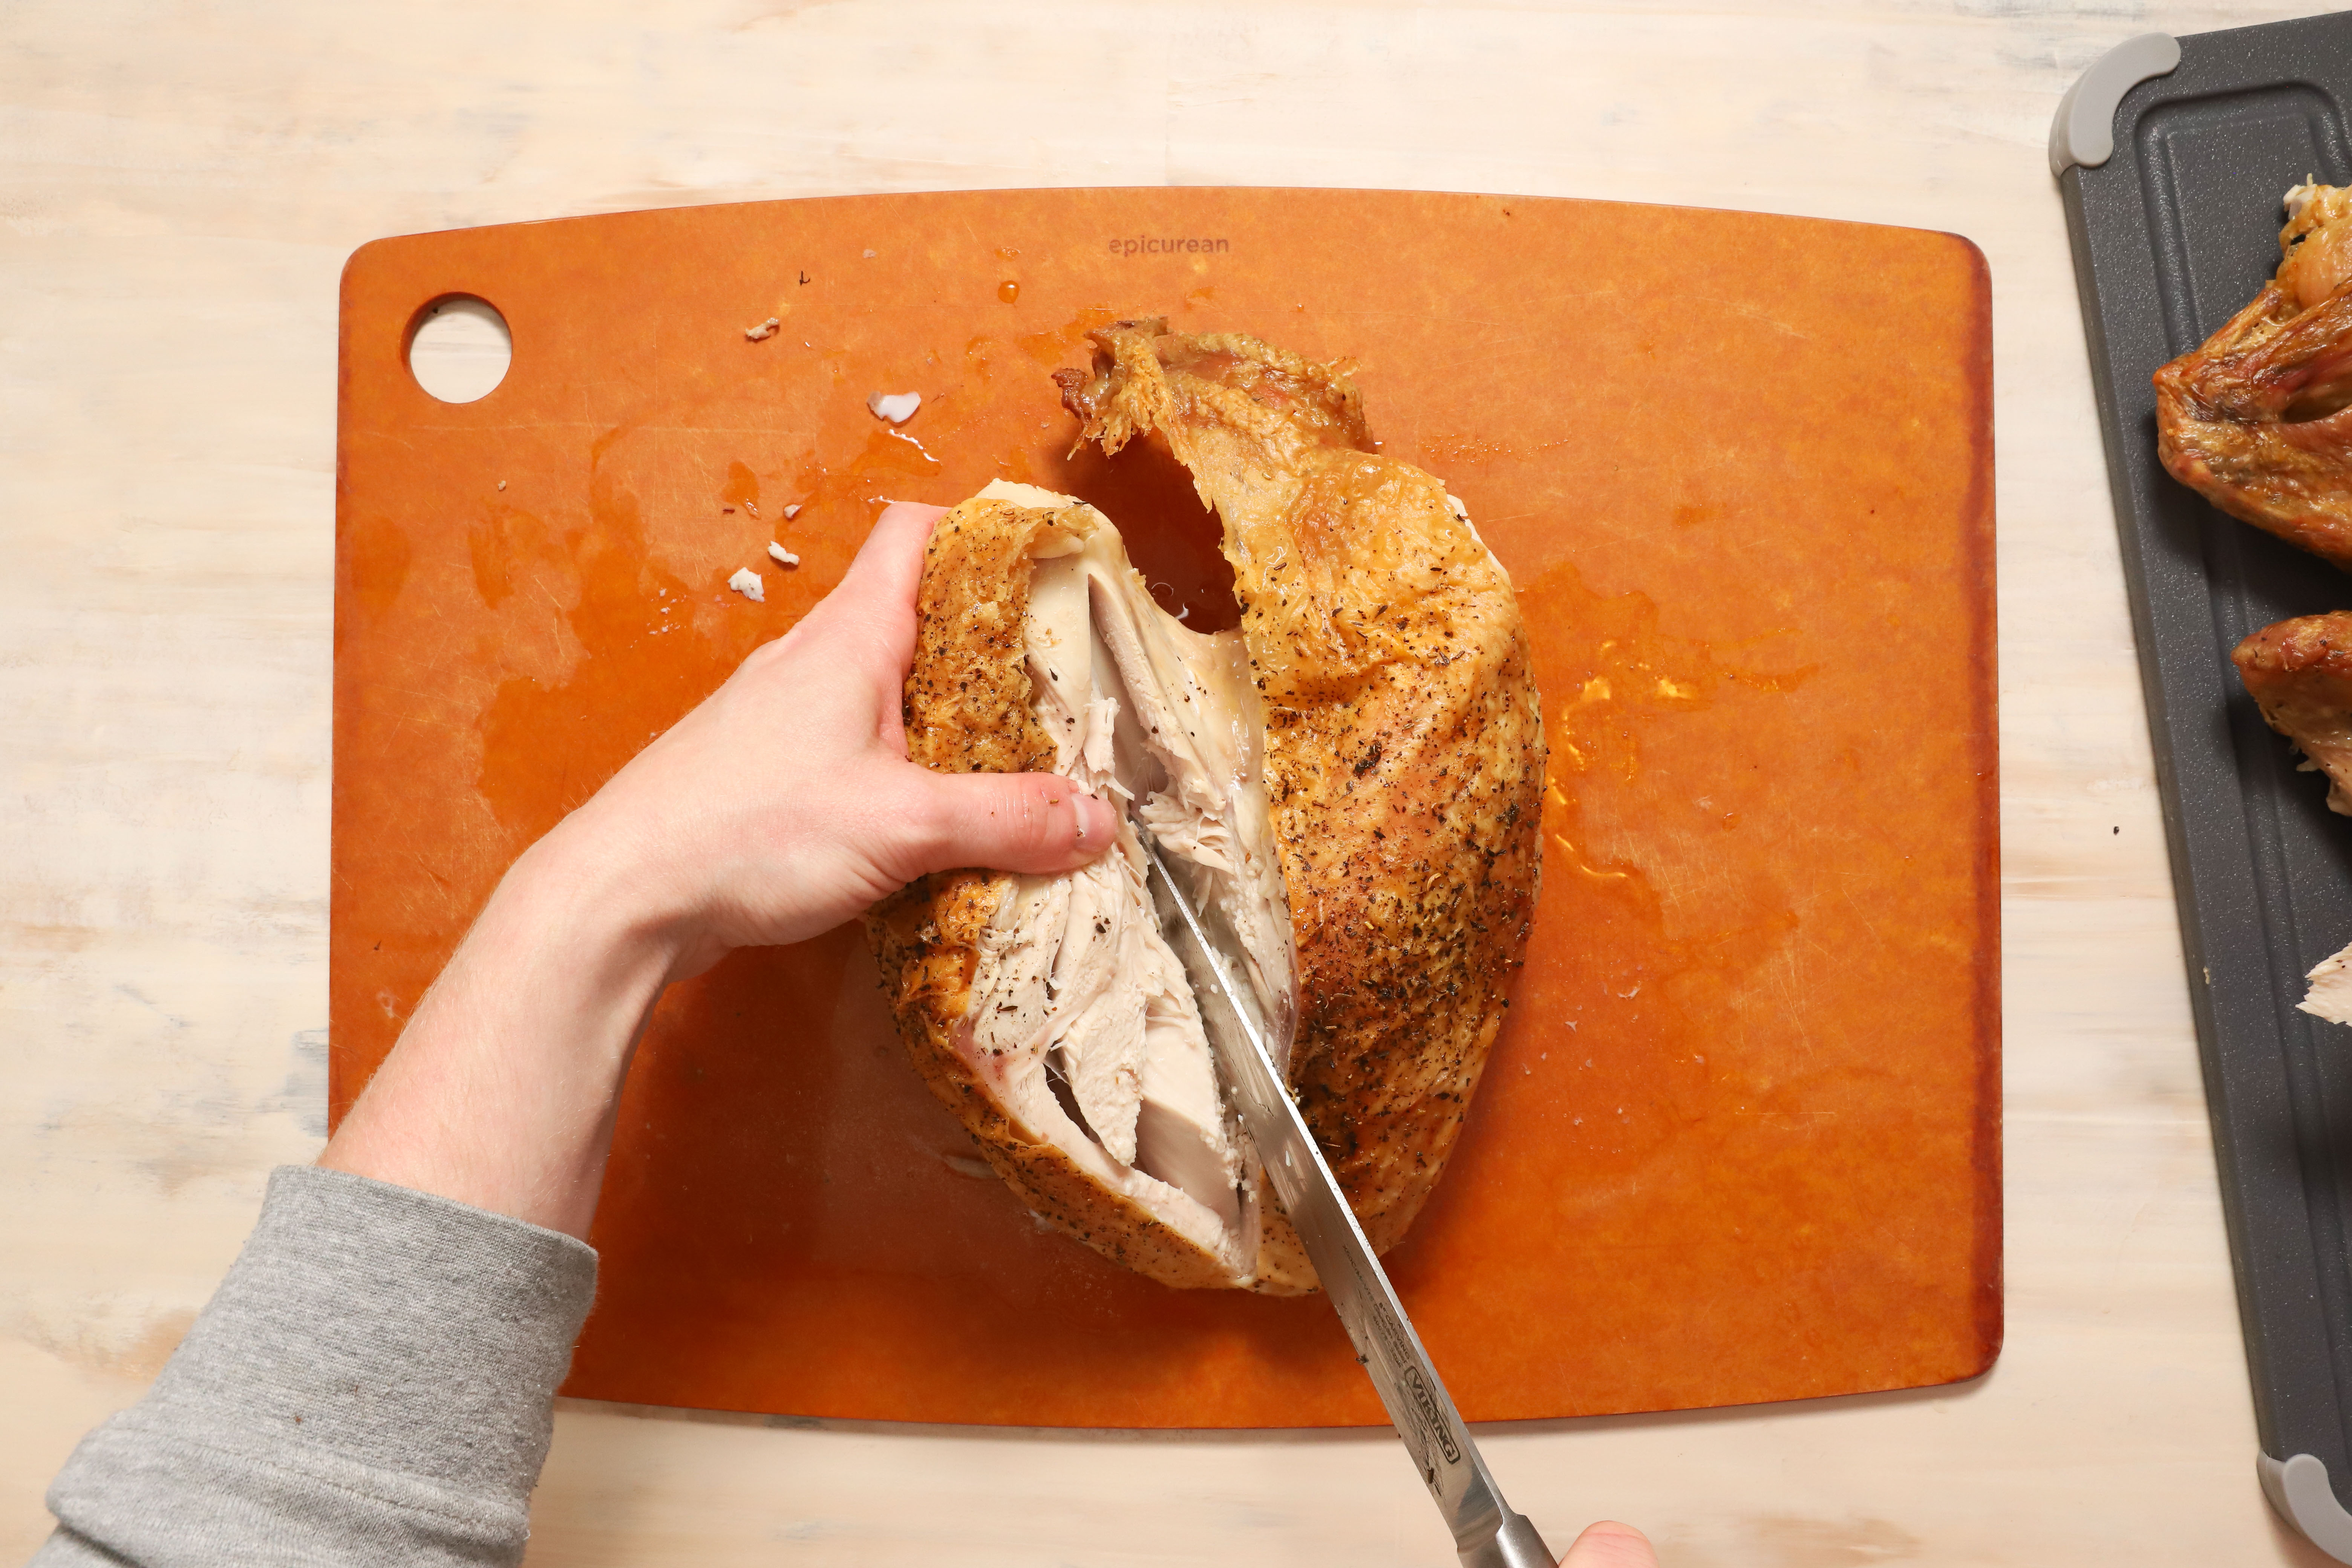
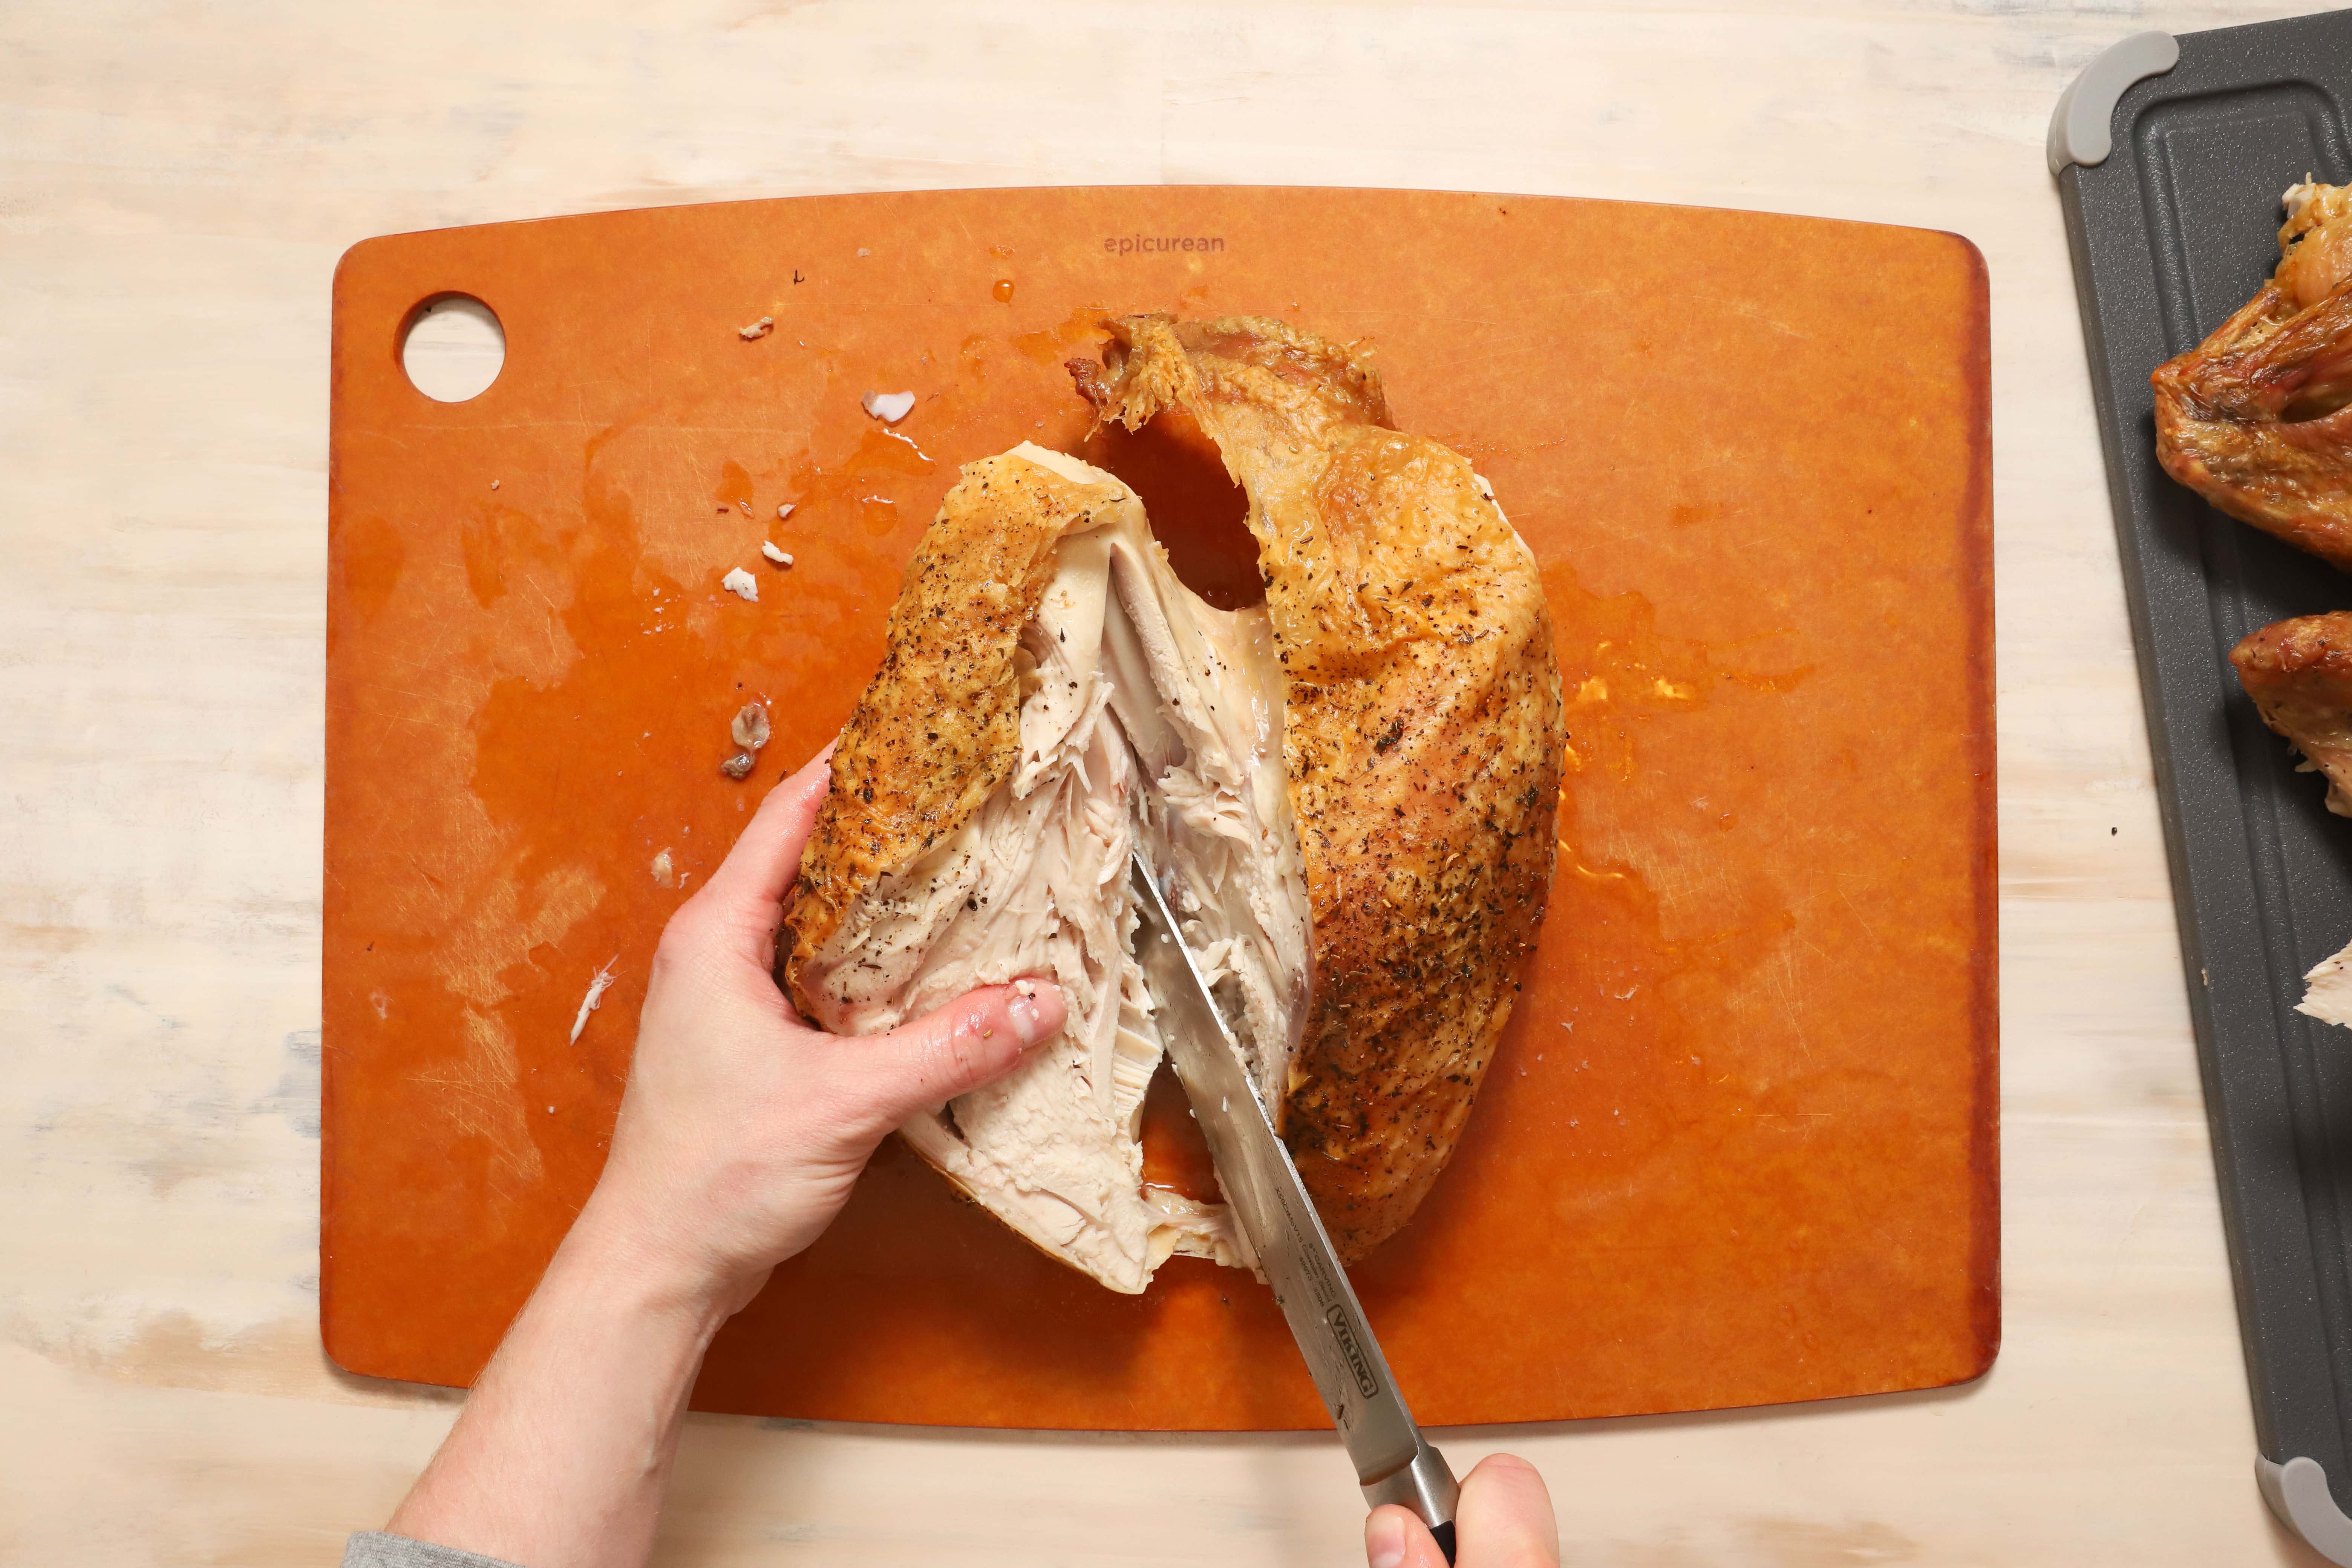
Finally, use long strokes with your knife to separate the breast meat from the carcass. As you cut, use your other hand to gently pull the meat in the opposite direction. This makes it easier to see where you’re cutting!
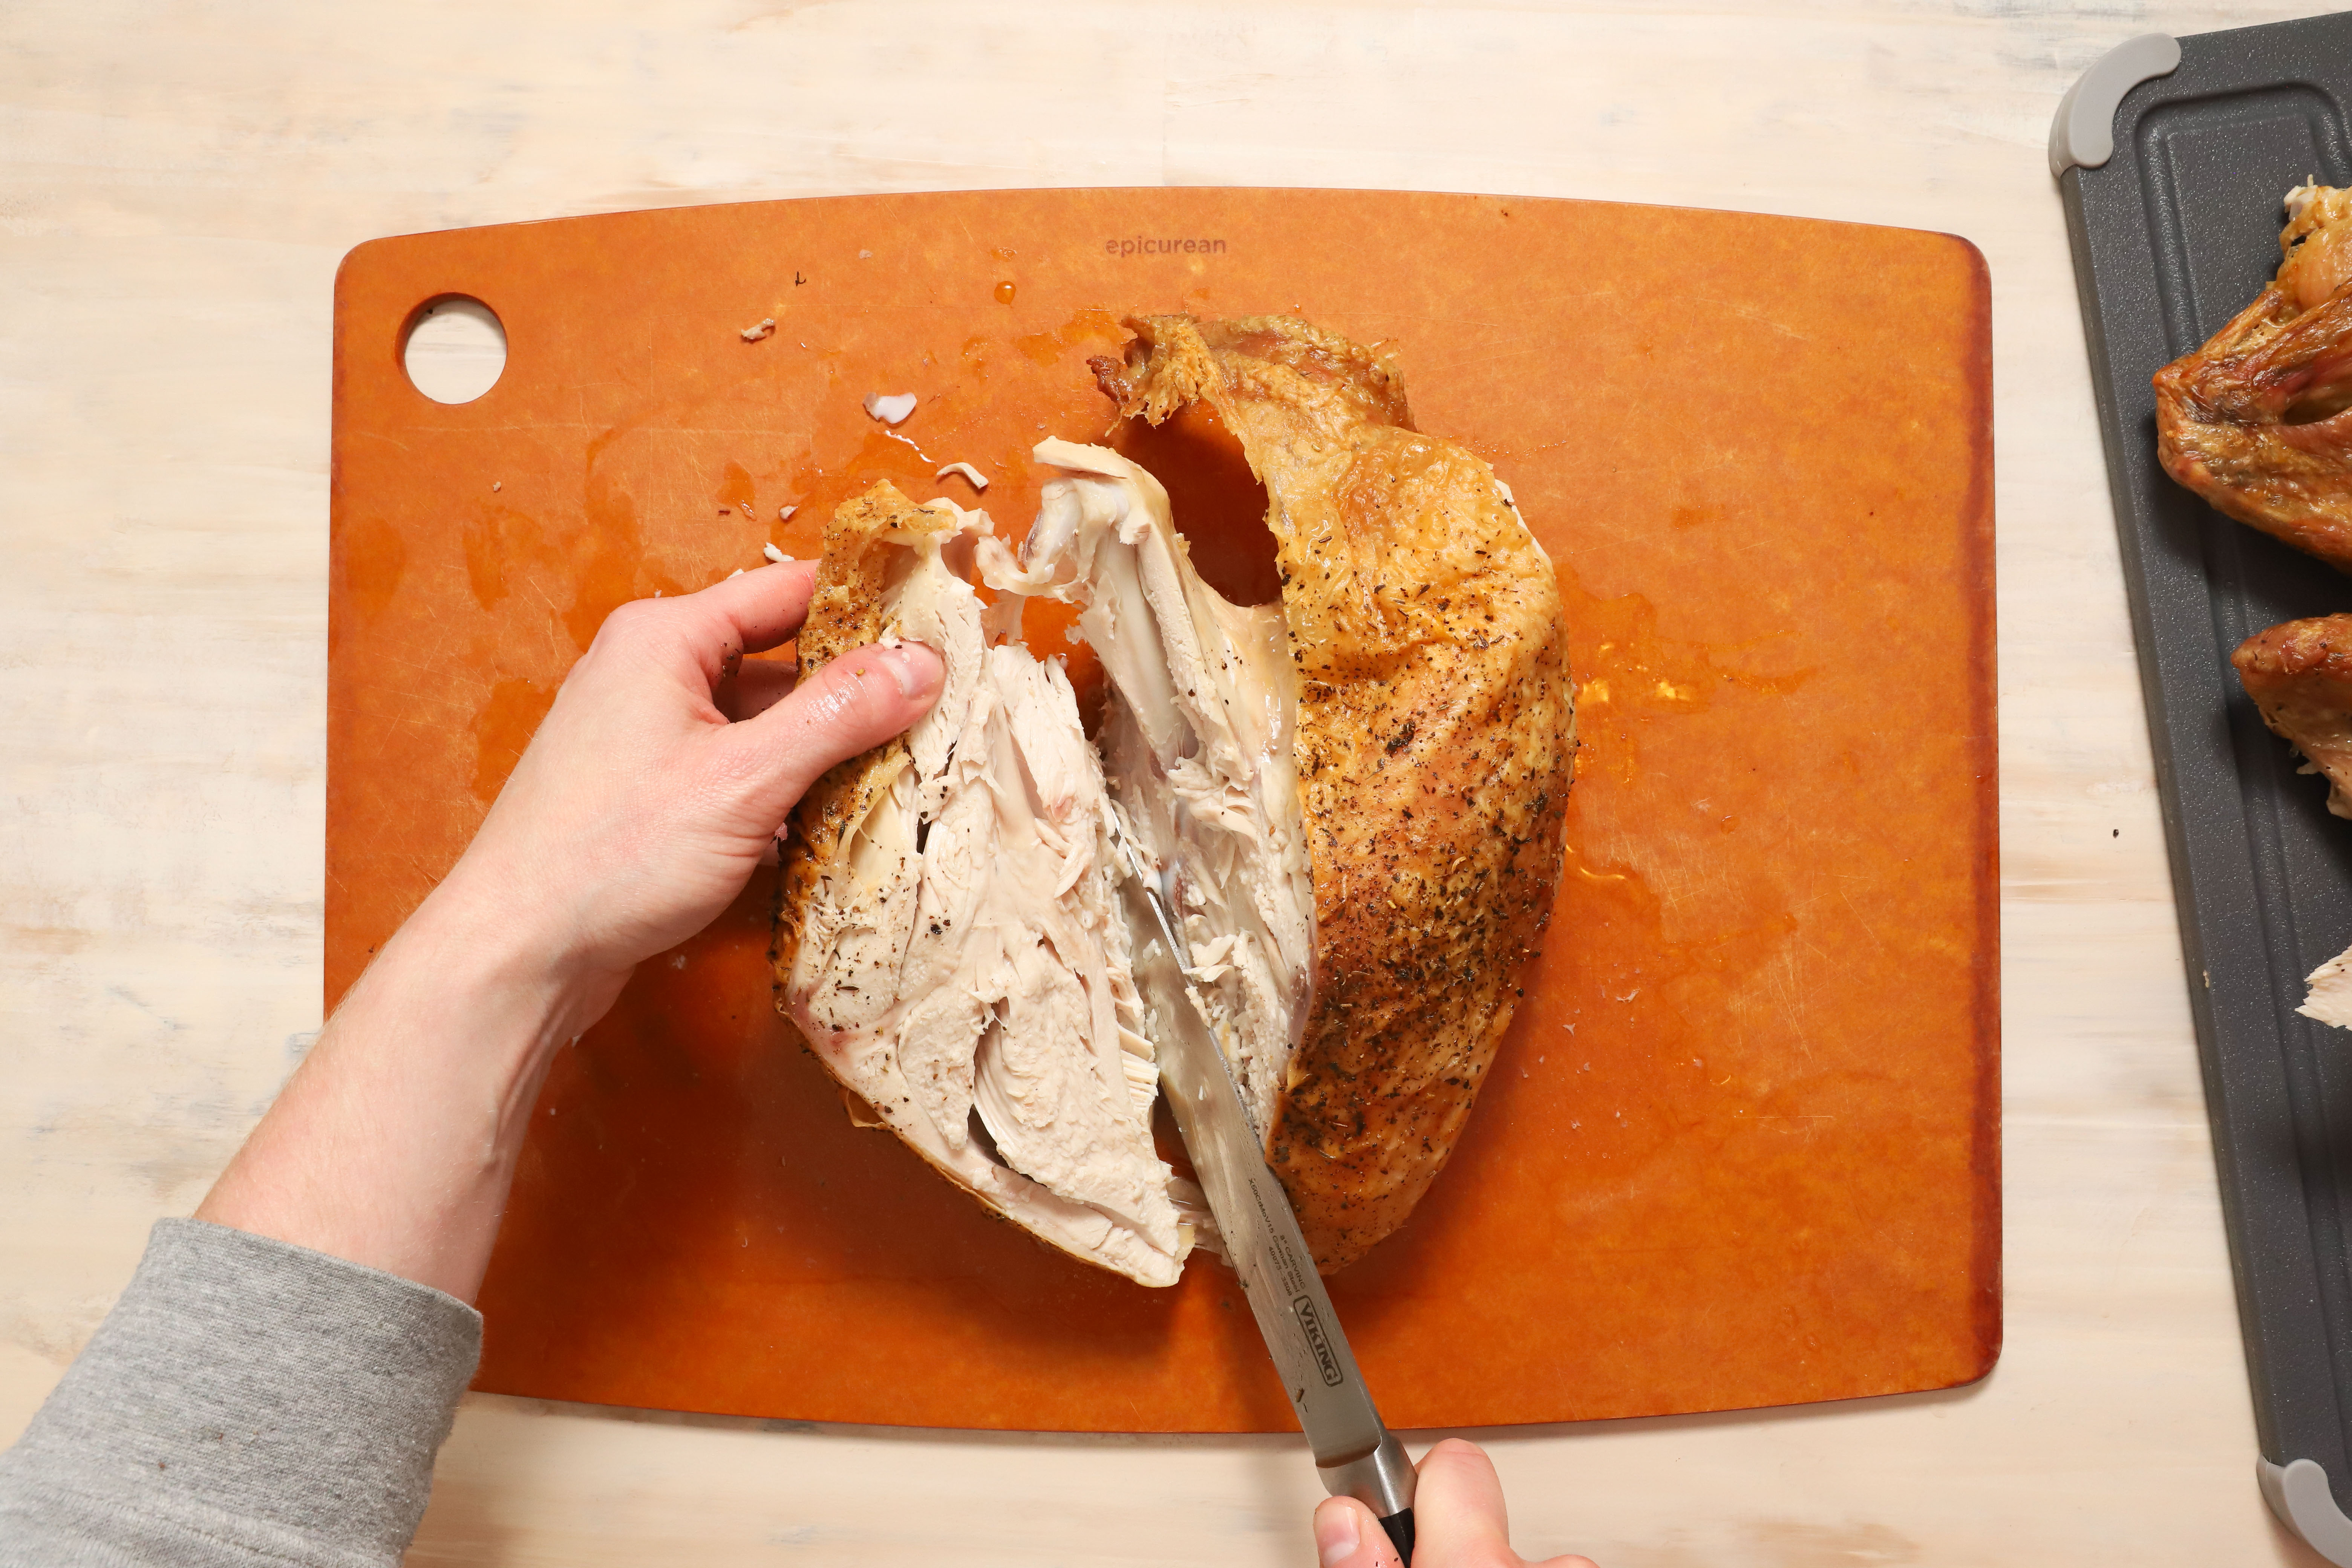
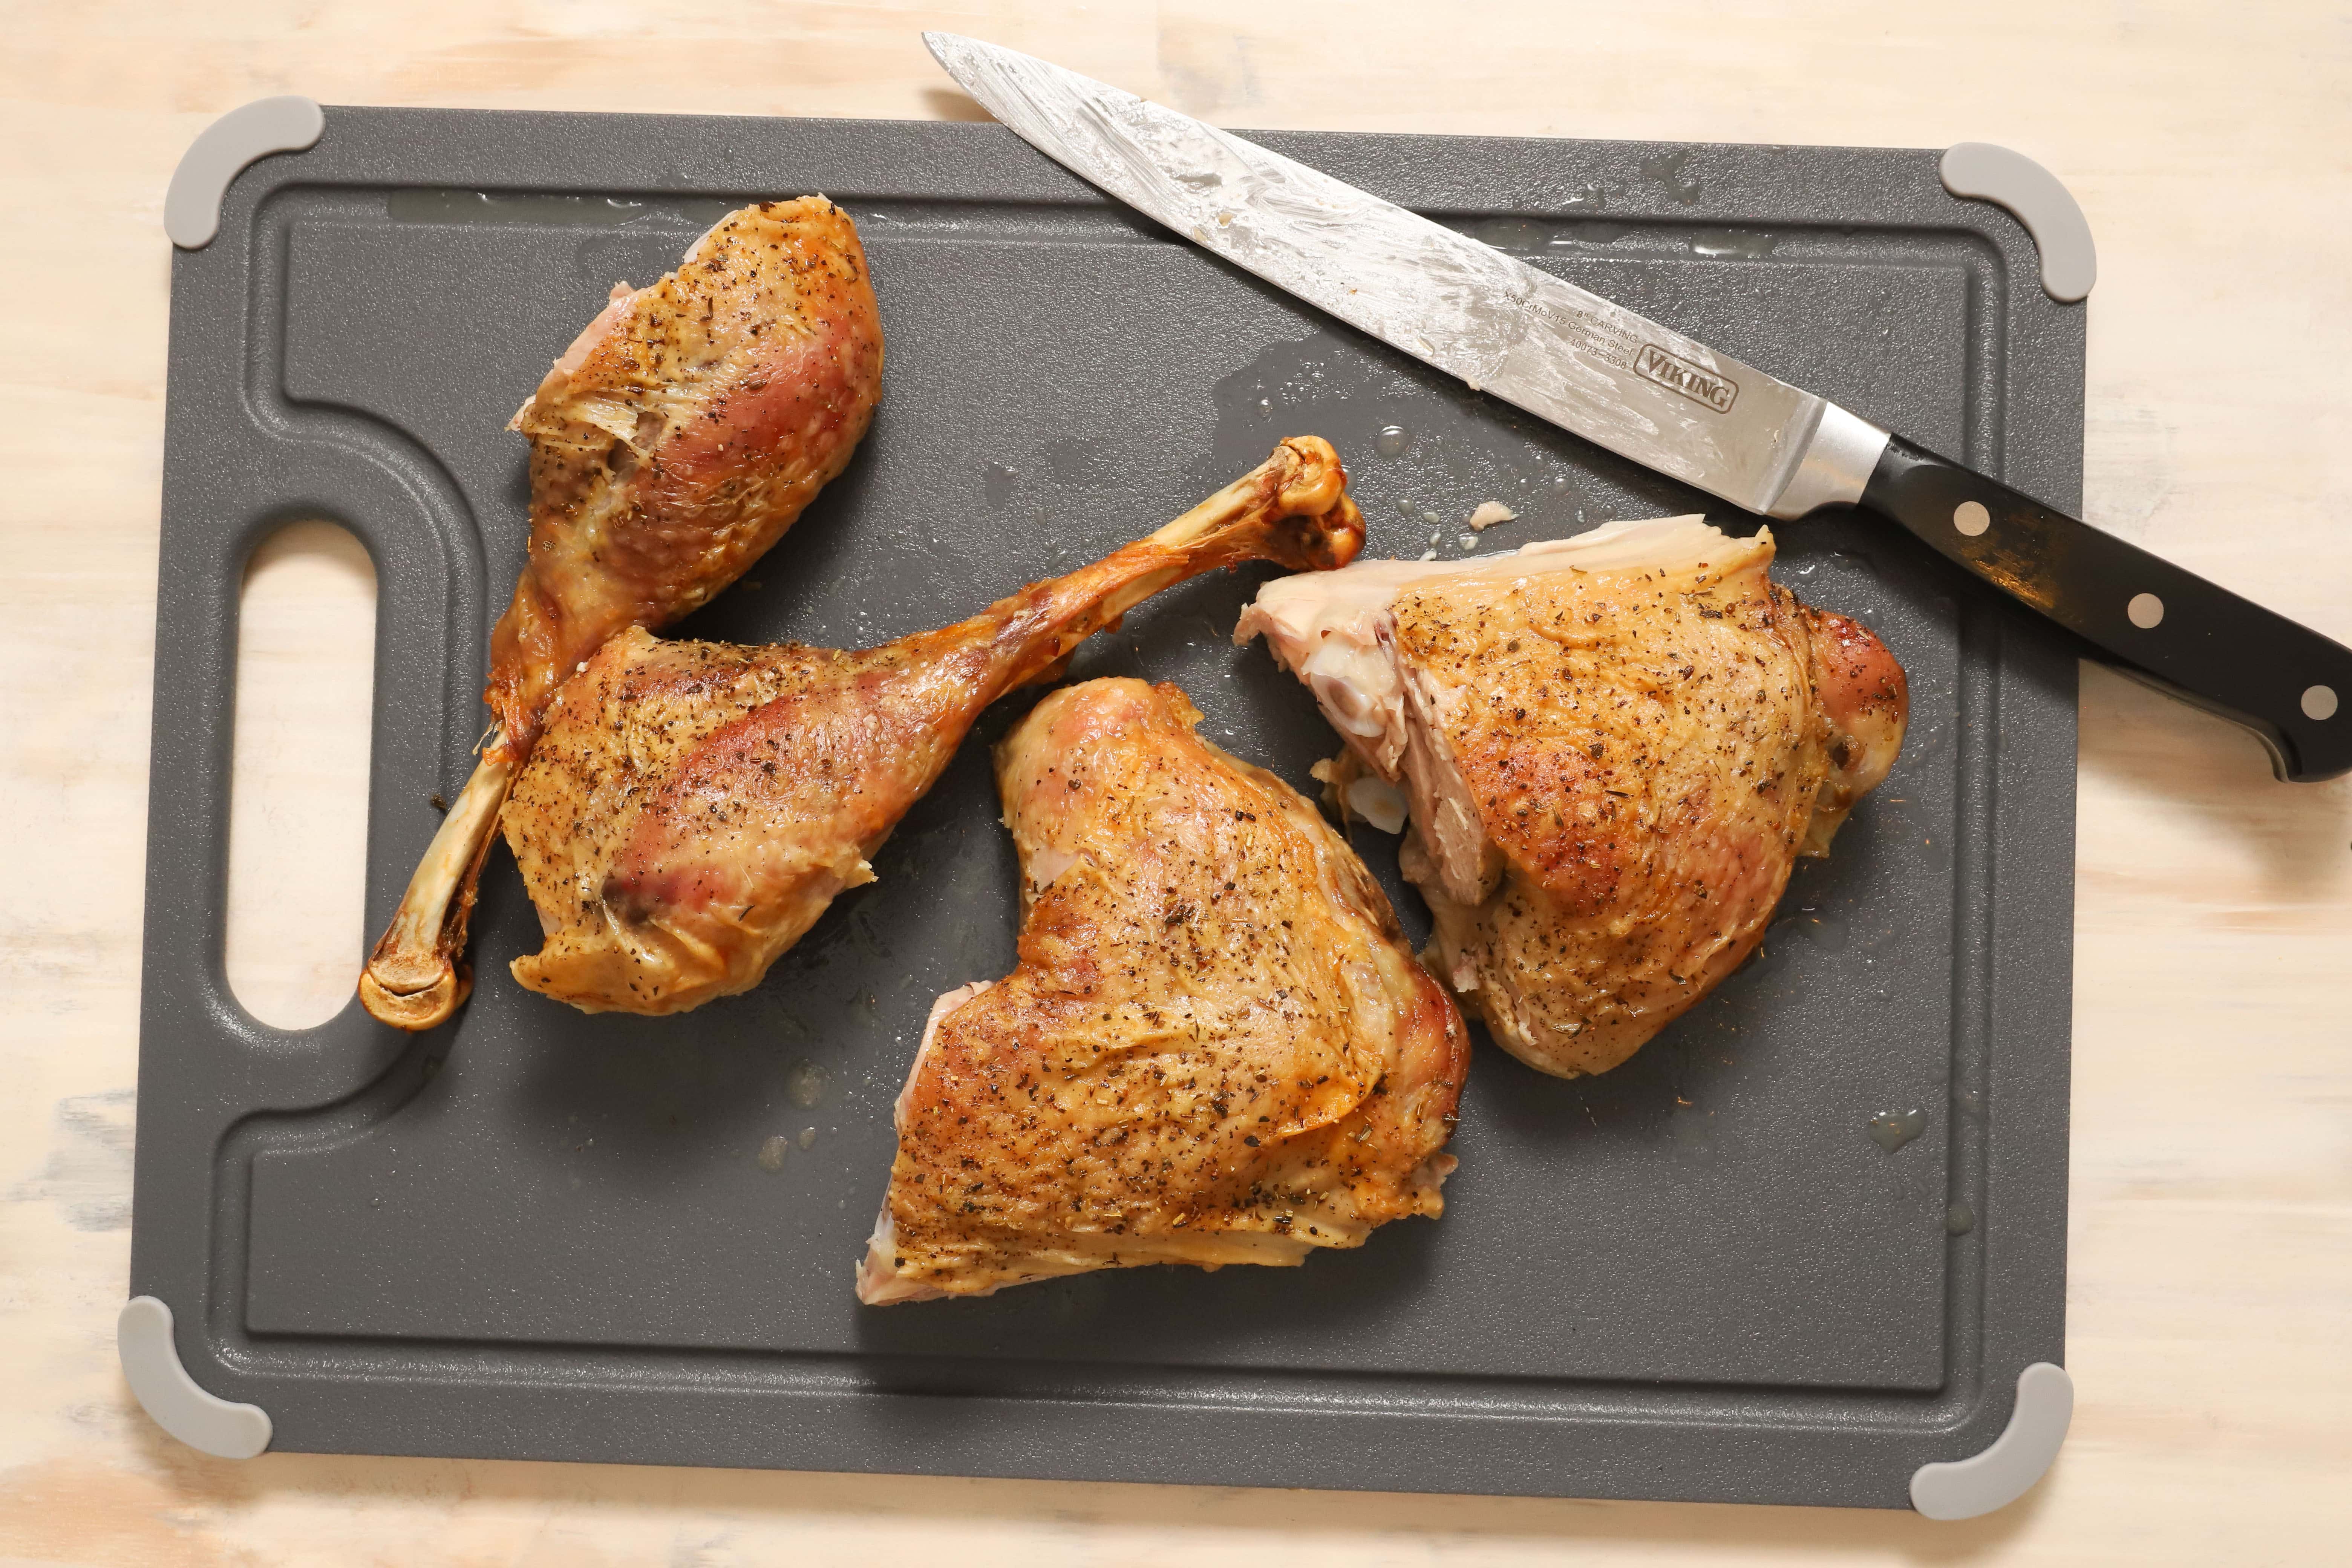
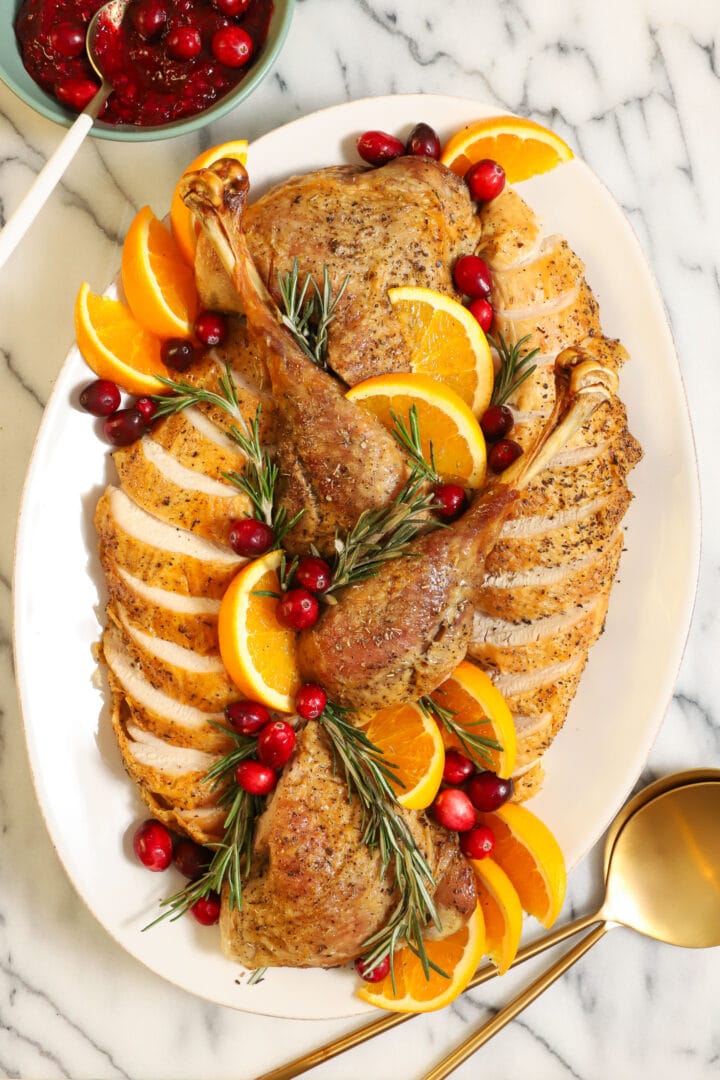
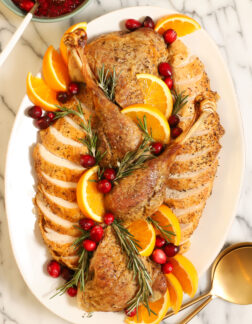
Slice the breast meat against the grain, going all the way up the breast. Arrange the slices with the thighs and drumsticks on a platter as desired before serving.
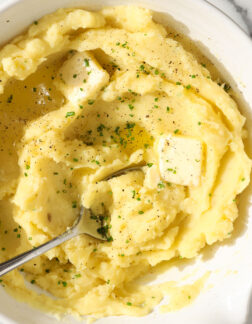
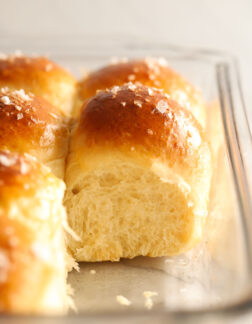
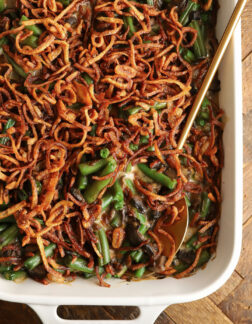
If you’re looking for more Thanksgiving staples, you’re in the right place! Here’s a few other things to make this roast turkey complete.


A Turkey For Thanksgiving
- Prep Time: 2 days
- Cook Time: 1 hour + 20 minutes
- Total Time: 2 days, 1 hour + 20 minutes
- Yield: 1 turkey (servings vary) 1x
- Category: Dinner
- Method: Oven
- Cuisine: American
Description
This perfect turkey has crisp skin and tender, moist meat. On the table in a fraction of traditional cooking times.
Ingredients
- 1 turkey, 10-15 lbs
- 3 TB salt
- 1 TB baking powder
- 1/4 cup olive oil
- fresh black pepper, to taste
- 2 TB Herbs de Provence
Instructions
Thaw the turkey:
- If starting with a frozen turkey, make sure the entire bird is completely thawed before beginning the dry brine. Make sure to plan accordingly, since dry brining takes 24-48 hours.
Spatchcock & dry brine:
- See above visual aids if needed. Thoroughly dry the thawed turkey with paper towels and place it breast side down on a large cutting board. Use your free hand to firmly hold it in place, and use a pair of kitchen shears to make a straight cut on one side of the backbone, beginning where the tail meets the thigh. Continue along on that side, right through the ribs.
- Keep cutting through the thigh joint and the rest of the ribs until you complete the cut at the neck. Open the turkey up a bit to get a better grip and safely make the second cut in the same way. When you’re done with the other side, you can completely remove the backbone. Save the backbone along with the neck and giblets to make some seriously delicious turkey gravy!
- After you remove the back, carefully flip the turkey over so that the breast is facing up. Open up the legs so that the ends of the drumsticks are pointed outwards and the underside of the thighs are flat against the cutting board.
- Using a firm, downward push, crack the ridge of the breastbone so that the turkey can lay flat. Tuck the wing tips underneath the breast so that they don’t burn while roasting. Transfer the flattened turkey to a wire rack set over a foil lined baking sheet.
- Stir the salt and baking powder together in a small bowl, and sprinkle the entire amount evenly over the turkey. Take care to not clump it together, use your fingers to gently dust it over the entire surface of the turkey.
- Allow the seasoned turkey to rest in the fridge for 24-48 hours before roasting. After the first day, cover the bird with foil to prevent the skin from drying out excessively.
Roast & carve (visual aids in post):
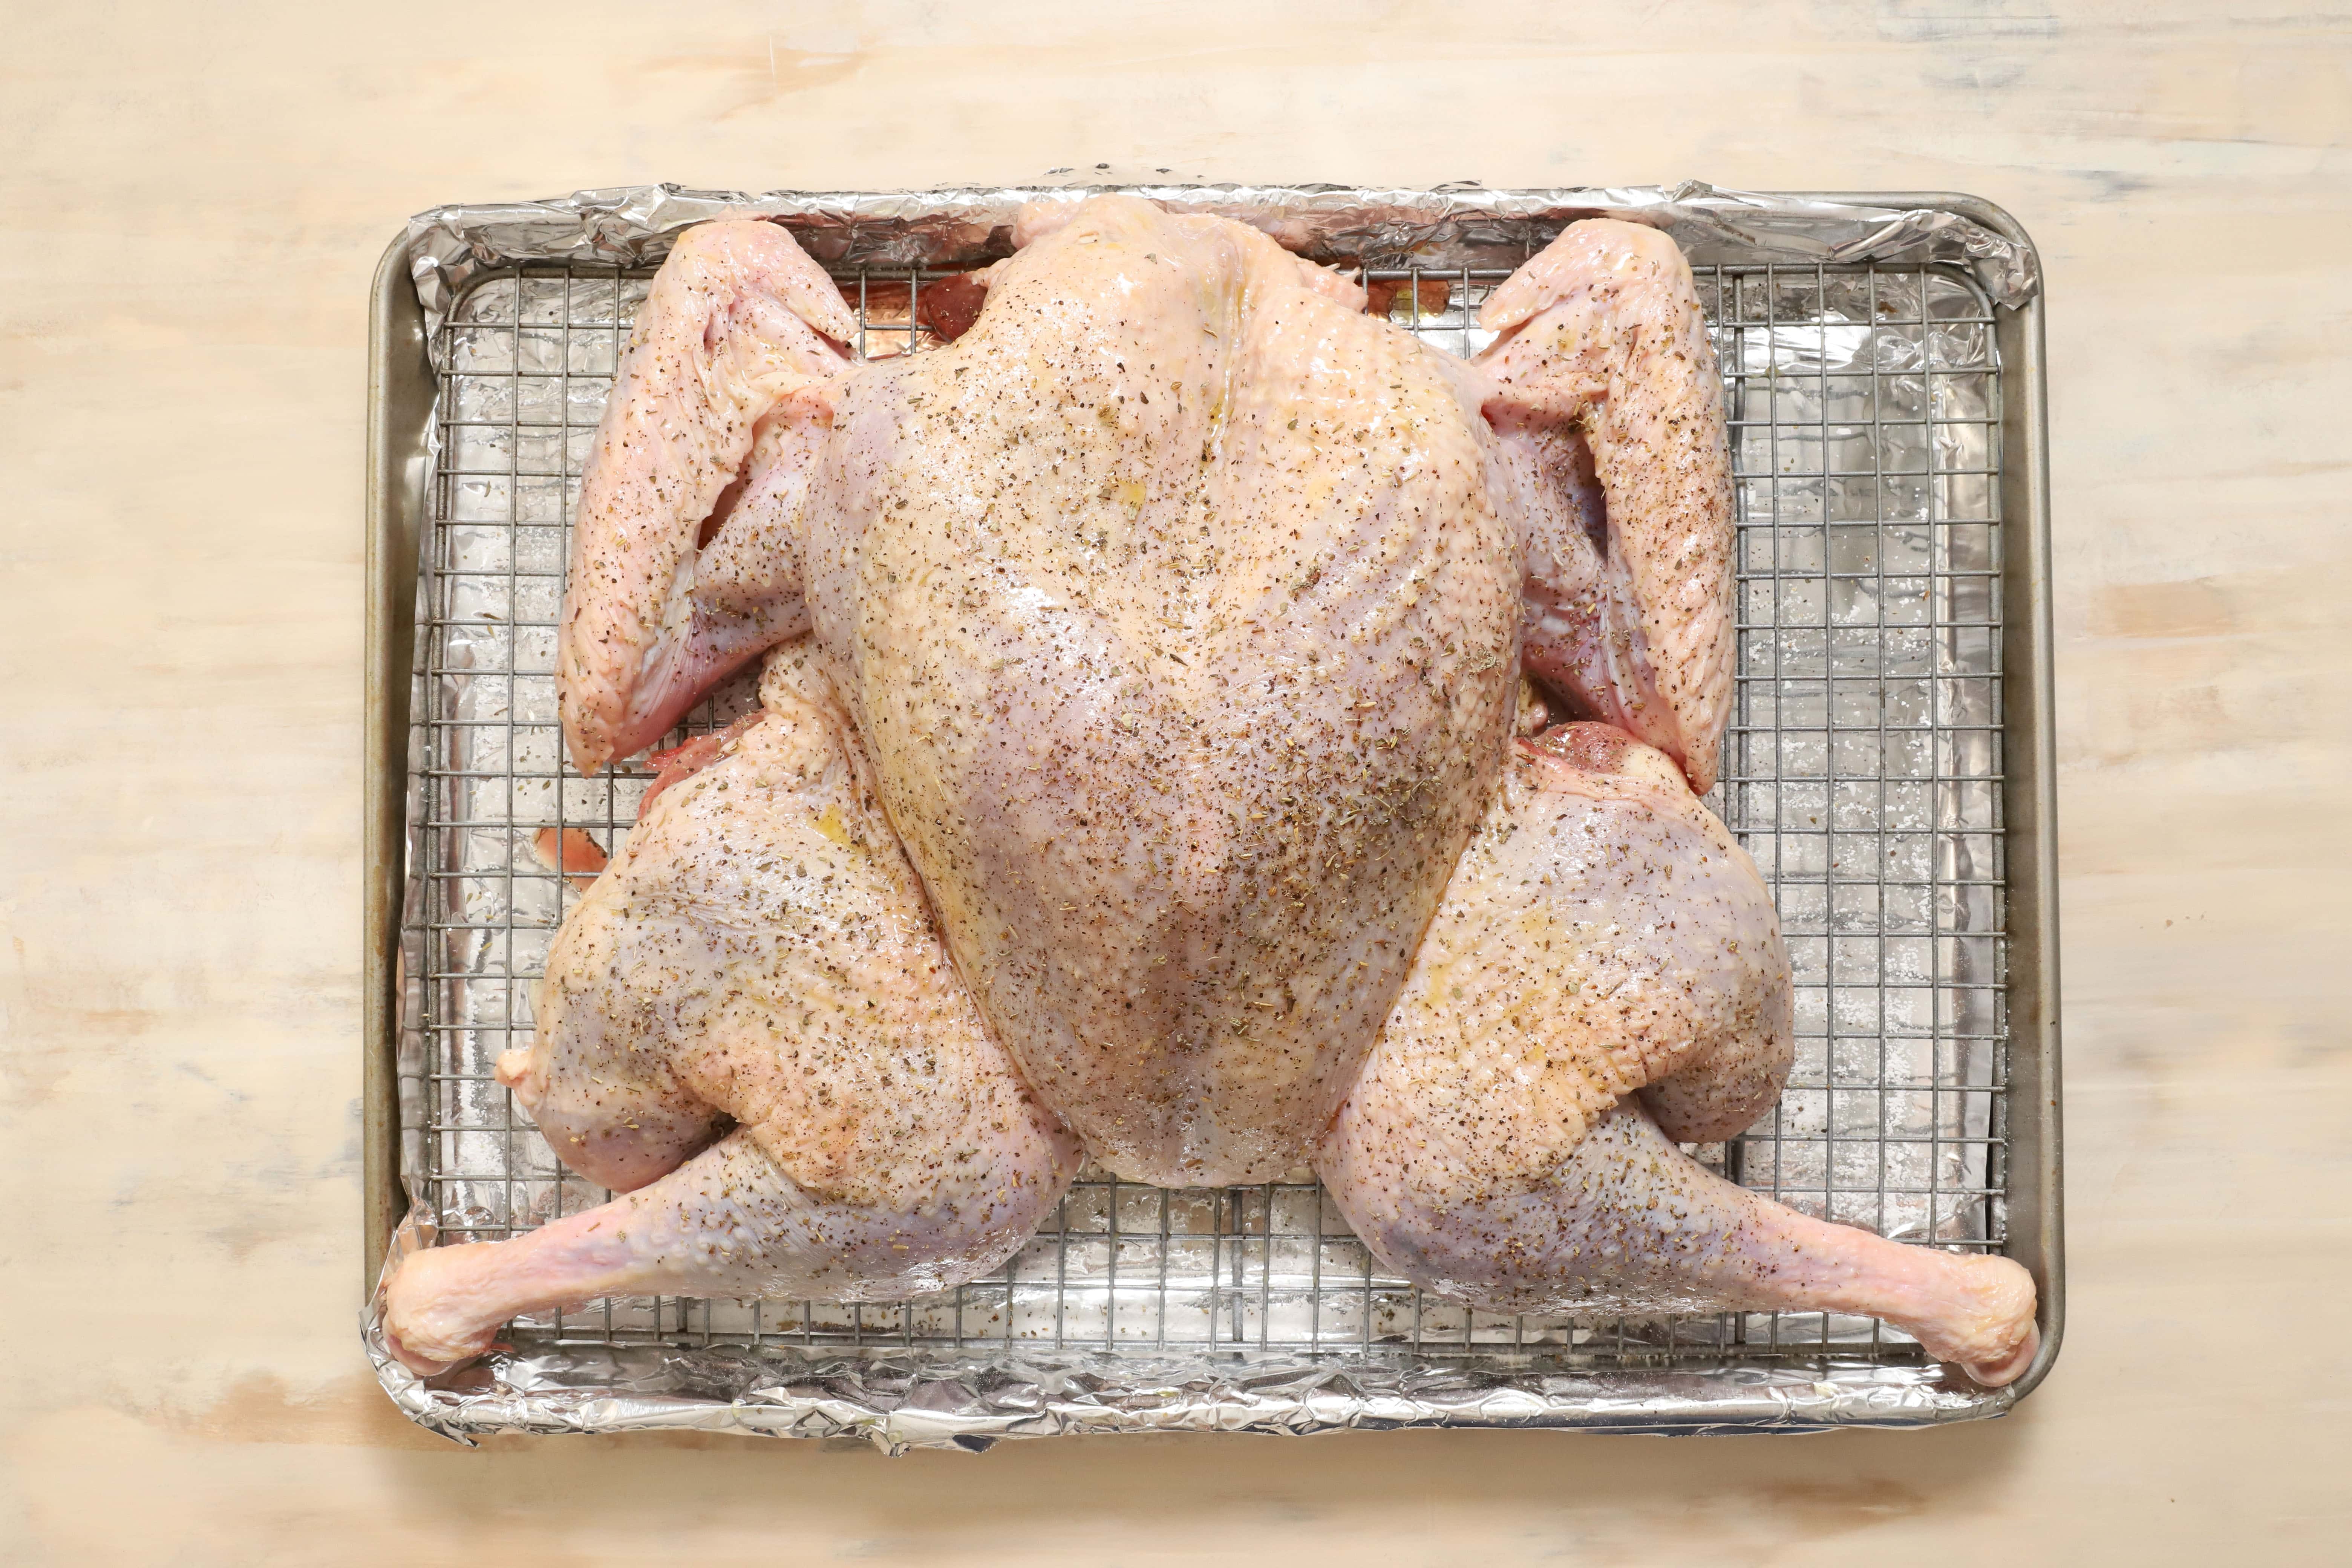
- When you’re ready to roast, remove the turkey from the fridge and preheat the oven to 450 degrees. Pat the turkey dry with paper towels, if necessary, and rub the olive oil over the entire turkey. Be sure to coat the sides, wings and legs. Season with fresh black pepper and Herbs de Provence.
- Roast the turkey for 70-80 minutes, or until the thickest part of the breast measures 145-150 degrees near the bone. Allow to rest at room temperature for 20-30 minutes before carving.
- To carve the turkey, unhook the wings from inside the breast, and pull each wing back away from the turkey. Use a sharp knife to slice through the joint, which should be a few inches into the side of the breast.
- Do the same for the thighs and drumsticks. At this point, don’t worry about separating the drums from the thighs, just get the thighs off of the turkey. Slice through the hip joint at the outward facing lower corners of the breasts, where they meet the thighs.
- To separate the thighs from the drumsticks, use your knife to follow an upward angle, away from the thigh and towards the top of the drumstick. Slice through the joint and separate each drumstick. See visual aid above for more explanation.
- Use several long strokes with the knife to separate the breast meat from the ribcage and breastbone. As you make the cuts, use your other hand to gently pull the meat away.
- Slice the breast meat against the grain and arrange on a platter. Position the thighs and drumsticks around the slices and add garnish as desired.
Equipment
 Buy Now →
 Nutrition
- Serving Size: 6 ounces
- Calories: 417
- Sugar: 0 g
- Sodium: 244.3 mg
- Fat: 13 g
- Saturated Fat: 3.3 g
- Trans Fat: 0.1 g
- Carbohydrates: 0 g
- Fiber: 0 g
- Protein: 70.3 g
- Cholesterol: 244.3 mg