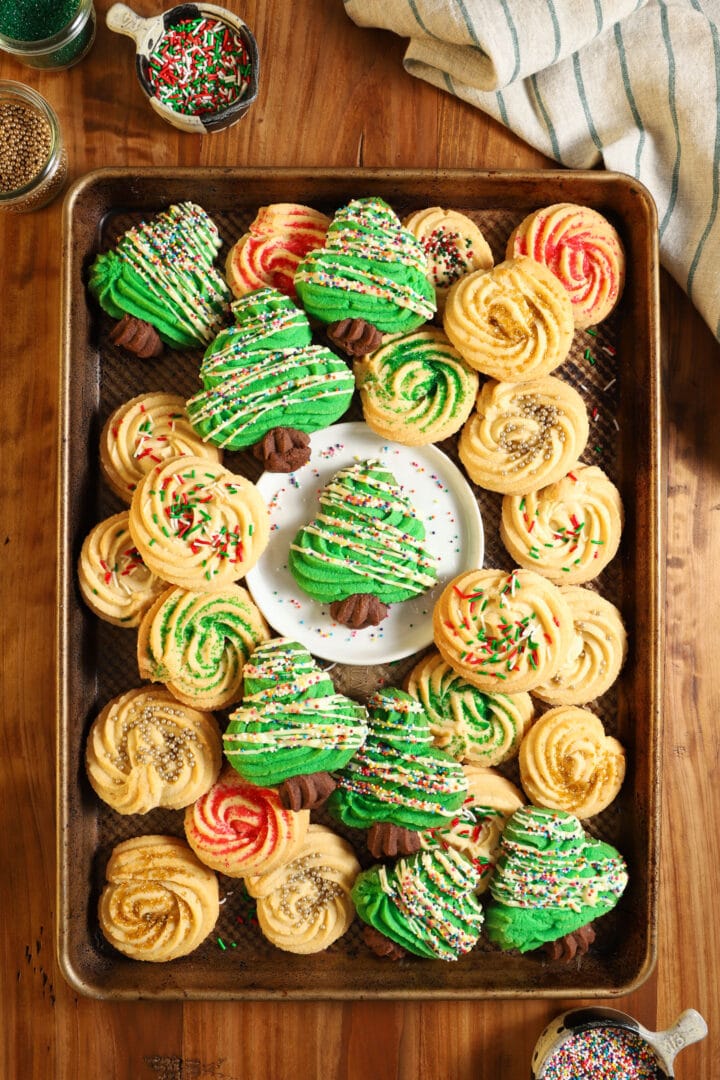
Butter Swirl Cookies
These cute little butter swirl cookies are a cookie exchange classic. With a light, buttery sweet flavor and crisp, satisfying texture, they definitely won’t last long wherever they go!

Butter me up.
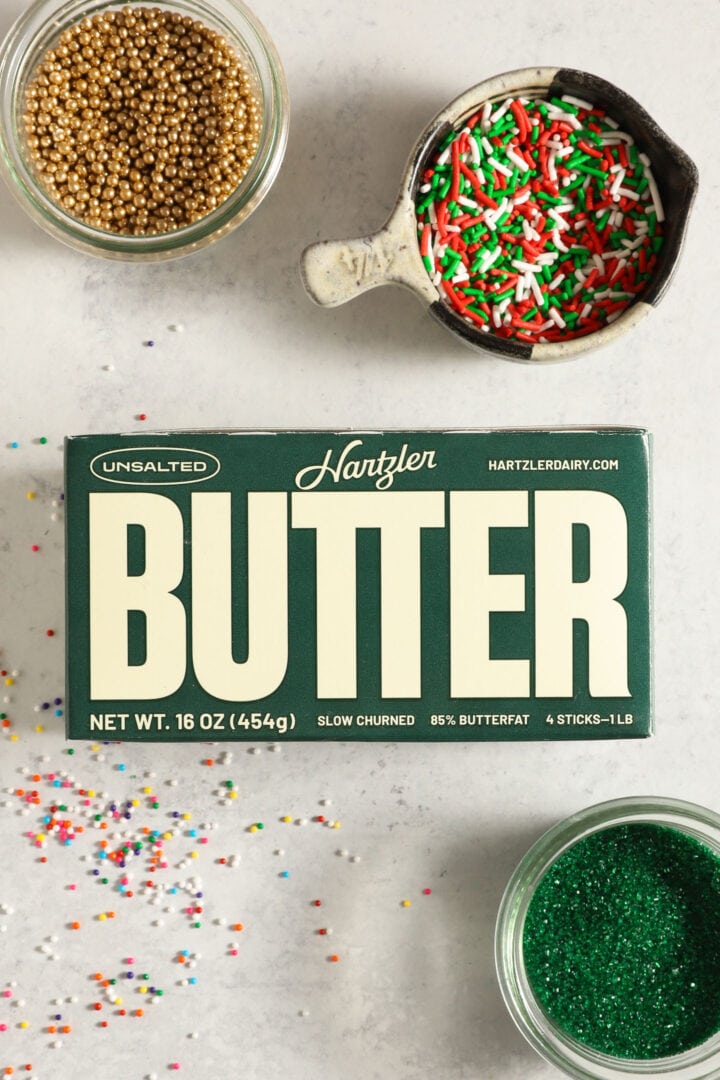
Be sure to use something with a butterfat content of at least 81%. Kerrygold is a good brand that’s readily available at most stores, and conveniently sold in 2 stick packs. That’s all the butter you need for these cookies!
The higher the butterfat, the better your cookies will taste. These are butter swirl cookies, after all. This is one of those times to splurge and get the good stuff. If you live in the Midwest or near plenty of smaller dairy farms like I do, look a little harder for local butter. I use Hartzler dairy because they have 85% butterfat, making for truly luxurious cookies indeed.
Another great choice is Tillamook, which is always my runner up if local isn’t available.
Flavoring
Like I said before, using a rich, high quality butter is the most important thing you can do to give these cookies great flavor. But adding vanilla and just a touch of coconut extract sends these butter swirl cookies to the next level.
Don’t be scared of the coconut extract! I will admit, when the dough is mixing, you can really smell the coconut and it tricks you into thinking that you made a mistake. However, when I sent out the cookies to my testers, no one caught any coconut flavor. They all said they tasted the vanilla, plus something special that they just couldn’t put a finger on.
These butter swirls are absolutely reminiscent of those Danish butter cookies that you get in the sewing kits.
Piping tips & tricks
That high butterfat also comes in handy for piping. The creamier the butter, the more smoothly you’ll be able to pipe the dough. Be sure to beat the butter and sugar for the full 6 minutes at the beginning of the recipe, and add the full two tablespoons of milk at the end of the recipe. The mixing times are there because they make sure the dough is soft enough to pipe well.
You’ll need a very LARGE piping tip to swirl these cookies. I use the Ateco #827 piping tip, which has a 9/16″ opening. If you use Wilton, the 1M is that equivalent.
Save yourself the aggravation and don’t try using anything smaller, because you’ll have to put WAY too much pressure on the dough. Even if the piping bag doesn’t break, your hands are going to shake so bad from squeezing that anything you DO pipe will be craggy and unattractive.

Only load about half of the dough into the bag at one time. Even though it’s smooth enough to pipe, you still need a good amount of steady pressure to make the swirls. If you only work with half the batch at a time, it’ll be easier to control your movements.
If all of the dough is in there at once, you have to put all the pressure at the TOP of the bag to move it all through, rather than being able to squeeze closer to the end where you need it. Be patient and don’t move more dough than you have to!
Keeping shape
I have a little cornstarch mixed in with the flour to help these butter swirl cookies keep their shape in the oven, as well as give them a little extra crispness.
The butter needs to be nice and soft to pipe out the cookies, but soft butter means cookies than spread when they bake! We obviously don’t want that. So after you pipe the cookies, let them rest in the freezer for a full 30 minutes. After putting them in the freezer, you can start preheating the oven.
Even if the oven comes up to temp before the 30 minutes are over, don’t bake the cookies until they’ve had that full half hour to chill. This makes sure that the butter is nice and cold again, keeping those beautiful piped edges.
Each sheet of cookies should have light golden brown edges after 25 minutes. Start checking for color around 20 minutes, depending on your oven.
Storage
Like many Christmas cookies, these butter swirl cookies will keep for a good amount of time. Keep any leftovers sealed in a zip top bag or storage container for up to 2 weeks.
Print
Butter Swirl Cookies
- Prep Time: 10 minutes
- Freeze Time: 30 minutes
- Cook Time: 25 minutes
- Total Time: 1 hour + 5 minutes
- Yield: 10–15 cookies 1x
- Category: Dessert, Cookies & Brownies
- Method: Oven
- Cuisine: American
Description
Light and crisp, these sweet, buttery cookies are a seasonal favorite!
Ingredients
- 2 cups all purpose flour
- 1 tsp salt
- 1 tsp cornstarch
- 1 cup unsalted butter with 82-85% butterfat, cool room temperature
- 1 cup powdered sugar
- 1 tsp vanilla extract
- 1/4 tsp coconut extract
- 2 TB whole milk
- sprinkles or colored sugars
Additional ingredients to make the Christmas trees:
- 1 tsp green gel food coloring
- 1 tsp cocoa powder
- 4 oz white chocolate or white candy coating discs
- rainbow nonpareils
Instructions
- Whisk the flour, salt and cornstarch together in a small bowl and set aside. Line two baking sheet with either parchment paper or a silicone baking mat. Don’t preheat your oven yet.
- In the bowl of a stand mixer, combine the butter, powdered sugar, vanilla and coconut extract. Use the paddle attachment to mix on low speed for one minute to incorporate the powdered sugar without it blowing out of the bowl.
- Stop the mixer and use a stiff spatula to scrape the sides and bottom of the bowl, making sure any stubborn butter/sugar is off of the bottom of the bowl completely. Increase the speed to high and beat the butter and sugar for 3 minutes.
- Scrape the bowl again and mix on high speed for another 3 minutes. The butter mixture should be very pale and fluffy, and almost doubled in volume.
- Add the flour mixture all at once, and mix on low speed for 30 seconds. At that point, the dough should be forming into crumbles.
- With the mixer still running on low speed, add the milk. Increase the speed to medium high and beat for one minute. Scrape down the sides of the bowl and beat for another minute.
- If you are making Christmas trees, remove 1/2 cup of the cookie dough at this point, and set aside. Add the green food coloring to the remaining dough in the stand mixer bowl, and mix on medium high speed until all remaining dough has been tinted green to your preference. You may need to stop and scrape the bowl a few times to make sure there are no uncolored streaks left.
- Add the teaspoon of cocoa powder to the removed 1/2 cup of dough and stir to fully combine, tinting the dough brown. Set aside.
- No matter what shape of cookies you are making, fit a large (16-18 inch) piping bag with a jumbo star piping tip. I recommend either the Ateco #827 piping tip or the Wilton 1M. You need to use an extra large tip, or the cookie dough will be impossible to pipe.
- Load half of the cookie dough (green or plain, don’t do anything with the brown yet) into the prepared piping bag and do your best to remove any air pockets.
- To create plain, round swirls, pipe no more than 12 cookies on the first baking sheet, using the other baking sheet for the remaining cookies. Each round swirl should measure about 2 1/2 inches wide. Refill your bag with the remaining half of the dough when needed.
- After piping the swirls, decorate with sprinkles as desired.
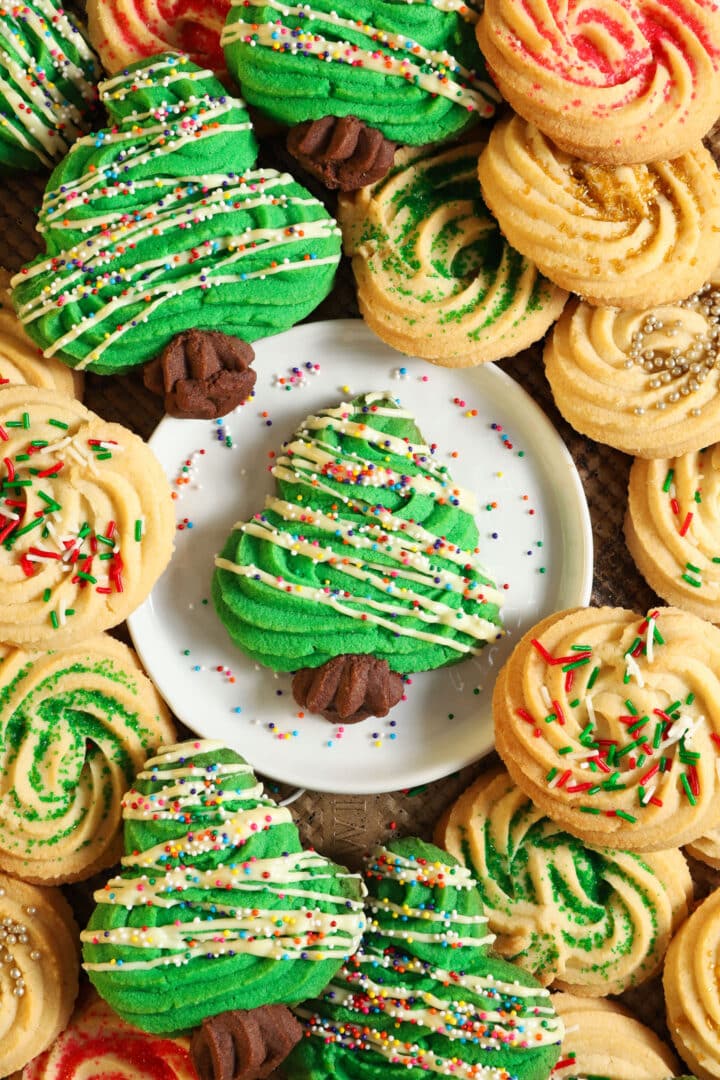
- If you’re making Christmas trees, pipe the green dough into a soft zig zag pattern that starts narrow and widens as you create the triangle tree shape. For best results, don’t give the trees more than 3 levels. Only pipe 5 trees on each baking sheet, you should get about 10 trees from the green dough.
- Pipe the brown dough at the base of each tree to create a trunk about an inch long. Make sure that the trunk is touching the tree.
- After piping either kind of cookies, place the baking sheets in the freezer for 30 minutes. After you load the cookies into the freezer, preheat the oven to 350 degrees.
- Bake each frozen sheet for 25 minutes, or until the edges of the cookies are light golden brown. Allow the cookies to cool completely before serving, just leave them on the baking sheet. Ideally, allow them to rest overnight for the best flavor and texture.
- To finish the Christmas trees, allow the cookies to cool completely. Melt the white chocolate/white coating until completely smooth and add to a clean piping bag. Use scissors to snip a small opening at the tip of the bag, and drizzle the white chocolate over the trees as desired.
- While the chocolate is still wet, sprinkle with the rainbow nonpareils. Allow the chocolate to set before serving.
- These cookies will keep at room temperature for a couple weeks. Store in a sealed container or zip top bag.


Nutrition
- Serving Size: 1 decorated cookie (1 tsp white chocolate included)
- Calories: 239
- Sugar: 9.4 g
- Sodium: 170.5 mg
- Fat: 14.3 g
- Saturated Fat: 8.6 g
- Trans Fat: 0 g
- Carbohydrates: 22.4 g
- Fiber: 0.5 g
- Protein: 5.3 g
- Cholesterol: 37.5 mg