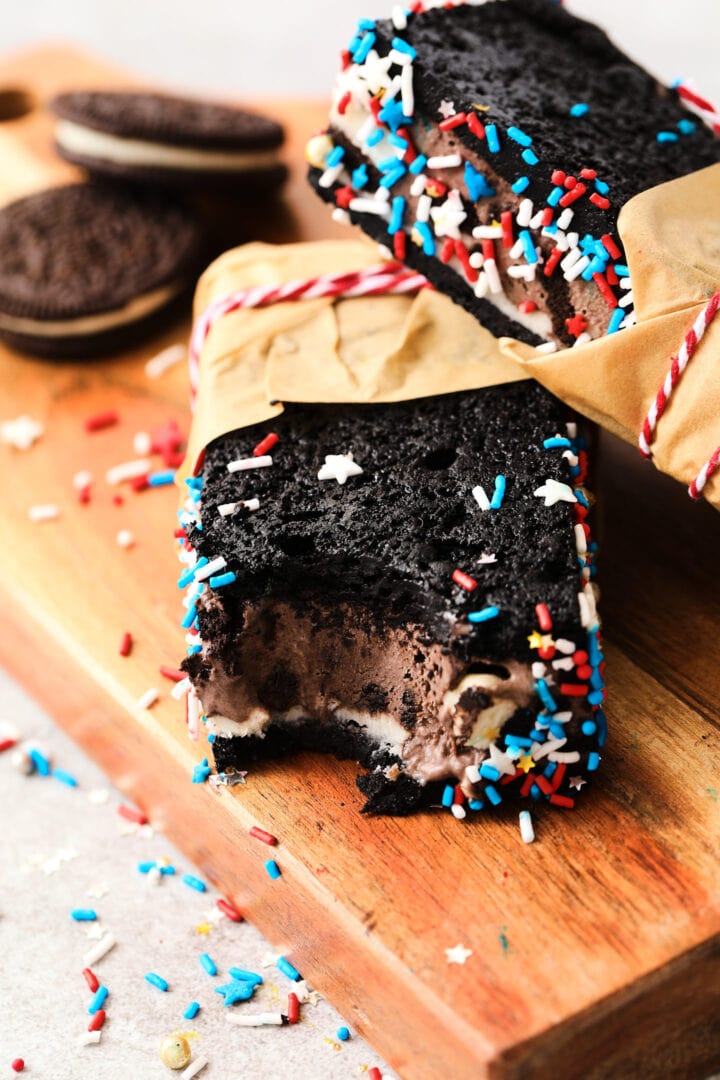
Cookies & Cream Sandwiches
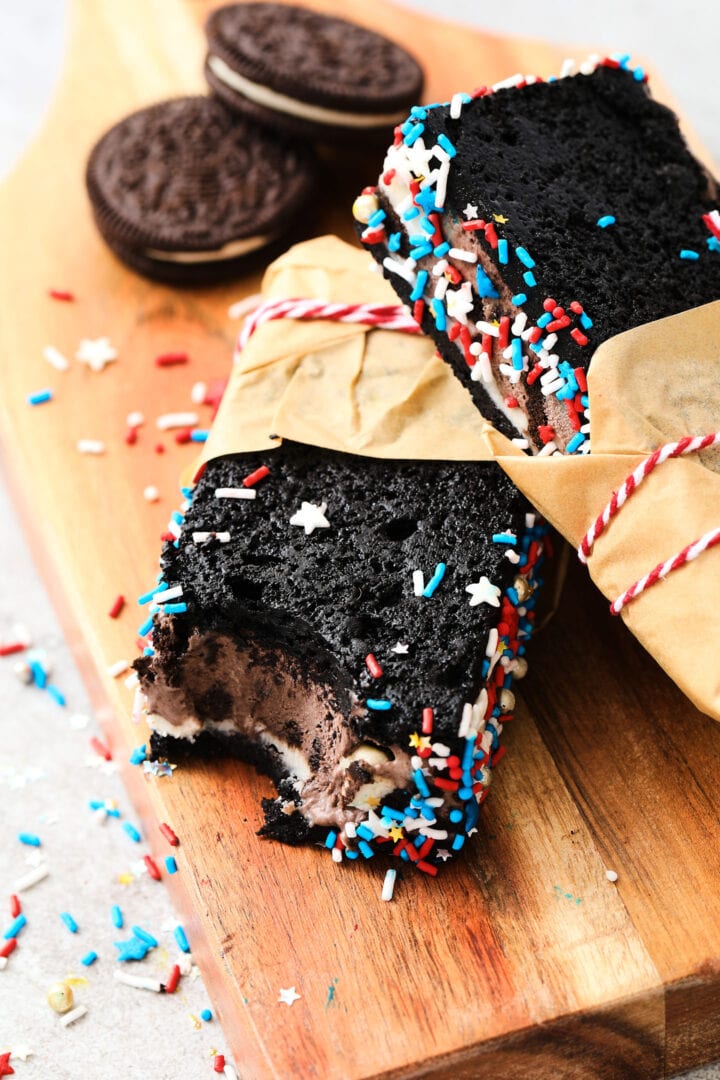
These cookies & cream sandwiches use an entire package of Double Stuf Oreos, and they’re everything Oreo dreams are made of. The cookie part is a homemade black cocoa cookie recipe that stays soft in the deep freeze.
The ice cream filling for these cookies & cream sandwiches looks like a light chocolate, and it kind of is. You know the melted ice cream that’s always at the bottom of a cookies and cream milkshake? That’s the flavor of this ice cream. You don’t have to wait to get that dreamy creamy cocoa cookie flavor.
Double Stuf-ed.
You only need one regular sized package of double Stuf Oreos for this entire recipe. Don’t get the family size, there’s too many cookies in there. If you want to go by weight, it’s the 14-15 oz package with 27 cookies.
Take half of the cookies (13 or 14 depending on where you want to put the extra cookie) and separate the chocolate cookie halves from the creme filling. You’ll need to use a butter knife to scrape all the filling off. Keep the cookie halves in a medium-large mixing bowl and the filling in a smaller bowl.
You’ll need the split cookie halves first. Gently warm the milk on the stove and add the sugar, salt and vanilla. Stir just until the sugar is dissolved, then add the heavy cream. Pour the entire mixture over the chocolate cookie halves, cover and let it chill for at least 4 hours. The soaked cookies will easily whisk into a smooth mixture that tastes like a milkshake. Seriously, so good.
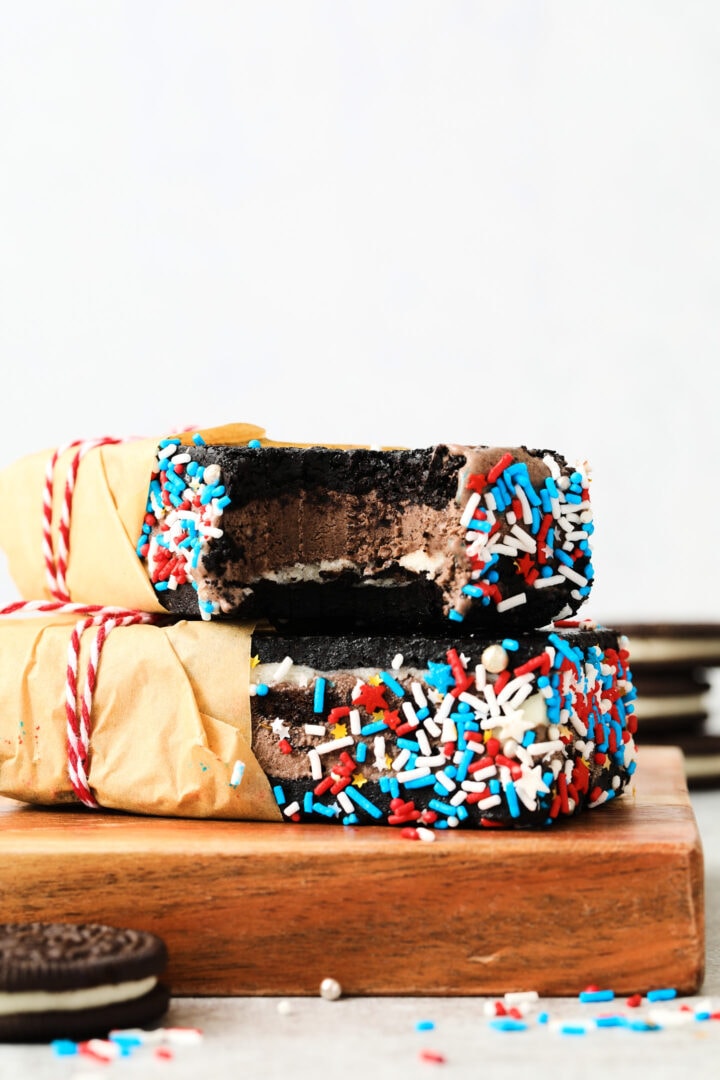
Once the ice cream base is whisked and ready to go, keep it chilled in the fridge and wait to churn it until you’ve baked the top and bottom squares for the sandwiches. That way, you can assemble the sandwiches while the ice cream is freshly churned and still softer. It’ll spread a lot easier!
Also, hang on to the creme filling. You’ll need it later 😉
Make the squares
Two giant chocolate squares for the top and bottom of these cookies & cream sandwiches. To keep things as Oreo as possible, I used black cocoa rather than regular cocoa powder. Using regular cocoa will also work, but it won’t have as deep of an Oreo flavor. It will still make a delicious ice cream sandwich, though!
The key to keeping the cookie layers soft in the freezer comes down to two things. First, use a spatula to make the dough by hand rather than beating everything with a mixer. Overmixed/beaten dough will make for tougher, drier cookies, which will only get worse when they freeze.
It’ll be easier than you think to make this by hand, since the dough is actually more like a very thick batter. Just keep swiping around the bowl and working everything together, and it shouldn’t take more than a few minutes to have a smooth mixture.
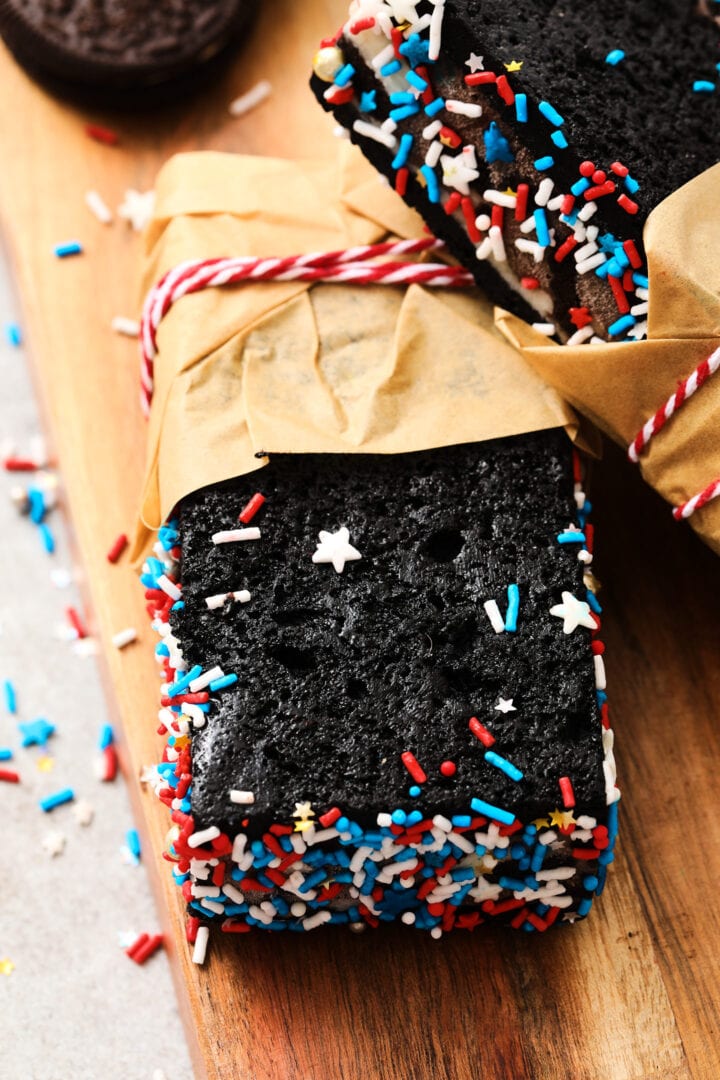
The second thing to do for the softest cookies is to underbake them. Just like the cookie “dough” is more batter-like, the baked cookies are more brownie-like. 8-9 minutes in the oven is plenty.
I have you bake the squares one at a time in a 9 x 9 square pan, and then use the same pan to assemble the sandwiches themselves. It takes the guesswork out of rolling out and cutting actual cookie dough, and keeps the food waste at zero.
Lining the pan
If you only have one 9 x 9 pan (like me), then there’s extra steps in getting the squares baked and cooled and ready for assembly. The most important tip that will make these sandwiches a lot easier is properly lining the pan with parchment.
Set the pan in the middle of a larger square of parchment, with about a 3-4 inch border. You can also cut a length from a roll to the right size. Cut straight lines from the edge of the border to each corner, but only cut one line per side. I made a diagram to better explain it, because I don’t think I could describe it well enough without one.
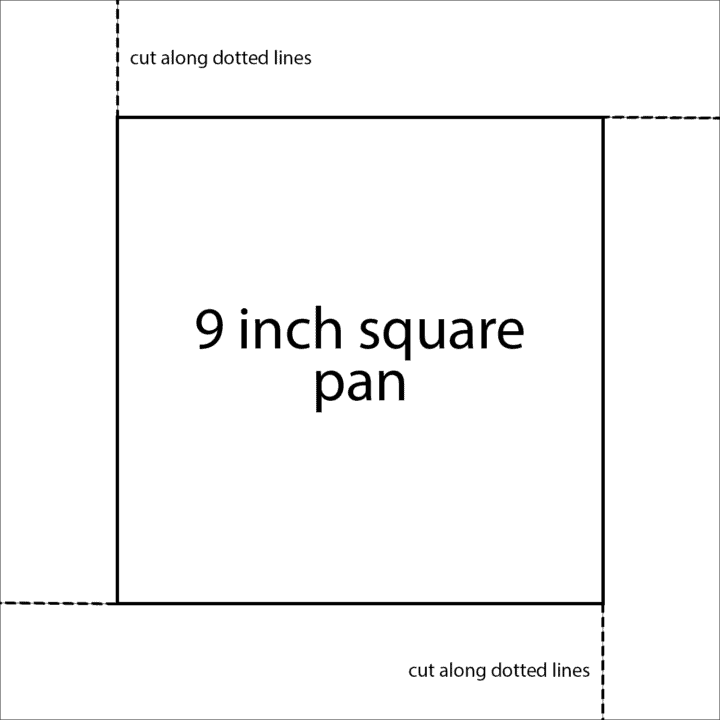
After the lines are cut, set the parchment down into the pan and gently press down along the edges to get the corners to fold up and behind the sides of the parchment.
Done correctly, lining the pan this way will make it 500% easier to not only transfer the first baked square out so you can bake the second one, but it’ll make assembling the sandwiches a lot more manageable, too. Also, when it’s time to cut the slab into sandwiches, the entire thing will just lift cleanly out of the pan and onto the cutting board.
Don’t forget the filling!
Remember the filling you sliced out of the cookies when you made the ice cream? Mix it with a little light corn syrup and some heavy cream before gently melting it in the microwave. Adding both the syrup and cream keeps the filling from freezing solid. Again, a win for your teeth!
This can be done as the ice cream is churning. After you spread it over the first black cookie layer, keep the pan in the fridge so that it can start to thicken up as much as possible before you add the ice cream.
Cookies & Cream Sandwiches
- Prep Time: 1 hour
- Chilling + Freeze: 12 hours
- Cook Time: 45 minutes
- Total Time: 13 hours + 45 minutes
- Yield: 8 sandwiches 1x
- Category: Dessert, Ice Cream & Frozen
- Method: Stovetop, Ice Cream Maker
- Cuisine: American
Description
Cold and creamy, these cookies & cream sandwiches are stuffed with an entire package of chocolate sandwich cookies!
Ingredients
For the chocolate sandwich squares:
- 1 cup + 2 TB all purpose flour
- 2/3 cup black cocoa powder
- 1/2 tsp salt
- 1/2 tsp baking soda
- 6 TB unsalted butter, soft room temperature
- 1/2 cup granulated sugar
- 1/4 cup light brown sugar, packed
- 1 tsp vanilla extract
- 2/3 cup whole milk, room temperature
For the ice cream & creme filling layer
- One 15 oz package Double Stuf Oreo cookies
- 3/4 cup whole milk
- 1/3 cup granulated sugar
- 1/4 tsp salt
- 1/2 tsp vanilla extract
- 1 1/2 cups + 2 tsp heavy cream, divided
- 1 tsp light corn syrup
- sprinkles, if desired
Instructions
To make the ice cream base:
- Take half of the Oreo cookies (about 13-14) and use a butter knife to split them in half. Scrape the creme filling into a small bowl and add the chocolate cookie halves to a medium mixing bowl (I used a 3 quart size.)
- Cover the small bowl of creme filling and set it aside. In a small saucepan, combine the milk, sugar, salt and vanilla extract. Set the saucepan over medium low heat, stirring occasionally until the sugar and salt have dissolved, about 5 minutes.
- Remove the saucepan from the heat and stir in the 1 1/2 cups of heavy cream. Pour the milk/cream mixture over the chocolate cookie halves in the medium-large bowl, using your fingers to push them down into the milk. The cookies will float, but just make sure that they’ve all been dunked and coated at least once.
- Cover the milk and cookies, and chill for at least 4 hours. In the meantime, make the sandwich squares.
Make the chocolate sandwich squares
- Preheat the oven to 350 degrees and line a 9 x 9 square pan with parchment paper. See the post for the best way to line the pan and make assembly easier. You will need 2 squares of parchment paper for the entire process, since you need to make 2 square cookies for the top and bottom. Set the prepared pan aside.
- Sift the flour, cocoa powder, salt and baking soda together in a bowl and set aside.
- Combine the butter and both sugars in a large mixing bowl. Use a spatula to mix them until you have a thick paste. Add the dry ingredients and milk all at the same time, using the spatula to gently work them together until you have a thick “batter.” It won’t be as thick as a traditional cookie dough, but it also won’t really be pourable.
- Divide the batter in half and add the first half to the prepared square pan, leaving the remaining batter in the bowl. Use a small offset spatula or butter knife to spread the batter into an even layer.
- Bake the square for 8-9 minutes, or until the top is no longer wet and shiny. Remove the pan from the oven and firmly tap it 5 times on the counter to settle the cookie, but don’t shut the oven off. Allow the cookie to cool for 10 minutes, then chill the pan in the freezer for another 10 minutes.
- At this point, the pan and cookie should be at room temperature. Gently lift the cookie out of the pan by grabbing the corners of the parchment paper, and quickly transfer it to a wire rack.
- Re-line the square pan with the second square of parchment and add the remaining half of the batter. Smooth the surface and bake for 8-9 minutes. After baking the second cookie, you can shut the oven off.
- Don’t remove the second baked square from the pan, since it’s the first layer in assembling the sandwiches. Wait to proceed with the rest of the recipe until the cookie halves and milk have had the full 4 hours to soak in the fridge.
Assemble the sandwiches:
- Add the remaining 2 tsp of heavy cream and tsp of corn syrup to the small bowl of creme filling. Microwave on full power for 15 seconds, and whisk well until the mixture is smooth. Pour the creme over the chocolate square in the pan, and use a small offset spatula or butter knife to smooth it evenly over the surface.
- Chill the pan while the ice cream is churning.
- Remove the soaked cookie halves and milk from the fridge. Use a whisk to stir the mixture and break up the softened cookies. This shouldn’t take more than a few seconds, since the cookies will be fully softened in the milk. Whisk gently until there are no big chunks of cookie remaining.
- Churn the cookie/milk mixture in your ice cream maker, according to the manufacturer’s instructions. Once the ice cream reaches a soft serve texture, add the Oreo cookie chunks and allow them to fully mix into the ice cream.
- Spread the ice cream over top of the creme and cookie layer in the pan, and quickly top the ice cream with the second chocolate cookie square. It should be firm enough from the freezer to not break or bend.
- Cover the pan with a sheet of plastic wrap, and freeze overnight or until firm.
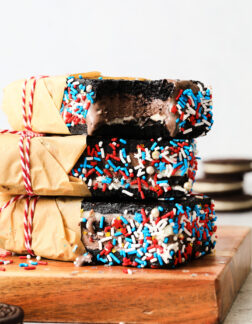
- Once firm, cut the slab into individual sandwiches, and decorate the sides with sprinkles, if desired. The sandwiches will be soft enough to eat right out of the freezer!
Nutrition
- Serving Size: 1 sandwich
- Calories: 518
- Sugar: 45 g
- Sodium: 463.9 mg
- Fat: 24.8 g
- Saturated Fat: 11.2 g
- Trans Fat: 0.3 g
- Carbohydrates: 72.2 g
- Fiber: 2.6 g
- Protein: 6.4 g
- Cholesterol: 49.2 mg


