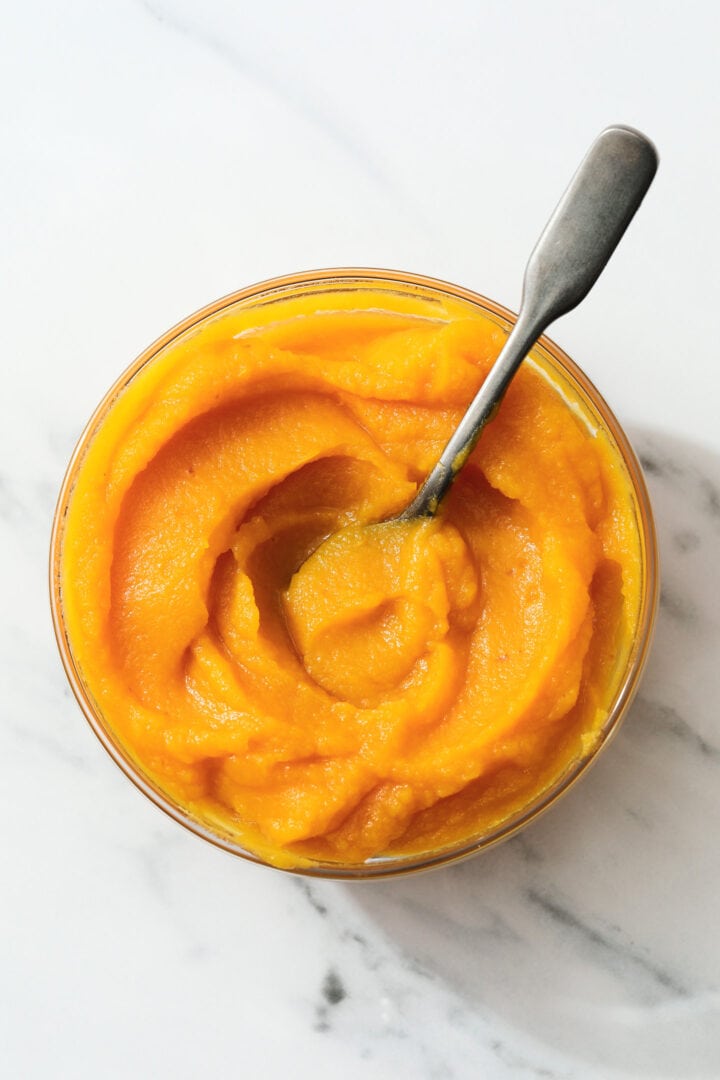
Fresh Pumpkin Puree
Ever wanted to make fresh pumpkin puree from a cute, adorable real-life pumpkin instead of opening a can? Here’s your guide! Everything you’d want to know is here. Choosing your pumpkin, the best way to actually cut it so you keep ALL your fingers, AND a few ideas for the seeds/guts.
Plus, I even did a side by side comparison of a classic 9 inch pumpkin pie using fresh pumpkin puree, a can of Libby’s, and the more expensive organic canned pumpkin. The results might catch you off guard!
Plus plus, there’s a few storage tips for refrigerating and freezing if you’re not planning on using your pumpkin puree right away.
Choosing a pumpkin
Resist the urge to visit the patch for this one. Not only are larger pumpkins difficult to manage and cut, but they won’t taste like you think they will. Save those big boys for making jack-o-lanterns.
Thankfully, most grocery stores begin stocking sugar pumpkins beginning in early-mid September. These littles max out at around 3 pounds and have a thick, sweet flesh that isn’t stringy or watery like the larger patch pumpkins. As you’d expect, the larger your pumpkin, the more puree you’re going to get. I used a 2lb, 12 oz pumpkin for this post, and it yielded 2 full cups of fresh pumpkin puree.
Slicing and preparing your pumpkin
Use a large, heavy knife that you can control well. Pumpkins are round and the skin is smooth, so they don’t stay still very well on a cutting board. And although you might think it’s easier to just set it upright and cut through the stem first, it’s not. The stem is the toughest part of the pumpkin to get through.
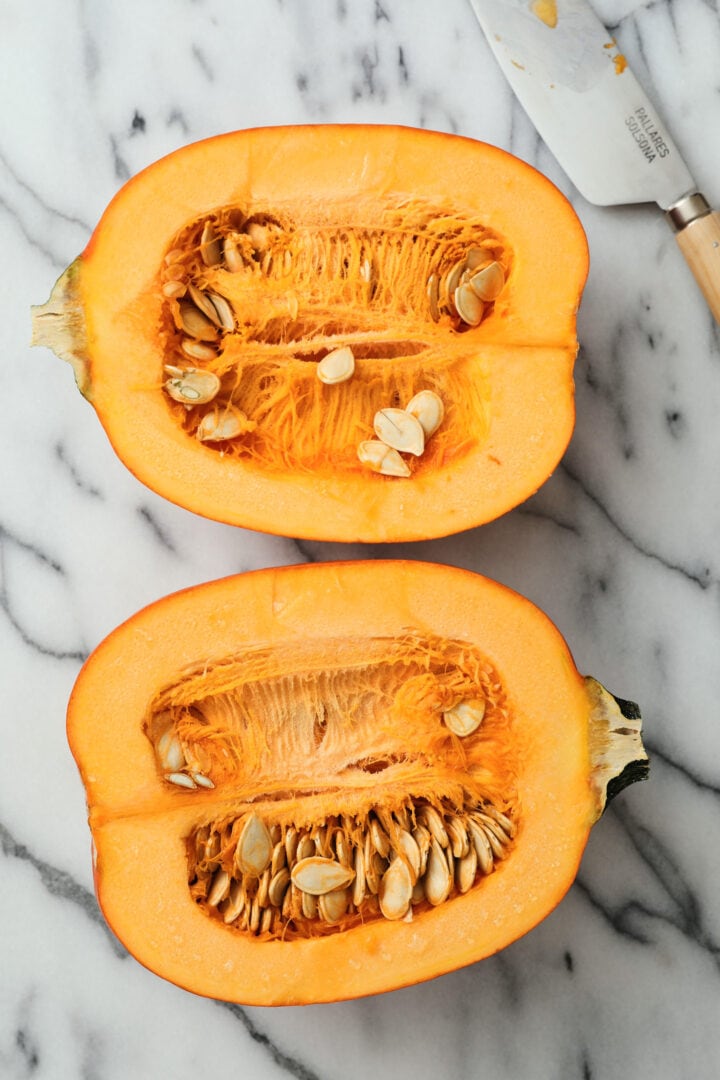
Putting all your weight behind the knife to cut through that stem vertically isn’t the best way to go about it. Once you finally do cut through the stem, you’ll slice down the rest of the pumpkin too quickly and make a less than desirable slice. The goal is using the knife with the least amount of pressure possible so that the pumpkin stays on the board and doesn’t move unexpectedly.
- Position the pumpkin on its side, with the flat bottom closest to you and the stem facing the opposite direction.
- Steady the pumpkin by holding the stem end with your non-knife hand.
- Dive the tip of the knife into the center of the side facing up.
- Bring the back (handle) of the knife down to the cutting board (towards you) and make the first half of the cut through the bottom of the pumpkin.
- Set the knife down and reposition the pumpkin so that the stem now faces you. The second cut is easier than the first, since you can begin by using the slice that has already been made.
- Carefully repeat the cutting process and slice through the stem, separating the pumpkin into 2 sections.
Scoop out the seeds with a large spoon and remove them to a bowl. There’s a few things you can do with the seeds/guts!
- Wash and save the seeds for planting your own sugar pumpkins.
- Toast and salt the seeds for a yummy snack.
- Use the seeds and stringy flesh as guts in your haunted house!
- Or, just compost both of them.
Roasting the pumpkin halves
Line a baking sheet (I used a quarter sheet pan) with foil and set the halves facing up. Roast in a 350 degree oven for 45 minutes, the flesh will be slightly golden brown and you will be able to pierce the skin without resistance. Allow the pumpkin halves to cool down to room temperature before scooping out the flesh.
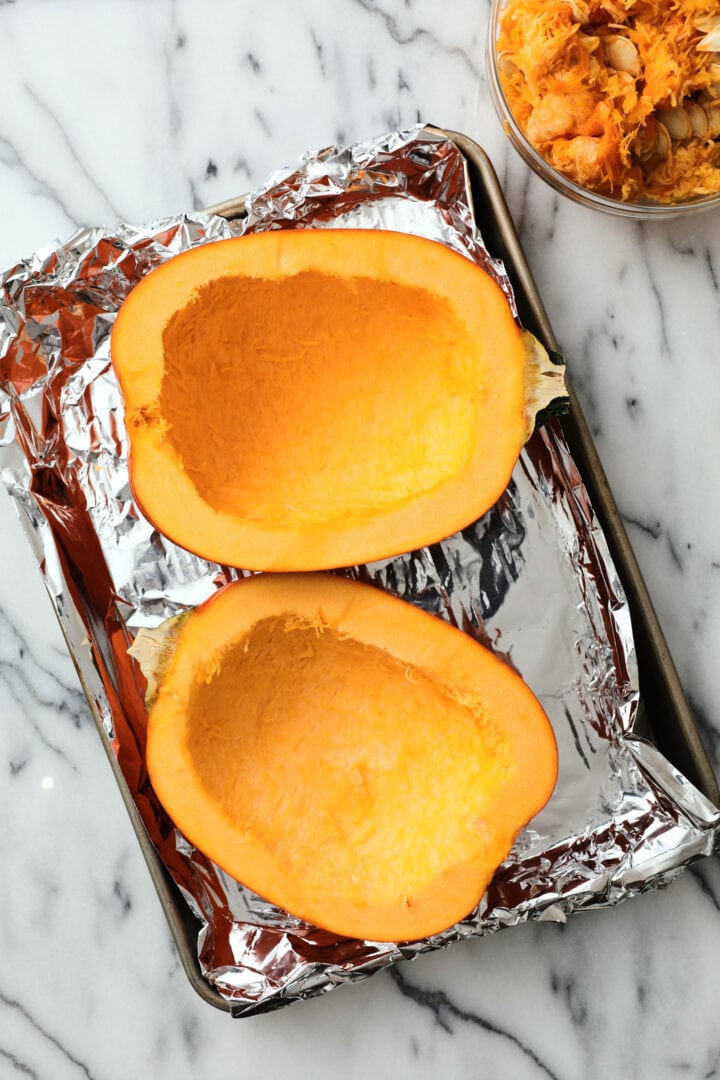
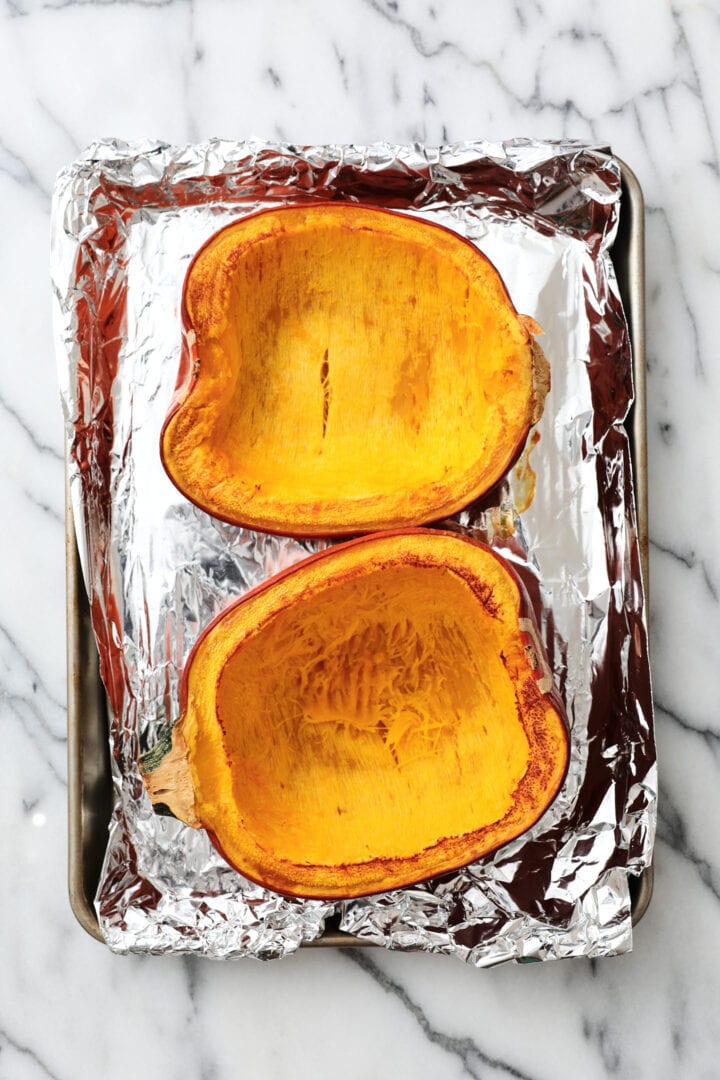
If you find that the cut sides are browning a little bit before the rest of the flesh has fully softened, flip the halves over so that the cut sides are on the foil. Roast for an additional 7-8 minutes, or until the the skin can be poked through with NO resistance.
Finishing and using the puree
After the flesh has been scooped out of the skin, it will look a little stringy, but don’t worry! Add it to a blender or food processor and pulse until you have perfectly smooth pumpkin puree.
You can use this as a 1:1 substitute for any recipe calling for canned pumpkin.
The fresh pumpkin is definitely something you’ll want to use with savory recipes. You just can’t beat the buttery, fresh flavor that goes so well with a lot of other fall flavors, like smoky and woodsy notes.
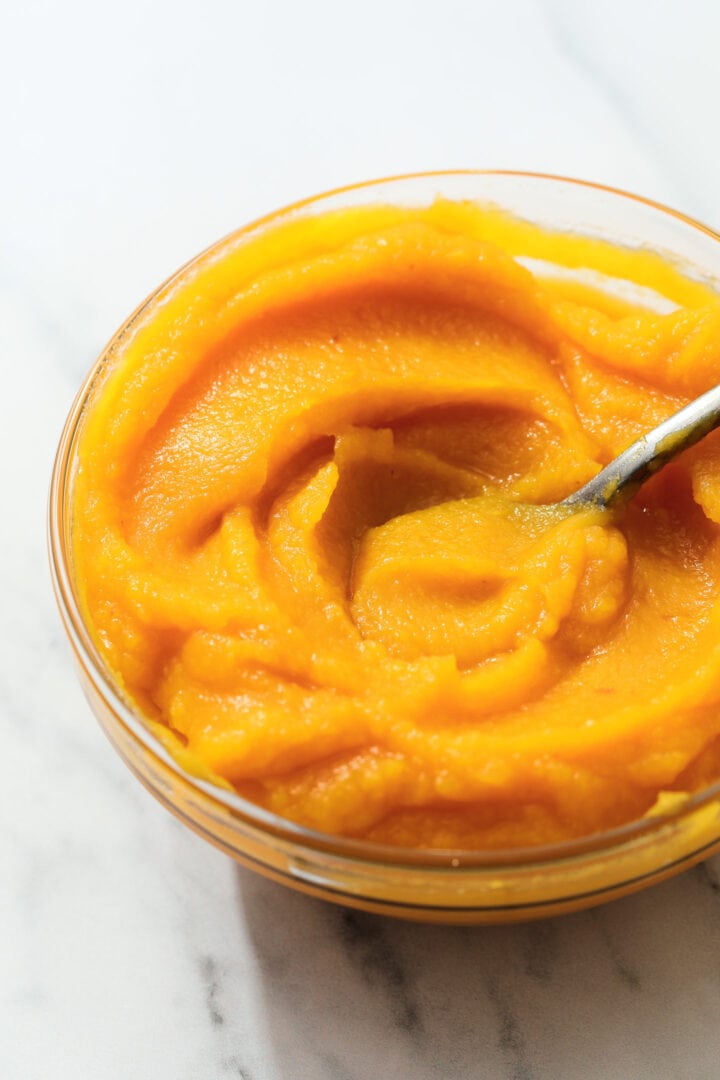
How does fresh pumpkin puree compare to canned?
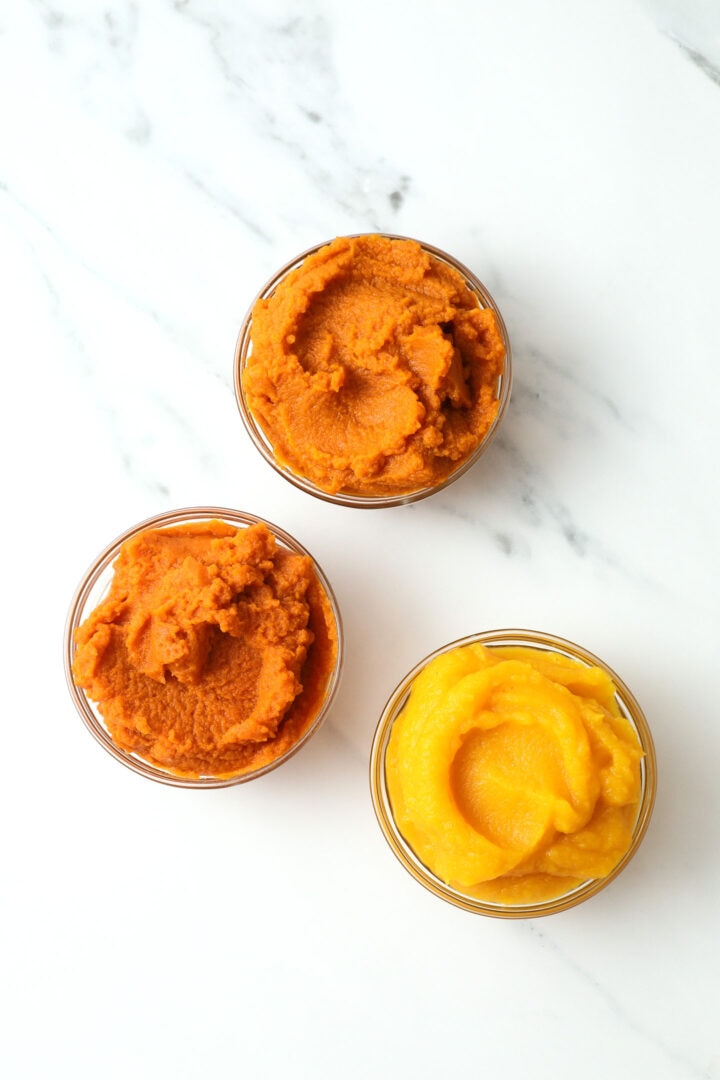
To answer this, I made three identical pumpkin pies. I used the same 9.5 inch Anchor Hocking pie plate, the exact same crust, and the exact same filling recipe. I even went so far as to weigh each measurement of pumpkin puree to the gram to get the most fair results. The only difference was which puree was used.
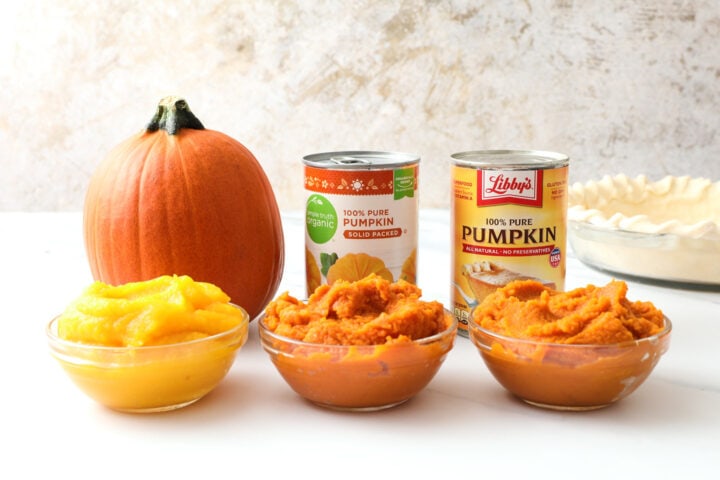
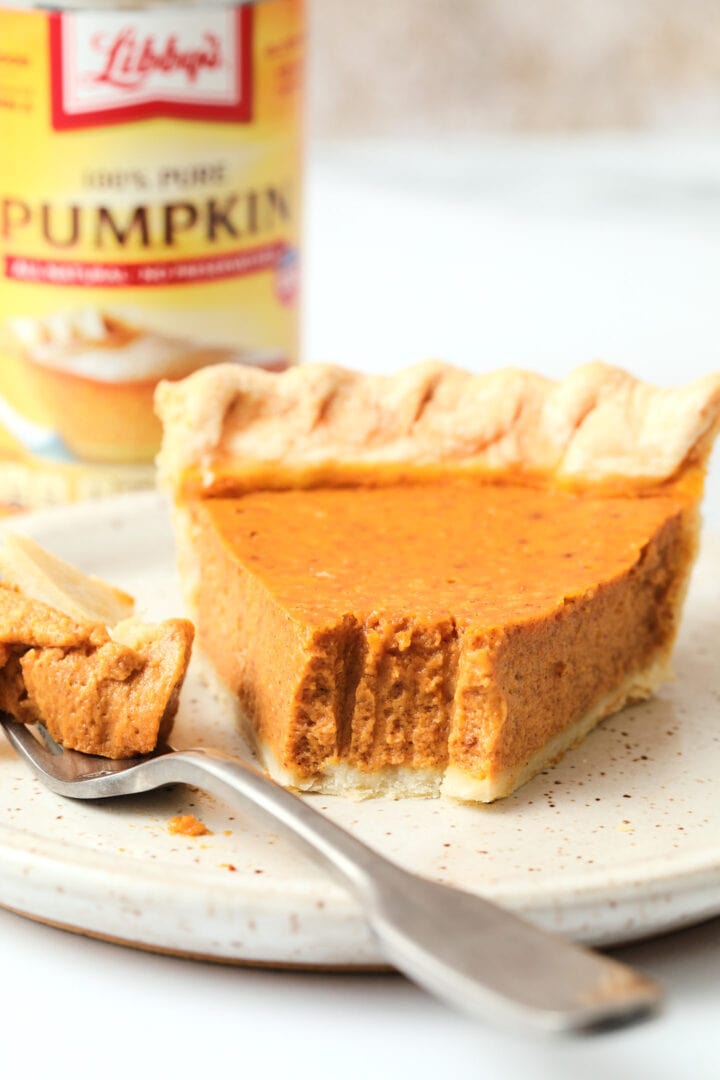
Libby’s
I wasn’t expecting this to be anything terribly special. This is your average pumpkin pie. Creamy, heavenly, perfectly spiced. This first pie was the “control” pie, if you will. The pie by which the other two were measured.
Organic Pumpkin
Actually really intrigued to find out about this one. It’s almost two bucks more than Libby’s and the only difference on the label/ingredients was “organic” pumpkin, rather than just “pumpkin.” A little skeptical, but we’ll go along.
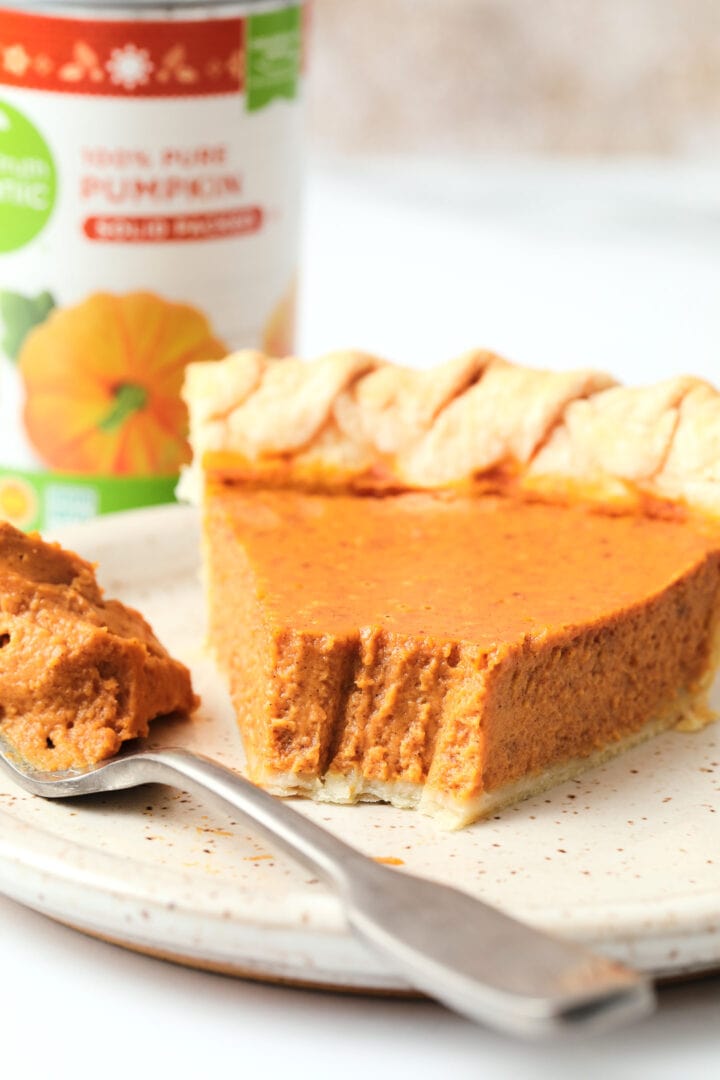
And I was impressed! I knew which slice was which when I tasted them, but my usual group of tasters were blind. They had the same notes I did, which was that the organic pumpkin pie was slightly creamier and “better.” (Subjective, I know. Sorry.)
After tasting these two, I can safely say that no one is going to notice if you splurge for the organic pumpkin. If you’ve decided to go canned, just get what you want. The organic has a slight edge, but I mean SLIGHT. Certainly not worth almost 6 bucks for one can.
Fresh pumpkin pie
I really wanted to say that the homemade puree was going to be the best one. I wanted it so so bad. But it just isn’t. That’s not to say it wasn’t a great pie, because it is! But out of the three pies, the fresh pumpkin came in third.
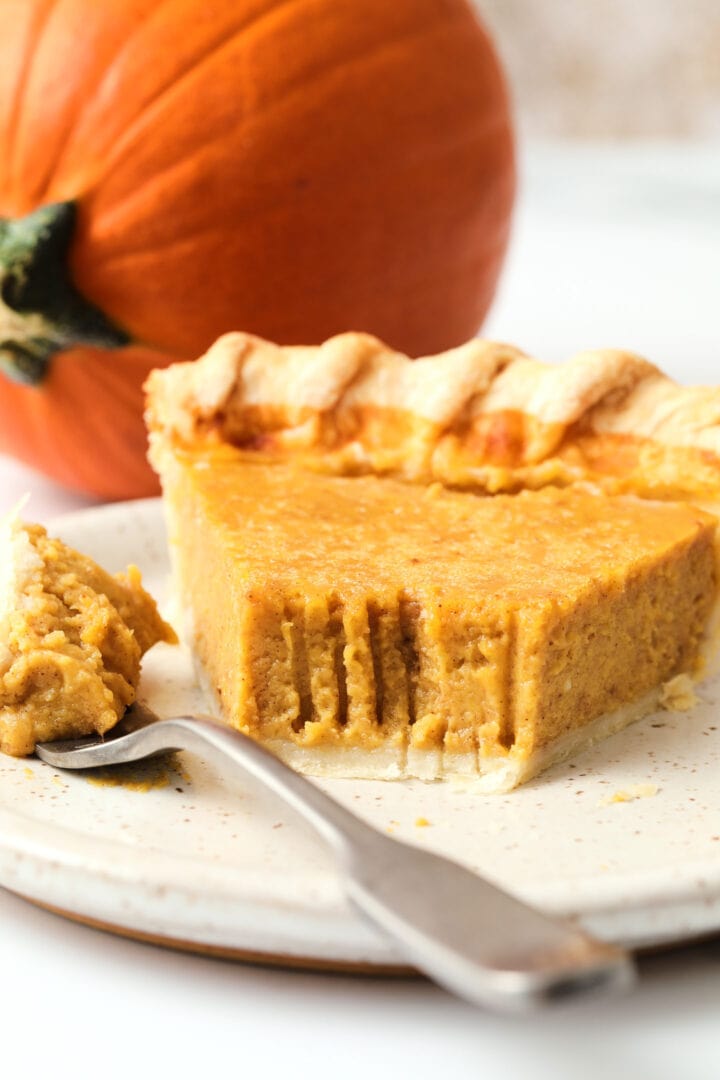
There wasn’t as strong of a pumpkin flavor like the other pies, and that was disappointing. I thought for sure that the fresh puree would have more flavor.
But the final verdict? (As if you were waiting for it) is that no matter which pumpkin you use, you’re going to have a delicious pie. But I would recommend just sticking with Libby’s or another canned pumpkin. It’s not worth the extra work of preparing a whole pumpkin for pie.
HOWEVER, using fresh pumpkin puree in SAVORY dishes is amazing! I subbed it into my gnocchi recipe to replace the potato, and it was delicious. Stay tuned for that recipe soon!
Storing pumpkin puree long term
My favorite way to freeze fresh pumpkin puree is to add it to quart sized freezer bags, label them, and then freeze them flat. Freezing them this way makes them nice and stackable in the freezer, as well as being able to fit them into a lot of places if you’re cut for space in your freezer.
Use frozen puree within a year, and refrigerated puree within a week.

Fresh Pumpkin Puree
- Prep Time: 10 minutes
- Cook Time: 45 minutes
- Total Time: 55 minutes
- Yield: Varies, about 2 cups puree
- Category: Dessert, Pies & Pastry
- Method: Oven
- Cuisine: American
Description
Create your own pumpkin puree from a cute sugar pumpkin!
Ingredients
- One 2–3 pound sugar pumpkin
Instructions
- Preheat the oven to 350 degrees and line a baking sheet with foil.
- Carefully slice the sugar pumpkin in half from stem to bottom. (more detailed instructions above in post) Scoop out the seeds and discard them. (More ideas for the seeds in post!)
- Place the pumpkin halves cut side up on the baking sheet and roast for 45 minutes. The flesh should be a light golden brown and you should be able to pierce the skin of the pumpkin with no resistance.
- Allow the pumpkin halves to cool for 30 minutes or until you can comfortably handle them. Scoop out the flesh and remove to a bowl, and discard the skins.
- Add the pumpkin flesh to a blender or food processor and process until a smooth puree forms. Use as directed in a recipe as you would canned pumpkin.
- To refrigerate, seal in a zip top bag and keep for a week in the fridge. Sealed bags or containers of pumpkin puree will keep frozen for a year.
Equipment
 Buy Now →
 Nutrition
- Serving Size: 2 cups pumpkin puree
- Calories: 98
- Sugar: 10.2 g
- Sodium: 4.9 mg
- Fat: 0.3 g
- Saturated Fat: 0.2 g
- Trans Fat: 0 g
- Carbohydrates: 24 g
- Fiber: 5.4 g
- Protein: 3.5 g
- Cholesterol: 0 mg


