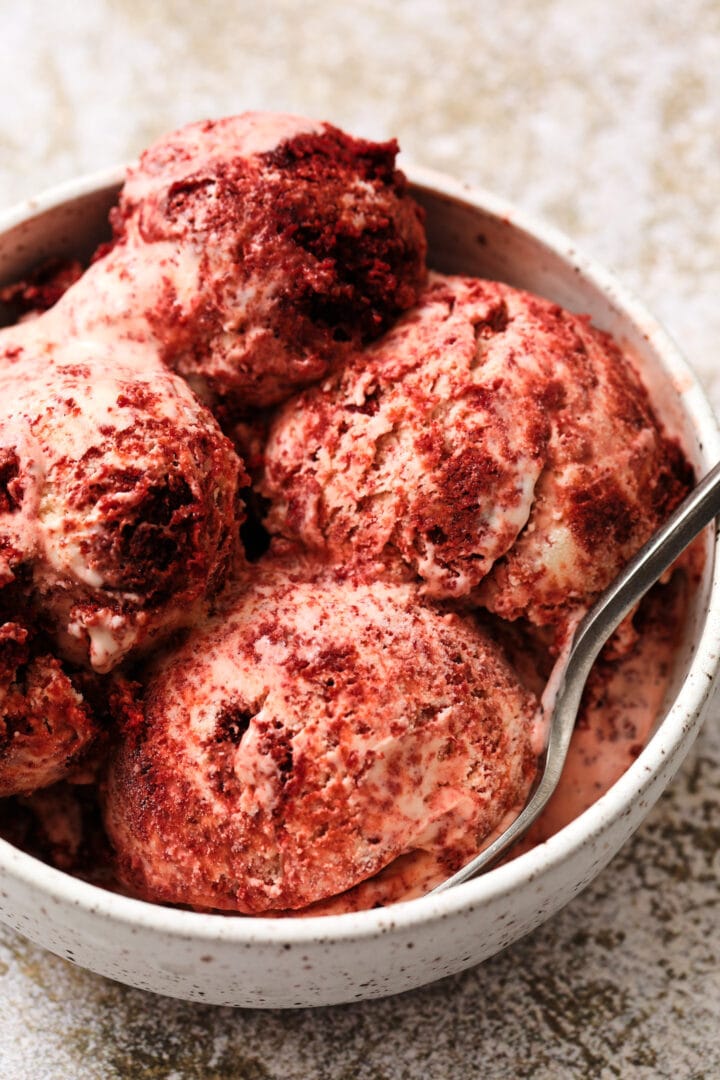
Red Velvet Ice Cream
My original idea for this red velvet ice cream was a little more complicated. It involved making a scratch red velvet cake (or cupcakes!), a homemade cream cheese frosting AND sourcing some red velvet emulsion. The recipe wasn’t bad at all, but a little high maintenance.

This updated version places more of a focus on the tangy richness of cream cheese frosting. AND plenty of red velvet cake pieces mixed in. It really does taste like a thick slice of homemade red velvet cake, slathered in a rich frosting. SO SO good.
He want that cake cake cake cake
You can make up a red velvet box mix, or buy a red velvet cake from the grocery store. OR make it from scratch all on your own. All you really need at the end of the day is a heaping cup of cake chunks. I made my cake from scratch because I had all the ingredients already and I didn’t want to go to the store.
I used my red velvet cupcake recipe and Americolor Tulip Red gel coloring. If you also want to use my recipe, you can bake it in a 9 x 9 square pan instead of bothering with cupcake liners. Once the cake has cooled completely, cube it into chunks and keep them in the fridge until you’re ready to use them.
Cream cheese frosting
This is my favorite update to this recipe because it removes the need to put actual frosting in the ice cream. After the custard is done cooking and has thickened, whisk in the cream cheese. The only thing to really remember is that the cream cheese should be VERY SOFT. Spreadable like frosting. It makes it easier to blend it into the custard without tiny lumps of cold cream cheese.
If you liked this red velvet ice cream, don’t forget to enjoy my other recipes! No churn double chocolate custard, homemade Schwann’s bars, and cookies & cream ice cream sandwiches are all perfect for beating the heat.

Red Velvet Ice Cream
- Prep Time: 10 minutes
- Freezing Time: 4 hours (min)
- Cook Time: 30 minutes
- Total Time: 4 hours + 40 minutes
- Yield: 1 quart (8 servings) 1x
- Category: Dessert, Ice Cream & Frozen
- Method: Stovetop
- Cuisine: American
Description
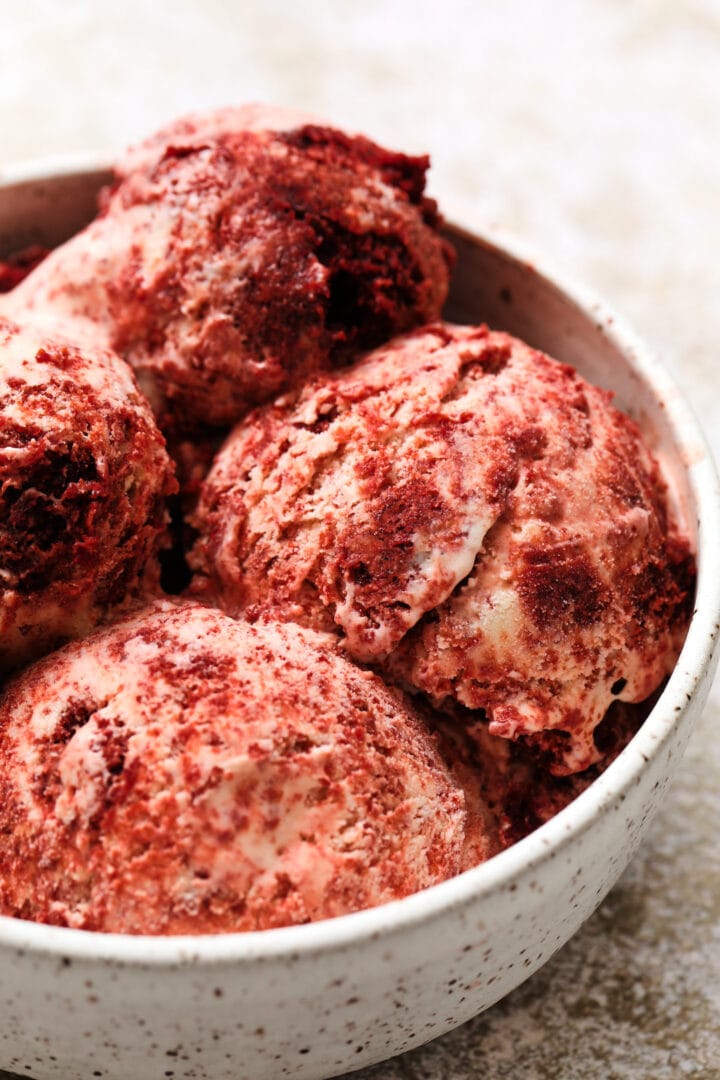
This indulgent ice cream is packed with red velvet cake and has the best tangy cream cheese flavor!
Ingredients
- 5 large egg yolks
- 2 cups heavy cream
- 1 cup whole milk
- 2/3 cup granulated sugar
- 1/2 tsp salt
- 2 tsp vanilla extract
- 8 oz full fat cream cheese, very soft room temperature
- red velvet cake pieces, about 1 inch cubes (between 3/4 and 1 cup, measured after cubing the cake)
Instructions
- Add the egg yolks to a small, clean bowl and set aside.
- Combine the cream, milk, sugar, salt and vanilla into a saucepan or saucier. Whisk occasionally over medium heat until the sugar and salt have dissolved and small wisps of steam come up from the surface. Do not allow the mixture to simmer or boil. Remove from the heat.
- Take one cup of the hot milk mixture and slowly stream into the egg yolks, whisking constantly and quickly to temper the yolks. Once you’ve added the entire cup, add the tempered yolk mixture into the saucepan with the remaining hot milk.
- Use a digital thermometer to monitor the temperature of the custard. Rather than use a whisk to stir as it finishes cooking, use a rubber spatula and constantly scrape the bottom and sides of the saucepan/saucier. This prevents curdling/scrambling of the eggs. Continue to heat the custard over medium heat until it reaches 180 degrees. This should not take more than 5-6 minutes, it will happen quickly.
- Remove the custard from the heat and immediately whisk in the very soft cream cheese until it has melted in and the mixture is smooth. Strain the custard through a fine mesh sieve into a clean bowl. Allow to cool to room temperature before chilling completely, preferably overnight.
- Once the base has chilled through, churn in an ice cream maker according to the manufacturer’s instructions. Once the custard reaches soft serve consistency, add the cake bites and continue churning until they are evenly distributed.
- Freeze for at least 4 hours before scooping and serving.
Nutrition
- Serving Size: 1/2 cup
- Calories: 294
- Sugar: 23.8 g
- Sodium: 206.6 mg
- Fat: 18.9 g
- Saturated Fat: 10.9 g
- Trans Fat: 0.4 g
- Carbohydrates: 27.8 g
- Fiber: 0 g
- Protein: 4.5 g
- Cholesterol: 141.4 mg
Recommended for this recipe:
 Buy Now →
  Buy Now →