Steakhouse Cheeseburgers with Caramelized Shallots
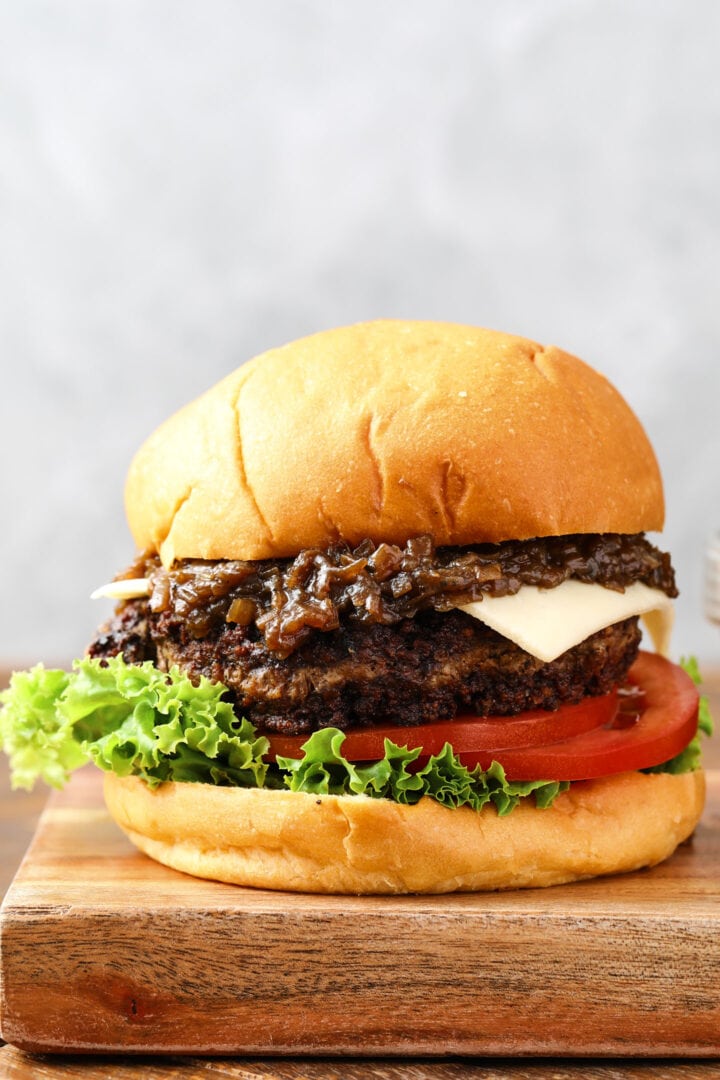
Sink your teeth into summer with these thick and juicy steakhouse cheeseburgers! They’re a shoo-in star of the party, seared to medium perfection in piping hot cast iron. Even better? Grinding the chuck yourself (easier than you think!) and a heap of deep golden caramelized shallots.
I’m not going to preach about how grinding your own meat is better than getting it from the store. Not everyone has access or the ability to get their own meat grinder, or even a chuck roast for that matter. This post is a guide to grinding and shaping your own patties, if that’s what you’re able to do.
The cooking method will definitely work with either homemade or store bought patties.
Choosing a grinder
If you’re looking to start grinding your own meat, a meat grinder attachment for your stand mixer is a really good place to start. Countertop grinders are nice if you have the counter space and plan on using them a lot, but they aren’t necessary to start out.
The Kitchenaid model I currently use is the all metal version, which is more expensive than the smaller plastic model. I’ve used both, and both are great pieces of equipment. I would say that the metal grinder is the perfect balance between the plastic (occasional to hardly ever using it) and the countertop grinder (weekly use.)
And if none of those options sound appealing, you can always purchase a nice chuck roast from the butcher at your local grocery store and have them grind it for you.
Choosing the meat
Not gonna lie, I wanted to get really really fancy and make the ultimate burgers. For the first test, I used a ribeye and short rib mix, and then accidentally overcooked the patties to 165 degrees (I know, I know…the humanity.) The lesson learned from that was if you have an excellent quality meat blend, (like that choice grade ribeye and short ribs) it’s almost impossible to have dry burgers.
Even overcooked, the first round was impossibly juicy and had good flavor.
But then, I realized that for most people, the idea of running a Choice cut ribeye steak through a meat grinder was the stuff of nightmares. I even felt bad cubing it up. After some more research, the overwhelming consensus was that ground chuck with a 80/20 lean/fat ratio was the magic bullet. I think I knew that all along, but wanted to at least TRY and make things a little bougee.
A chuck roast (that you’d put in the slow cooker) has the perfect lean/fat ratio and will give your steakhouse cheeseburgers a juicy, flavorful texture.
Prepping and grinding
If your chuck roast is frozen, thaw it under refrigeration for a couple days and be sure to keep it as cold as possible.
The day before you plan on grinding the meat, put your grinder attachment (all the pieces and parts) and a few large mixing bowls in the freezer. Again, you want to keep things as cold as possible during the grinding process. If the meat and fat warm up too much, it will smear instead of grinding properly. This also affects the texture of the cooked burgers, they’ll dry out a lot quicker if the meat is warm.
I always put the chuck roast back into the freezer for 30 minutes before cubing it up.
Don’t make the cubes larger than 2 inches, since you don’t want to overwhelm your grinder. When cubing up the fatty parts, I make them as small as 1 inch.
After the roast is cubed, put it back in the freezer for 15 minutes. After 15 minutes, remove the grinder from the freezer and assemble it according to the manufacturer’s instructions. Most of them go together and attach to the stand mixer the same way. Fit the front of the grinder with the medium size plate. Too fine of a grind will make your steakhouse cheeseburgers dense, and the larger grind will cause them to fall apart when they cook.
Finally, don’t load more than 2-3 cubes down into the grinder at one time, and wait until they’ve been pulled into the blade before adding another 3 cubes. Only use the pusher if things get stuck, which they shouldn’t if you don’t overcrowd.
After all the meat has been ground, cover the bowl with plastic wrap and keep it cold in the fridge until you’re ready to shape the patties.
Shaping the patties
To make things a lot easier, use a food scale and a 4 inch round cookie cutter. This recipe makes 6 six ounce patties, and having a food scale takes away the guesswork and “eyeballing.”
Add your 6 oz of ground beef to the inside of the round cookie cutter and carefully press down to shape the patty. Use a good amount of force, but don’t over handle the burger. I usually just use my palm and press once, holding pressure for 2-3 seconds. You’ll be tempted to keep pressing down on it with your fingers once it’s formed, but don’t. You can press a few loose ends together before removing the cookie cutter, but don’t get crazy.
Compacting the patties too tightly will make them more dense and they’ll dry out more quickly.
Chill the formed patties for at least an hour before cooking them. Don’t remove them from the fridge until you’re ready to add them to the skillet.
Caramelized shallot jam
I really want to make this it’s own post, because it honestly deserves it. Other than the size, I wanted something to make these burgers truly “steakhouse cheeseburgers.” So while the patties were chilling, I thought the best way to preheat the cast iron skillet was to make these caramelized shallots.
Start with preheating the skillet on medium low heat, more low than medium. Melt 3 tablespoons of butter and wait until the sizzling stops and it starts to smell toasty. Add the shallots and season them with salt and pepper, and stir them a little to coat them in the butter and seasonings. Keep the heat on medium low as you continue to cook them.
After they’re deeply browned and caramelized, add some minced garlic or garlic paste and deglaze the skillet with beer. Truly no words for how delicious this jam is. The flavors in the beer go phenomenally well with the deep sweetness of the shallots and freshness of the garlic.
Cooking and serving
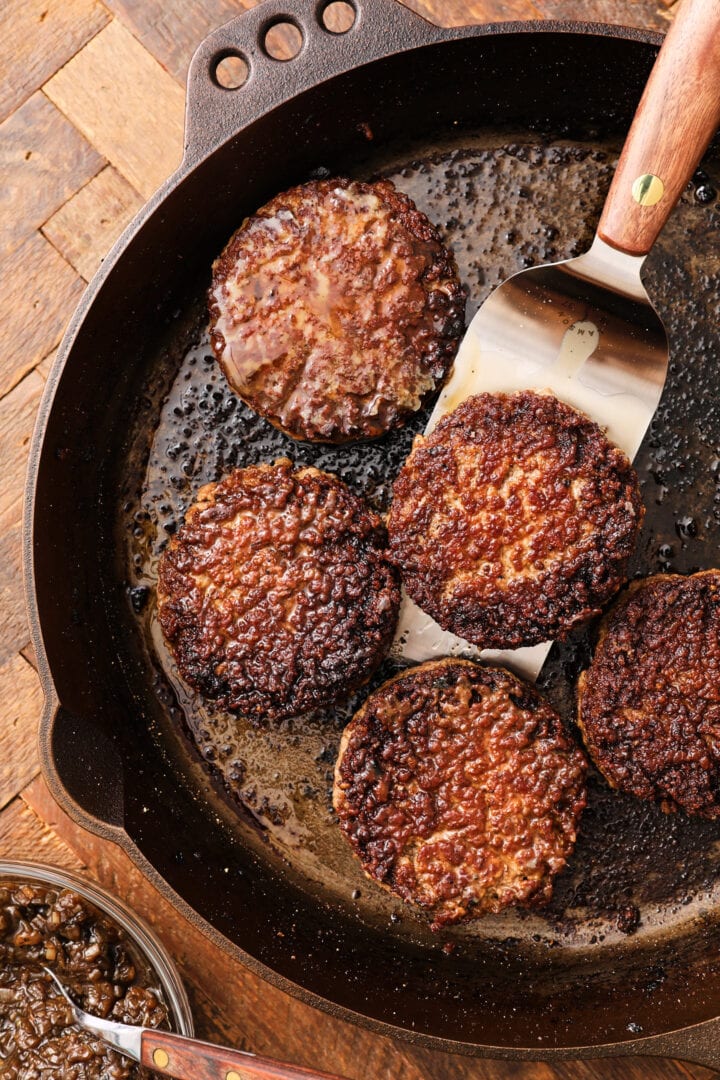
After you’re done making the shallot jam, the cast iron skillet will be piping hot and ready for the burgers. Plus, any leftover flavor from the shallots, beer and garlic will show up on the finished patties. Hooray!
Don’t add any grease or oil to the skillet, because you’ll have plenty of fat that renders out of the patties during cooking.
If at all possible, COOK THESE OUTSIDE. I used an outdoor burner and a grill propane tank, but you can also place the skillet on the grill grates if you have a grill. But the splatter will ruin your kitchen. It goes everywhere, I promise.
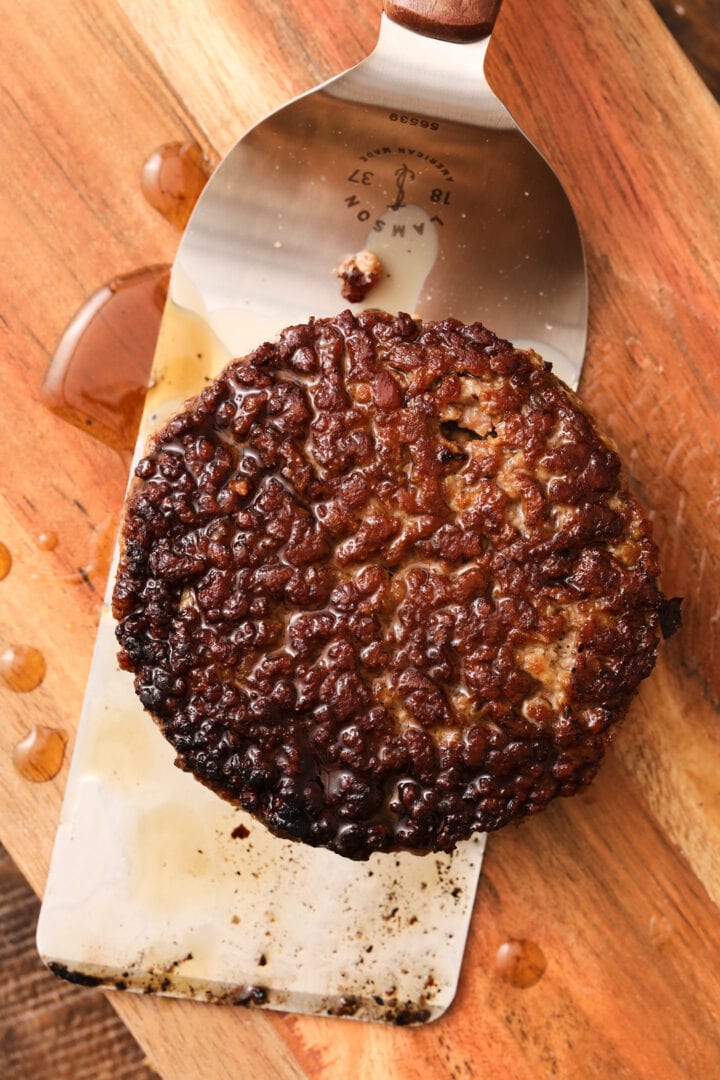
Cook the patties for 6-7 minutes per side, flipping only once, until the internal temperature is at 140 degrees F. This ensures the perfect, medium patty for your steakhouse cheeseburgers! Allow them to rest for at least 10 minutes before serving.
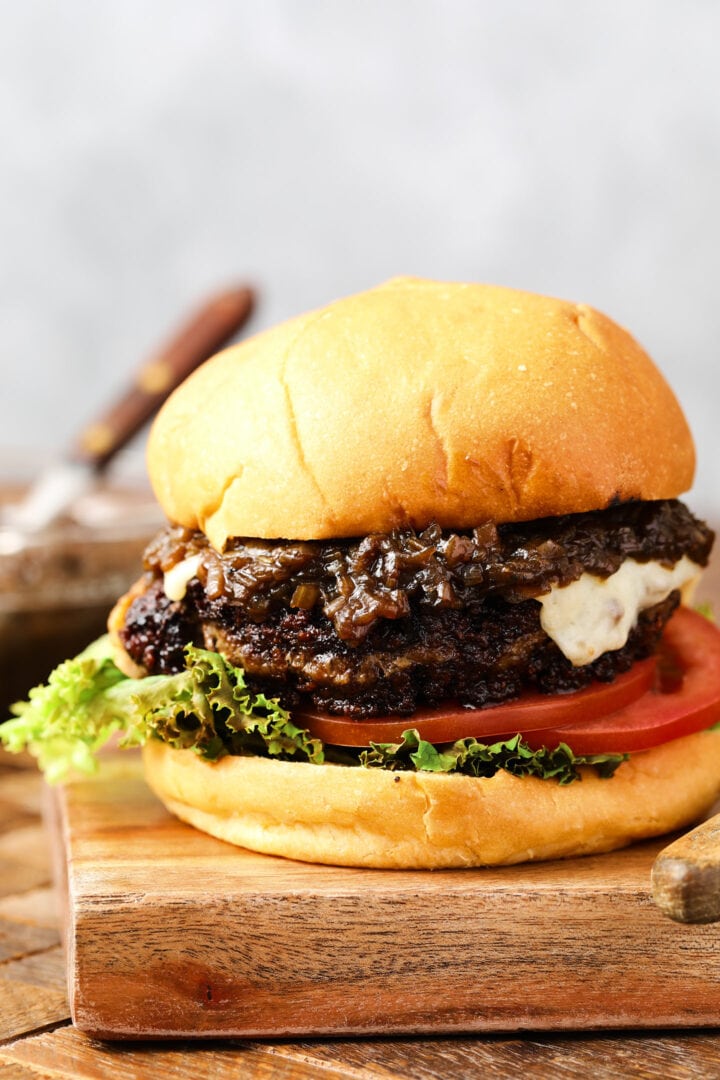
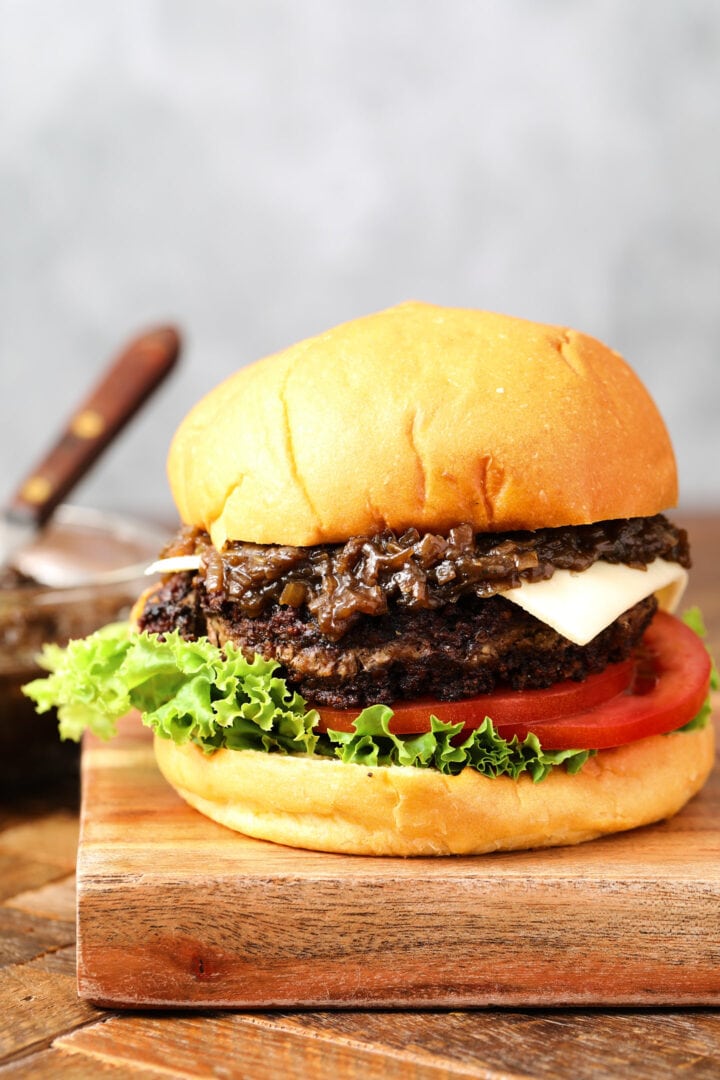
Add a slice of Havarti cheese and plenty of caramelized shallots!
Print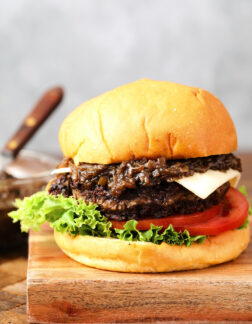
Steakhouse Cheeseburgers with Caramelized Shallots
- Prep Time: 10 minutes
- Chilling Time: 24 hours
- Cook Time: 30 minutes
- Total Time: 24 hours + 40 minutes
- Yield: 6 burgers 1x
- Category: Dinner, Beef
- Method: Stovetop
- Cuisine: American
Description
These cheeseburgers are thick, juicy and full of beefy flavor!
Ingredients
For the burger patties:
- 2 1/2 lb boneless chuck roast (3 lb bone in)
- salt and pepper, to taste
For the caramelized shallot jam:
- 3 TB unsalted butter
- 1 lb shallots, peeled and very finely minced
- salt and pepper, to taste
- 2 cloves minced garlic or 2 tsp garlic paste
- 1/4 cup beer
- water to deglaze
To serve the burgers:
- 6 hamburger buns
- lettuce, as desired
- tomato slices, as desired
- 6 slices Havarti cheese
Instructions
To grind and form the patties:
- The day before you plan on grinding the beef, do TWO things. Place your meat grinder attachment and all the parts into the freezer, along with 2 mixing bowls (metal preferred.) If your chuck roast is frozen, thaw it for 24 hours in the refrigerator.
- Cube the meat before removing the meat grinder from the freezer. Take one of the frozen bowls and use it to catch the cubes of meat as you cut them. Cube the chuck roast into 1-2 inch cubes, making the fatty chunks closer to 1 inch.
- Once all the meat is cut up, place the bowl into the freezer for 30 minutes while you assemble the meat grinder and attach it to your stand mixer. Even though it probably won’t take you that long to prep the grinder, give the meat cubes a full half hour in the freezer.
- Fit the meat grinder with the medium size grind plate according to the manufacturer’s instructions. Remove the other frozen bowl from the freezer and position it beneath the grinder to catch the beef as it comes out.
- Turn the stand mixer on to low speed (no faster than level 2) and slowly feed the grinder 3-4 cubes of beef at a time. Wait to add more until the cubes have been pulled away into the blade and are actively being ground. If the beef does get stuck, gently apply downward pressure with the pusher that came with the grinder attachment. Do not press down hard, or the ground meat can splatter.
- After all the beef has been ground, cover the bowl and store it in the fridge while you clean the grinder and all the parts. This gives the meat a chance to chill down again and stay cold before forming.
- Use a food scale and 4 inch round cookie cutter to portion out and shape the patties. Weigh out 6 oz of ground meat, and carefully pile it in the center of the cookie cutter. Use a firm, downward pressure to form the patty into the cookie cutter. Hold the pressure for 2-3 seconds before unmolding the patty.
- Repeat for the remaining ground beef until all the patties are shaped. Add them to a lined baking sheet and cover with plastic wrap. Add the baking sheet to the fridge for at least 30 minutes.
To make the shallot jam and cook the patties:
- While the patties are chilling in the fridge, set a large cast iron skillet over medium low heat. I like to use an outdoor camping burner or place the pan directly on the grates of a grill. Be sure that you have good control over the heat, or the shallots will burn too quickly.
- Melt the 3 tablespoons of butter over medium low heat until the sizzling has stopped and the butter begins to smell toasty. Add the shallots to the pan and season with salt and pepper to taste.
- Stir the shallots to coat with the butter, salt and pepper, and let them cook for a few minutes.
- Stir the shallots again, and check to see if any pieces are sticking to the bottom of the skillet. Once you start seeing brown fond (cooked on liquids that stick to the pan and turn brown) from the shallots, use a splash of water to deglaze the pan and bring the fond back up into the shallots.
- Continue doing this every few minutes, as you see more fond appearing. The shallots will slowly soften down and become darker as the process continues.
- After about 30 minutes, the shallots should be a deep golden brown. Deglaze the pan with a little water one more time, and add the garlic once most of the water has evaporated. Stir the garlic and shallots together until you begin to notice the fond again (it shouldn’t take long) and finally deglaze one more time with the beer instead of water.
- Stir until the beer has evaporated and the shallot mixture is soft and spreadable. Remove the shallots from the pan and scrape it out well. Don’t wash the pan.
- Increase the heat to medium, and season 2-3 patties with salt and pepper as desired. Place them seasoned side down onto the skillet. Cook the patties for 7 minutes on the first side, flip once, then cook for another 7 minutes on the other side. Remove the patties once the internal temperature reaches 140 degrees F. Repeat with the remaining patties.
- After the burgers are off the heat, add a slice of Havarti cheese to each one and allow the patties to rest for 10 minutes.
- Layer a few slices of lettuce and tomato onto the bottom of each burger bun, followed by the cheesy patty on top. Spread each patty with a generous amount of shallots and top with the top bun.
- Serve immediately and enjoy!
Nutrition
- Serving Size: 1 complete burger with cheese and shallot jam
- Calories: 591
- Sugar: 10.8 g
- Sodium: 1288.8 mg
- Fat: 26.6 g
- Saturated Fat: 12.5 g
- Trans Fat: 0 g
- Carbohydrates: 40.7 g
- Fiber: 4.3 g
- Protein: 41.6 g
- Cholesterol: 141.2 mg


