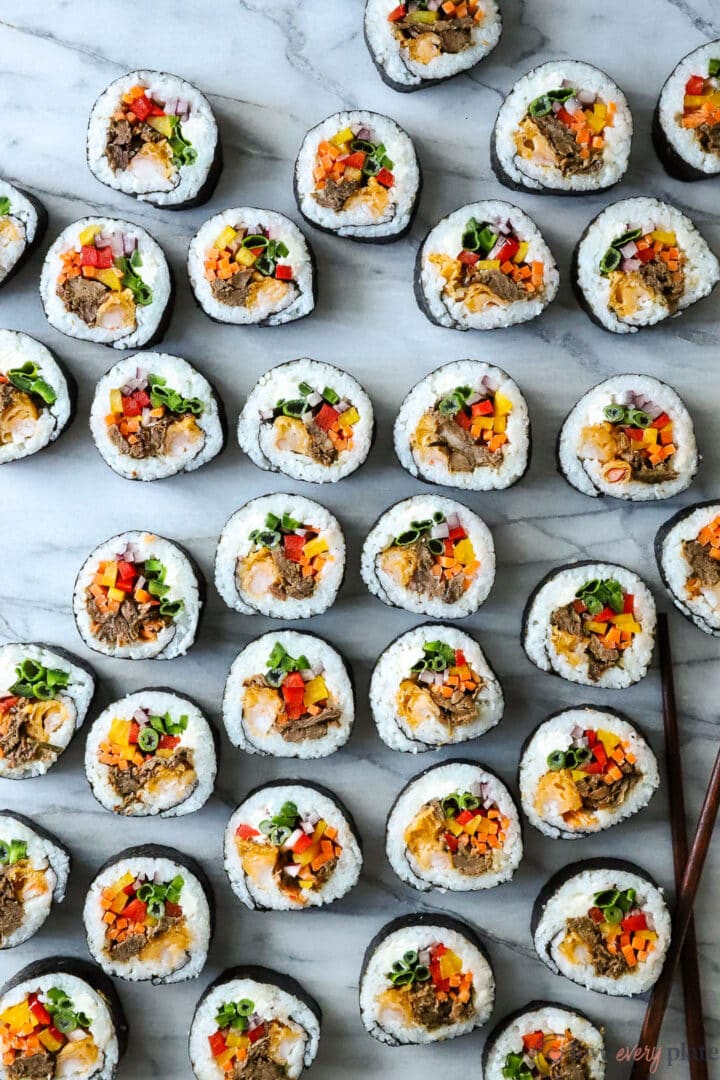
Surf and Turf Sushi Rolls
We weren’t sushi people until we moved to Ohio. I know, it’s weird. We probably wouldn’t be sushi people even at this point if it hadn’t been for Fusian. It’s a small chain that allows you to make your own sushi roll, just like you’d order at Subway. These surf and turf sushi rolls are exactly what I ordered the first time we went to Fusian, and I’ve been in love ever since!
Make the rice
Make sure that you’re using sushi specific rice for these rolls. It may be labeled as nishiki rice at the store, too. The extra starch in short grain sushi rice makes it nice and sticky when cooked, which means it will stay put when you spread it over the nori sheet.
Roll your own
Pro tip #1 – Dip you fingers in lukewarm water before pressing the rice onto the nori, and continue to dip as many times as you need to keep your hands wet. It will keep the rice from sticking to your hands, keeping things relatively mess free.
Pro tip #2 – Instead of trying to wrap your mat in plastic wrap, just use a gallon size Ziploc bag instead. Squeeze out as much air as you can before rolling your sushi.
Pro tip #3 – If you don’t have a bamboo mat or aren’t wanting to buy one, a kitchen towel folded into a thicker rectangle will also do the same job. But if you like to roll a lot of sushi or are planning on making these regularly, it pays to have a dedicated sushi mat.
Make sure you leave a good inch of space at the end of the roll so it can be sealed.

Fillings
Keep all of the filling ingredients neatly lined up on the end closest to you, making it easier for you to roll everything up and stay in control. As you roll up the sushi, keep moderately firm pressure on the roll. You want it to be nice and tight but you don’t want to break the nori, either.
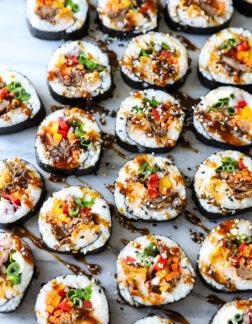
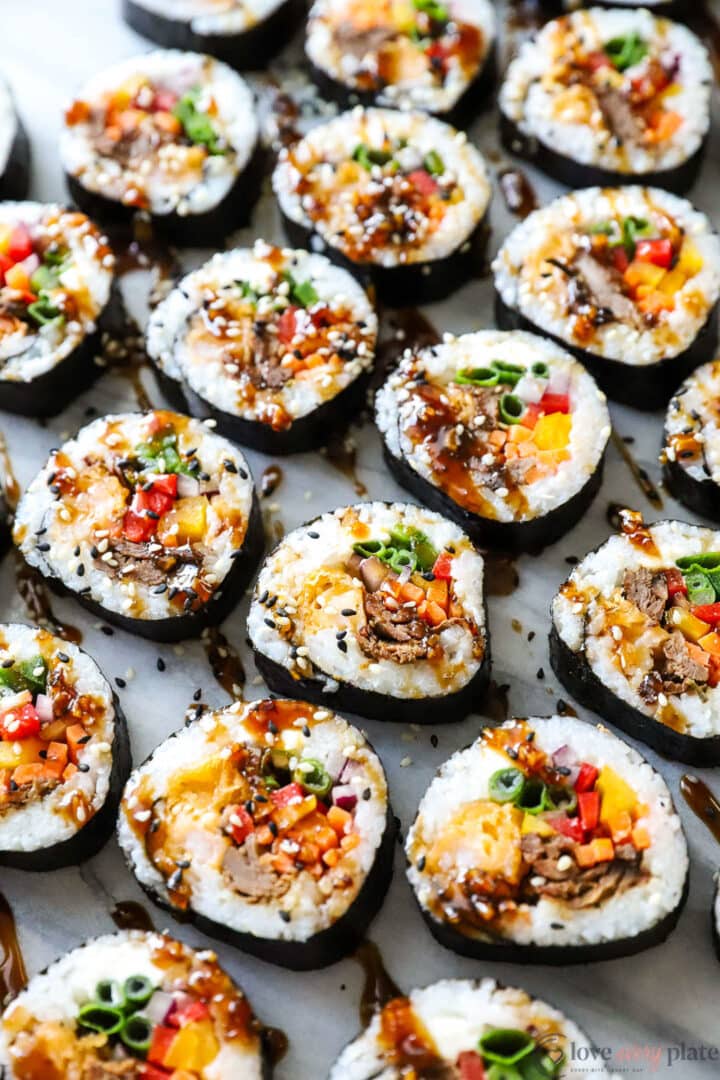
Along with a sprinkle of sesame seed, I can’t have these surf and turf sushi rolls without this sweet soy glaze. I highly recommend making it while your rice cooks or while you prepare the veggies so that it’s ready to eat when you are.
Print
Surf and Turf Sushi Rolls
- Prep Time: 20 minutes
- Cook Time: 30 minutes
- Total Time: 50 minutes
- Yield: 4 sushi rolls (10 slices each) 1x
- Category: Dinner, Seafood
- Method: Stovetop
- Cuisine: Japanese
Description
Crisp fried shrimp and tender pulled beef are perfectly paired with fresh veggies and cream cheese in these delicious sushi rolls.
Ingredients
For the sushi rice
- 1 1/2 cups nishiki rice (rinsed well and drained)
- 2 cups water
- 1/4 cup seasoned rice vinegar
For the sushi rolls
- 4 nori sheets
- 3/4–1 cup prepared sushi rice
- 8 tempura shrimps (each roll gets 2)
- 1 1/3 cup pulled braised beef (each roll gets 1/3 cup)
- sliced bell pepper (color and amount to preference)
- sliced red onion (amount to preference)
- sliced scallion (amount to preference, extra for topping)
- sliced jalapeno (amount to preference)
- shredded carrot (amount to preference)
- sliced cucumber (amount to preference)
- cream cheese (amount to preference)
- sesame seeds (for topping, optional)
- sweet soy glaze (for topping/drizzling)
Instructions
- Prepare the rice. In a medium saucepan, combine the rinsed nishiki rice and 2 cups water. Allow to soak for 15 minutes.
- After the rice has soaked, set over medium heat and allow to come to a low boil. Reduce heat to low, cover and simmer for 20 minutes without removing the lid. After 20 minutes, leave the lid on and remove from the heat. Allow to stand for 10 minutes before fluffing with a fork.
- After the rice has been fluffed, heat the seasoned rice vinegar in the microwave for 30 seconds on full power. Drizzle the hot vinegar over the cooked rice and stir to evenly coat. The rice will get very sticky. Transfer the seasoned rice to a clean mixing bowl, cover with a damp paper towel, and allow to rest in the fridge for 20 minutes and cool slightly.
- If you haven’t already, use the time you have while the rice is cooling to thinly slice your vegetables for the sushi rolls.
- After 20 minutes, remove the rice from the fridge, prepare a small bowl of lukewarm water (to make sure your hands don’t get sticky from the rice), get your bamboo mat ready by placing it inside of a gallon ziploc bag (squeeze out the extra air before sealing), and gather the nori, meats and vegetables so that assembly is easy and within your reach.
- Use wet fingers to evenly spread 3/4-1 cup of rice over the rough side of the nori sheet, making sure the longer side is closest to you. Continue to dip your fingers in the bowl of water to keep the rice from sticking to them. After you’ve added the rice, start filling the roll by placing the shrimp about an inch forward from where the rice begins, on the side of the nori closest to you. Line up the remaining fillings and leave about a 1½ inch space at the opposite end of the nori, so that you can have a good seal on the roll.
- Use you thumbs to support the underside of the bamboo mat, and lift the end up just slightly, while using the rest of your fingers to press the fillings in towards to lifted curve. Continue holding slight pressure as you roll the sushi away from you, going as slowly as you need to. Once you have rolled over the fillings, seal the roll by applying some pressure to make sure everything is compact and secure.
- Unroll the bamboo mat and use a sharp knife to slice the roll into 10, one inch thick slices. Arrange on a plate and drizzle with sweet soy glaze, and top with sesame seeds. Repeat for as many rolls as you are making. Enjoy immediately or refrigerate for up to 3 days.
Nutrition
- Serving Size: 1 sushi roll
- Calories: 388
- Sugar: 36.8 g
- Sodium: 1265.6 mg
- Fat: 9.1 g
- Saturated Fat: 2.7 g
- Trans Fat: 0.2 g
- Carbohydrates: 52.4 g
- Fiber: 3.5 g
- Protein: 26.7 g
- Cholesterol: 133.4 mg
Recommended for this recipe:
 Buy Now →


