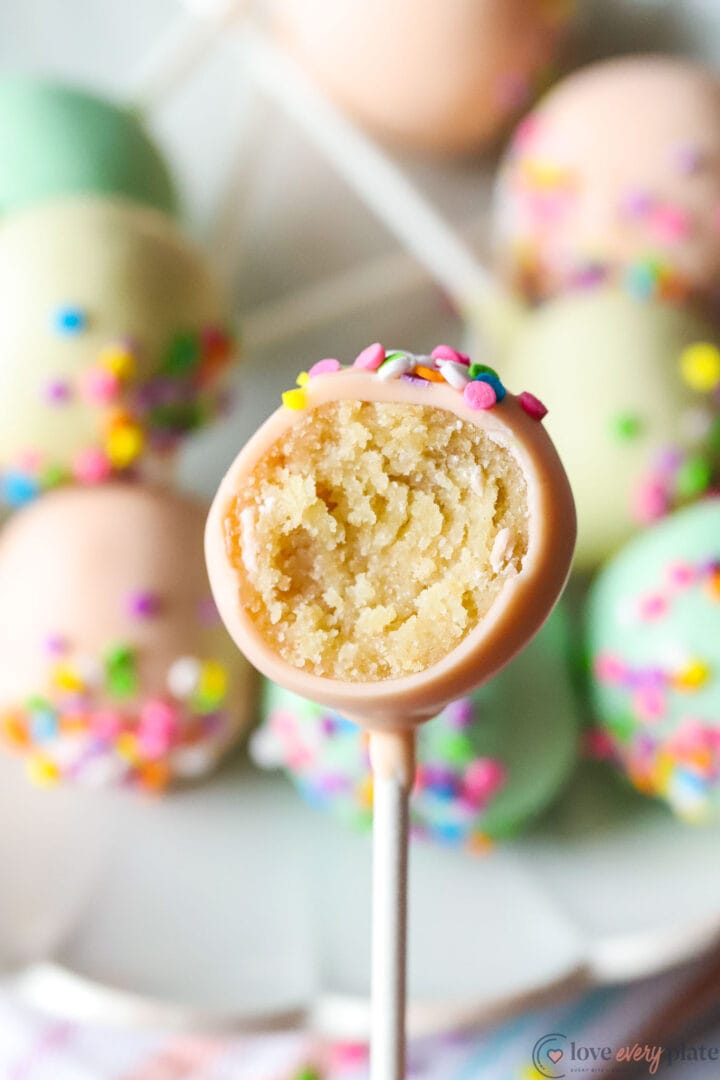
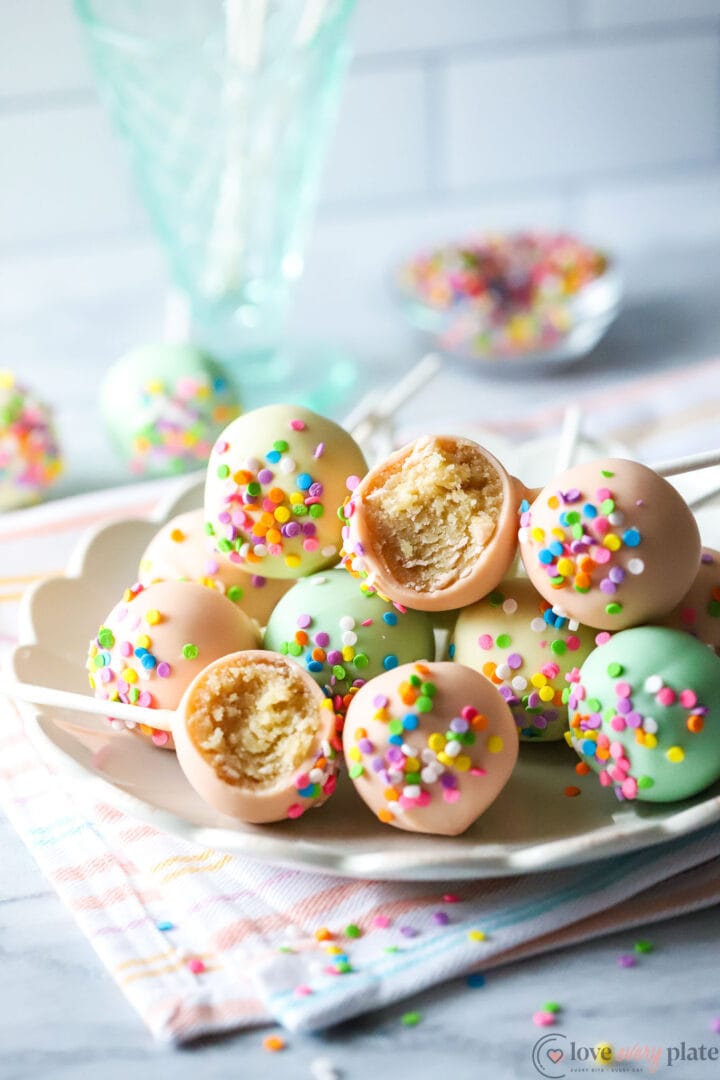
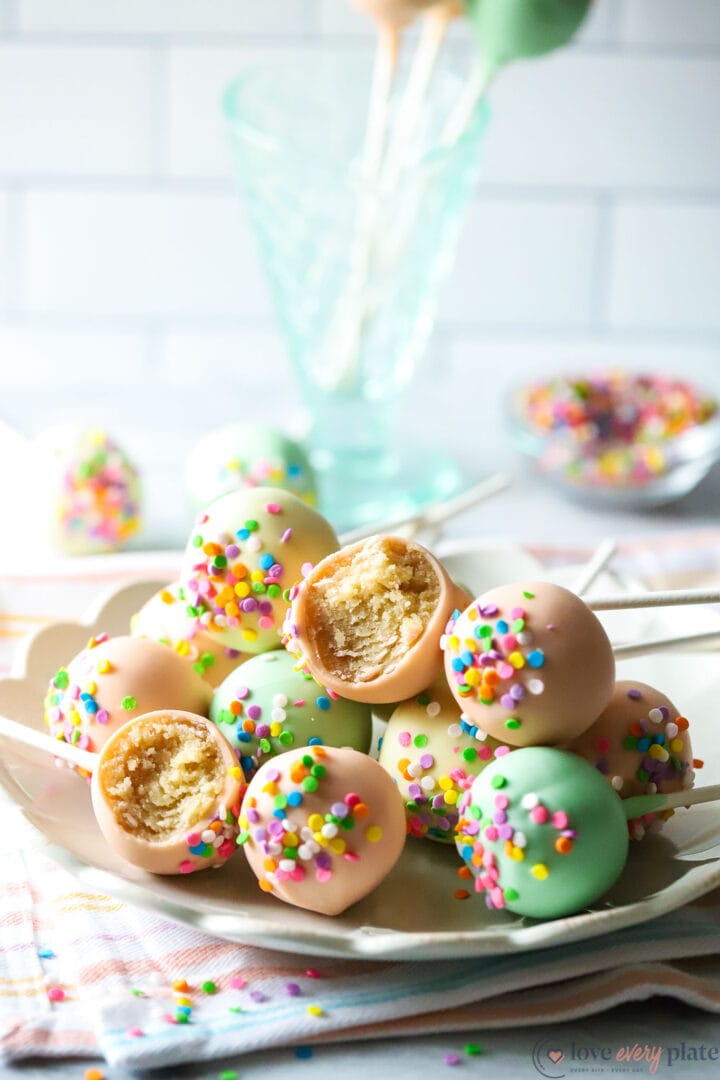
Vanilla Cake Pops
Cake pops are just insurance if the cake itself turns out wrong…change my mind. That’s what happened the first time I made these vanilla cake pops. I turned off the timer and got distracted on my way to get the oven mitts. You know, because my kid needed them for her fort.

Seven extra minutes past the upper end of the baking time and I had dry cake. Not the end of the world, but not quite right for serving sliced, either. The same thing happened when I made these red velvet cake pops.
Take the cake
And crumble it into your stand mixer bowl. If things clump up together and don’t look sandy enough for your liking, run the paddle attachment through the crumbles at low speed for a few minutes.
How much frosting you add depends on how dry the cake was to begin with. The first round, when the cake was unmistakably dry, I needed close to 1/3 cup. The next time, I used leftover cupcakes which were perfectly moist and only used 3 tablespoons.
You want the cake and frosting to come together enough to easily pack into a tight ball, like you’d roll cookie dough between your hands. That’s actually the best test to see if your mixture has the right consistency. If you can roll/ball it like cookie dough without it breaking apart or crumbling, you don’t need any more frosting.
Use a lighter hand
Add as little frosting as possible, only increasing by an additional tablespoon if necessary. You don’t want to create a paste from adding too much frosting, since I highly doubt you’d have extra cake crumbles to rescue you!
However, if that does happen, (like it has to me) add the cake/frosting paste to a pastry bag, cut a 1/2 inch hole from the tip, and pipe long ropes of the paste onto a parchment lined baking sheet. Freeze the ropes for a few hours, and chop them into 1/4-1/2 inch chunks. They’re perfect for adding to ice cream recipes as a mix in or topping!
Shape up
Use a cookie scoop to portion out the cake pops and keep them uniform. I recommend using a medium size scoop. It’s a nice portion that’s still easy to control when dipping/drying, and the perfect amount for 6 inch treat sticks.
It’s a good idea to really apply pressure and compact everything as well as you can before rolling each cake pop. If everything is nicely packed together, there’s a lot less chance for cracking when adding the sticks.
The cake mixture will be a bit tacky when you initially roll them, and that’s normal. After they’ve been allowed to chill for a few hours, give them another quick roll to smooth them out before adding the sticks.
Go for a dip
Actually, two. Melt a little bit of the white chocolate and dip each stick about 1/2 inch down. When you press the coated end into the cake ball, a little “button” of chocolate will come up around the stick. The button helps the rest of the chocolate cling to the vanilla cake pops!
When dipping the cake pops to coat them, it helps to tilt the bowl and create a deeper area. This allows you to completely and quickly submerge the entire cake ball up to the button. You could also use a taller, more narrow vessel for dipping, like a measuring cup.
To get rid of the excess chocolate on the cake pops, gently tap them on the edge of the bowl/measuring cup, or twist/swirl them around to encourage any leftover chocolate to drop off.
Hanging out to dry
My favorite way to dry these is to stick them upright in a block of either Styrofoam or floral foam. If you don’t mind flat tops, and want to display them differently, set the wet cake pops on a lined baking sheet.
These vanilla cake pops will set within a half hour, and if they haven’t all been eaten within a few days, (highly unlikely) then they will keep in the fridge for two weeks.

Vanilla Cake Pops
- Prep Time: 30 minutes
- Chilling + Assembly: 8 hours
- Cook Time: 45 minutes
- Total Time: 9 hours + 15 minutes
- Yield: 30 cake pops 1x
- Category: Dessert, Bite Size
- Method: Oven, Microwave
- Cuisine: American
Description
Homemade vanilla cake pops are coated in white chocolate for the BEST cakey texture and crunchy shell.
Ingredients
For the cake:
- 2 1/2 cups cake flour, sifted
- 2 tsp baking powder
- 1/2 tsp baking soda
- 1 tsp salt
- 3/4 cup unsalted butter, room temperature
- 1 3/4 cups granulated sugar
- 5 large egg whites, room temperature
- 1/2 cup sour cream or crème fraiche, room temperature
- 1 TB pure vanilla extract
- 1 cup buttermilk, room temperature
For the frosting:
- 1/2 cup unsalted butter, cool room temperature
- 2 1/4 cups powdered sugar
- 1 TB heavy cream
- 1/2 tsp pure vanilla extract
- 1/8 tsp salt
For the coating and assembly:
- 40 oz white chocolate
- treat sticks
- sprinkles
- blocks of floral foam (for standing the cake pops up to dry)
Instructions
To make the cake:
- Preheat the oven to 350°F. Grease and flour a 9 x 13 rectangular pan and set aside. Add the cake flour, baking powder, baking soda, and salt to a mixing bowl, whisk well to combine evenly, and set aside.
- Beat the butter using a stand mixer and paddle attachment on high speed for 2 minutes until creamy. Scrape down the bowl and add the sugar. Beat for an additional 2 minutes, scraping down the bowl as necessary. Add the egg whites and beat on high speed for 2 more minutes, then add the sour cream and vanilla extract. Beat for one more minute, and scrape down the bowl one more time before adding the dry ingredients all at once.
- Mix on low speed JUST until the flour mixture is incorporated, with maybe one or two flour streaks left. Turn the mixer back onto the lowest speed setting and stream in the buttermilk. Stop the mixer and use a spatula to gently finish mixing. You shouldn’t need more than two or three turn around the bowl.
- Add the batter to the prepared 9 x 13 pan and bake in the preheated oven for 45 minutes. If you are serving this cake to slice, then only bake for 40 minutes. Allow the cake to cool completely before continuing with the recipe (~4 hours).
To make the frosting:
- Beat the butter on medium high speed for about 2 minutes, using either a stand mixer or hand mixer. Scrape down the bowl.
- Add the remaining ingredients and mix on low speed until blended, then beat on medium until very light, about 3 more minutes. Scrape down the bowl and beat for one more minute.
To assemble the cake pops:
- Crumble the cake into the bowl of the stand mixer and use the paddle attachment to mix the cake into crumbles. Add one tablespoon of frosting at a time, and mix on low speed after each addition. Continue adding frosting this way until a good, packable consistency is reached. (If you’ve added too much frosting and the “dough” has now become a paste, see the above post for recommendations.)
- Using a medium cookie scoop, pack and roll the mixture into balls, and place on a baking sheet lined with parchment. Refrigerate for at least 2 hours.
- Melt about 1/4 cup of the white chocolate in a microwave safe bowl for 30 seconds on full power. Stir well to distribute the heat evenly and microwave again if necessary for an additional 10 seconds. Stir until the chocolate has melted completely.
- Dip each treat stick into the small amount of melted white chocolate, just on the tip of one end. Press the coated end halfway down into a chilled cake ball. The chocolate will rise up a little further onto the stick and form a tiny button shape. Repeat for the remaining cake pops. Once every cake ball has a stick, allow the pops to chill in the fridge for 20 more minutes.
- Working in batches of 5, dip each cake ball down into the white chocolate and allow it to come up and cover the button of chocolate that is already on the stick. Swirl the pop around in the chocolate to make sure that the entire ball is completely coated, and gently tap or twist the cake pop on the rim of the bowl to discard any excess. Add sprinkles immediately before the chocolate sets, so that they stick.
- Push the empty end of each finished cake pop into the block of foam to dry. Repeat with the remaining cake pops. You may need multiple foam blocks, depending on how many cake pops you’re making.
- Allow to chill and set in the fridge. Cake pops will be dry within a half hour.
Nutrition
- Serving Size: 1 coated cake pop
- Calories: 285
- Sugar: 25.6 g
- Sodium: 141.5 mg
- Fat: 14.9 g
- Saturated Fat: 9.1 g
- Trans Fat: 0 g
- Carbohydrates: 35.1 g
- Fiber: 0.3 g
- Protein: 3.5 g
- Cholesterol: 25 mg
Recommended for this recipe:
 Buy Now →
  Buy Now →
  Buy Now →